A journal following the history, design, construction and operation of Bernard Kempinski's O Scale model railroad depicting the U. S. Military Railroad (USMRR) Aquia-Falmouth line in 1863, and other model railroad projects.
©Bernard Kempinski All text and images, except as noted, on this blog are copyrighted by the author and may not be used without permission.
-----------------------------------------------------------------------------------------------------------------------------------------------------------------

March 25, 2017

Meanwhile....check this out


I just started a new project for the Lyceum,  a model for their WWI commemorative display. It is on a short deadline, so I have to get moving on it.

So while I am distracted working no that, check out this cool model from Ocre out of Spain. They actually have kits for both the Jupiter and the Rogers 119. Both of the locos that were at the transcontinental golden spike.


These kits are 1/32nd scale. They utilize mixed media, including a steel chassis. They are normally intended as static kits. Some folks on the internet say there are motorization kits for them, though I have not been able to find those motor kits.

This locomotive models have been out for about 2 years now, but this is the first I have heard of them. They are actually reasonably priced too.

They are perfect to haul around my 1/32nd scale Dictator and Lee-Brooke Gun.

Ocre has a short video showing some of the construction with Pink Floyd soundtrack.


Benny Modelbau has a video series showing unboxing and construction.

March 22, 2017

"Go big or go home" - Auto Racks Test

"Go big or go home," is a popular saying these days. It really doesn't make sense because who would n't want to go home? It is a nice place where the layout is. I like to go home.  So how about going big at home? That is exactly what is going on here. PoLA is going big. This photo shows a test run of a train of auto racks on PoLA.  I am looking at another expansion of PoLA, but before I proceeded, I needed to verify that auto racks will fit on the layout. The visible part of the layout is no problem. It's the 19 inch radius and 54 inch vertical clearance under the stairs that had we worried.

So I ordered up a batch of auto racks from Mainline Hobby, with the intent of doing the test. If it was a no go, I'd sell the cars on ebay. Less than 24 hours later the box with the models, a very large box, was waiting at my front door.  I opened the box and set the models on the layout. The Atlas articulated sets required some assembly. One of the screws was so tightly inserted that it stripped when I tried to unscrew it. So I drilled it out and replaced it with a screw from my stock.  When Alicia saw the cars on the layout she asked, "are those the same scale?"

Now the big test. Ta daa -- All cars made it through the staging track curve both backing and pulling. Pulling gives more clearance between cars as the couplers stretch out, but they can back through too, even though the inside ends of the cars touch.  So, we can proceed with the expansion plans. Whew!

Don't worry the Aquia Line is still here. The new PoLA expansion is basically 2x8 feet, but it will double tank car siding capacity and add a whole new industry with capacity for up to 14 89-foot auto racks.


March 21, 2017

Layout Design and Operations Meet Tulsa, OK

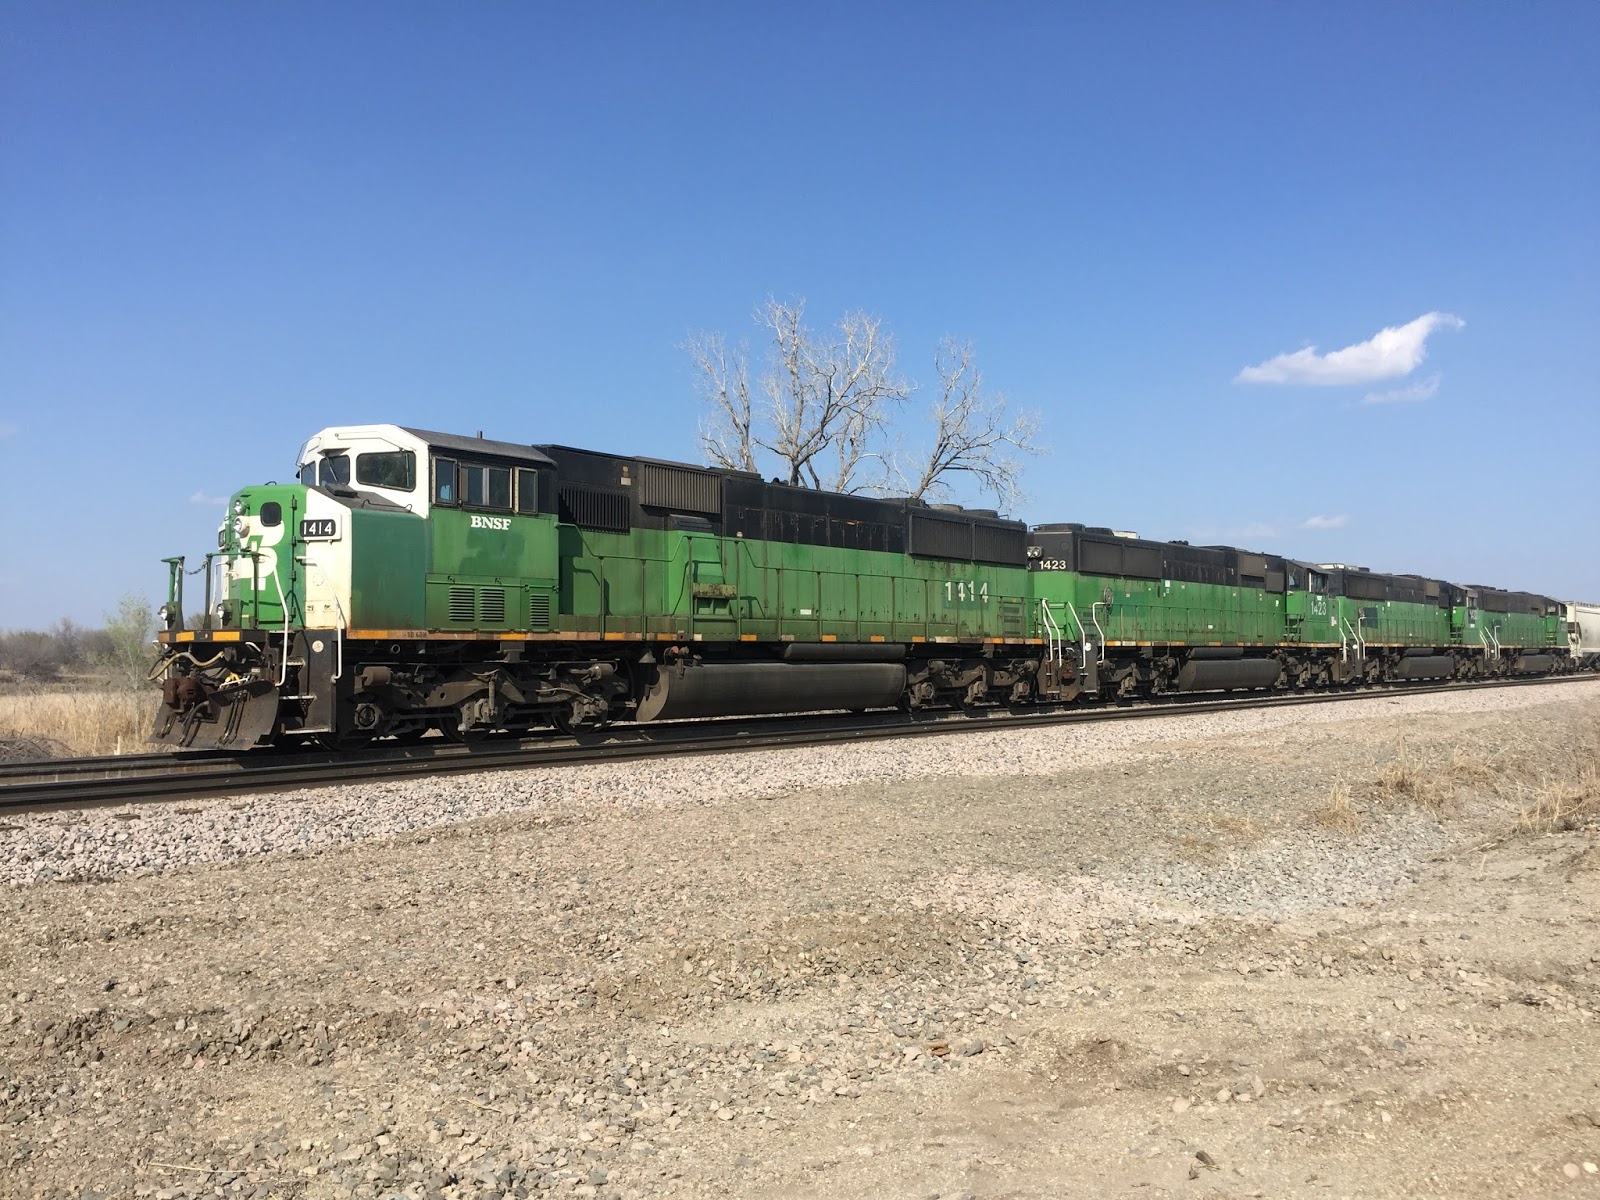
Vintage SD-60s in BN green on Tiger Hill
I just returned the the Layout Design and Operations Meet in Tulsa, OK.  It was a great weekend.  Special thanks to Jim Senese, Robert Simmons, Chris Atkins, Dan Salamon, Chris King, Cary Stevens, and Mark Montray for their taking time to shuttle me around to the various layout and venues. Special thanks to Mark for giving me a guided rail fan tour of Catoosa and Tiger Hill on the way to the airport on Sunday.

Ken, Robert, and Allan (l to r) operate the
Pandora and San Miguel
I got to operate on three layouts, Ken Ehlers's beautiful Sn3 Pandora  and San Miguel (a freelanced version of the RGS), Dan Salamon's  impressive N Scale Deep River Southern (a freelanced Pacific NW themed RR) and Jim Senese's Kansas City Terminal railroad.  All three featured great operations on excellent scenery.

On the Pandora and San Miguel, I ran a through freight across the railroad from Rico to Ridgeway.  The route crosses gorgeous scenery and impressive bridges. Once at Ridgeway, I was the yard switcher, building trains for subsequent sessions. The layout is a double deck design, but doesn't feel like it. The upper decks are set back in many places making the lower level very accessible.  It's a beautiful layout.

Dave's outdoor RR
When I got to the Deep River Southern I volunteered to be the branch line operator. This job entailed switching a town, a large lumber mill and a cement mill. The branch was located on an upper deck. To get trains between the decks, Dave uses a train "elevator." It can hold 13 cars, plus 2 engines and a caboose. It worked quite well. I had to make two round trips on the elevator during the session to handle the switching chores. Dan also has a 7.5 inch railroad in his backyard, that some others got to take for short rides.

Dave's N Scale Deep River Southern


Jim Senese uses a random lottery to assign layout poistions to operators. I teamed up with Rick Sester, whom I first met last year at Charlie Taylor's op session in Memphis. Jim asks that layout operators adopt the corporate persona of the railroads there are assigned. In each assignment packet there is a sheet describing the corporate character of the railroad you are assigned to operate.

One of several grain elevators on Jim's KC Terminal RR
We drew the KCS railroad with Rick as the conductor and I as the engineer.   Our packet said that the KSC are the "nice guys." So we tried to be very cooperative with the other operators as they came and went over our track.  We had lots and lots of switching to do over a large portion of the layout. In the three hours we were there, we had just finished making all the pulls and were starting the set-outs.  While we were doing our pulls, other crews dropped off two more trains worth of cars to switch. The yard was full. It probably would have taken another three hours to sort all the cars. Whew!


In addition to operating on three layouts, I got to see Tom Fauser's South Brooklyn Terminal RR and Steve Davis's KCS 3rd Sub layout.
Tom's South Brooklyn Terminal RR
Tom's layout was a what-if rendition of the terminal switching along the Brooklyn, New York waterfront.  I really liked the concept.  He has dozens of structures to finish, but the layout has a very clean, trim and professional looking appearance. It should be a lot of fun to operate. I suggested that he include a blue Plymouth sedan with two twin boys in it to simulate my dad, brother and I during my childhood in Brooklyn.

Steve and his automated staging yards


Steve's KCS 3rd sub is a massive project housed in its own outbuilding that was formerly a commercial business. Tom Vanden Bosch, Steve's step dad, built many of the structures on the layout. He also gave me a tour of the layout as Steve was losing his voice! It is hard to believe that Steve and his helpers have accomplished so much in just 4 years, including building finishing. Steve is a software engineer and his layout reflects that. It is loaded with automation and high-tech features including RFID car identification with automated switch lists, automated staging yards with detection and train movement, signals, Tom Vanden Bosch and CCTV. The design of the layout is prototype based and uses a partial mushroom. Yes, it's all very state-of-the art.

The talks on Saturday were very good. Chris Atkins talked about prototype research and his plans for a massive layout in a former RR section house. Riley Triggs explained his PoNY layout design and philosophy, which I can summarize as KISS. On the other side of the KISS spectrum, Gert "Speed" Muller described his RFID and artificial vision systems he is developing for his N Scale Namibian Railroad. My talks went very well. The short demo video of the working brakes on the Aquia Line flat car was especially well received.

Great ribs at Albert G's.
To top it all off, we got to see a few BNSF trains as we travelled from site to site. And we had some great BarBQ!

Tulsa is a hot bed of fantastic model and prototype railroad activity. I'd gladly go back if I get the chance.


March 12, 2017

A Two-Part Resin Tsunami

Polyurethane water surface has too many brush strokes

The calm before the pour
After using a quart of gloss water-based polyurethane to simulate the water surface at Aquia Landing, I was dissatisfied with the look. I could see some brush strokes in the water surface that were just not convincing. It was also tricky to paint in between the pilings without getting polyurethane on the pilings.

So I decided to pour two-part resin. I had already ordered a large bottle of Unreal Details resin and hardener. I used several layers of masking tape around the perimeter of the peninsula  to create a sealing dam. Near the shore I used some gloss acrylic gel to paint the crack between the tape and fascia to try to seal it better.

Plastic cups made measuring easy
 I then mixed up  about  three quarters of the large bottle of the Unreal Details water in 5 batches.

At first all was well. After about 2 hours, I went to dinner. After dinner, I checked the resin.

Yikes, the resin had nearly breached the tape on the side near Burnside's Wharf. Apparently the benchwork is not level, nor is it truly planar. So the resin formed a "tsunami" at the low point and was nearly over the tape dam. The weight of the resin, now about a half inch thick, was also causing the tape to release from the fascia. I was a few minutes from a disastrous mess.

Before the tsunami
I grabbed a bunch of clamps and pieces of plywood to shore up the masking tape dams.  I also used my floor jack to elevate the benchwork at the low spot and placed shims under the legs.  These actions seemed to have solved the issue. It is now seven hours after the pour and there are no signs of leaks.

I will set my alarm tonight to do some late night and early morning checks.

14 Hour update - Good news - no leaks. The resin is still tacky. I have been running my spray booth fan all night and the basement is cooler than the rest of the house. So the resin will take longer to cure. There are a few ripples in the resin. Hopefully they will settle out and not be a problem.

Final Update: Tape is off and the resin is nearly cured. No serious leaks, though some seepage occurred along the tape.  Some touch up on the fascia will fix those problems. The surface is not glass smooth, but it will work out.  Overall looks good.

Reinforced tape with plywood and clamps helps hold the tape while the resin seeps in the opposite direction.

March 11, 2017

Back to Back Op Sessions on PoLA

Switch list and drink in in left and throttle in the
right, Phil looks like an old pro at this.
Phil Hoffman stopped by tonight for a op session on PoLA. Phil used to live in Maryland, but moved to Mississippi where he works for NOAA at Stennis Space Center.  He was here on business, so I set up a session for him.

Getting ready to spot tank cars at Vopak.
Phil did a great job. I left him on his own while I worked on a presentation for a talk next week in Tulsa, OK. In about two hours he was done with all the switching work and had the train blocked for the return to Watson yard.

Well done!   Phil is normally an N scale modeler, but after tonight, he is switching to HO.

March 9, 2017

Dual (Dueling?) Op Sessions

PoLA Switch List
Tonight Paul Dolkos, Mat Thompson and Pete LaGuardia arrived to operate the layouts. I had two trains ready to go on PoLa and two on the Aquia Line layouts. For some unknown reason, they all wanted to operate PoLA. In the end Pete and Mat took PoLA, while Paul and I ran the Aquia Line.

In a way Paul was lucky as he helped make history. We ran Train 11 out of Aquia - the first official train from Aquia. It was a 4 car train with engine Haupt for power. It had set outs at Brooke, Stonemans and Falmouth. We then swapped engines and took Train 12 with engine McCallum and 8 cars back to Aquia. It had a set out at Potomac Creek.

Switch list for train 11
Meanwhile, Mat and Pete were busy with PoLA. They had 11 cars inbound and 14 outbound cars. There was also an off spot car that they had to spot at the Borax silos.  While they were working the PHL 30 job, Paul brought out a cut of flat cars with Army vehicles for Chase Marine Terminal. This resulted in a meet between the two trains in from of Pier Shed 181. Another first for the layout.

All in all it was a fun night.


March 8, 2017

Bow Bulwarks

Mocking up the superstructure.

Over the past three days I added the decks and the bow bulwark.

The decks are laser cut 1/8th inch acrylic. I used 2-part epoxy to glue the deck pieces to the wooden hull. There were a few places where I had to sand the deck to make it even with the wood hull sides.

Making a paper template
To make the bulwark on the bow I first cut a piece of heavy kraft paper to make a template. Then I cut an outer and inner layer with 0.020 inch styrene. I glued the bulwark to the hull with CAA. Because it wasn't perfectly symmetrical I had to do some sanding to get the two sides even.

I added putty to smooth the bulwark to the hull.

While the putty died, I drew up a mockup of the superstructure. The railings and stairs are the next Alkem Scale Models products. Stay tuned for them.

One other thing I realized is that the 2.5 inch diameter silos I originally used for the borax factory look kind of wimpy next to the ship. So I bought some bigger 3.5 inch PVC tubing that I will cut to make a more massive silo complex.


Paper the,plate to cut bulwark


Gluing styrene bulwark to hull


Bulwark glued to hull
Puttying the bulwark to the hull.


March 6, 2017

Do i =1, putty gaps, sand, next i

First heavy coat of high build primer
I laser cut acrylic sheets for the deck of the bulk carrier today. I glued the forecastle deck, which was 1/8th inch acrylic to the wood hull with 2 part epoxy. Several hours of putty, sanding, more putty, more sanding, even more putty and even more sanding, and it was ready for a coat of high-build primer.


Epoxy visible though clear acrylic deck on forecastle  
I sprayed on a thick coat of Rustoleum primer and used my finger to rub it in like a thin putty. Yes, there will be more sanding in the morning once the paint cures. But the bow is looking good.

March 3, 2017

Upcoming talks

I spent the week developing a new set of etchings for use on my HO layout, but it will be useful to any HO modelers doing industrial scenes. The etchings are currently in pre-production and will hopefully be ready for sale in a month or so.

In the meantime, I will be presenting several talks in the upcoming two weeks. The first is tomorrow at the NMRA Potomac Division Minicon.  At 2:15 I will be presenting a talk I call, "Down to the Sea in Trains." The talk complements my newest book from Kalmbach, "Waterfront Terminals and Operations," which I am happy to say has spent the last 4 weeks as #1 best seller for Amazon's model train category.

On March 18th, I will be presenting two talks to the Layout Design and Operations Weekend in Tulsa, Oklahoma. In addition to "Down to the Sea in Trains," I will be doing a talk on the design and construction of the USMRR Aquia Line layout.

I recently learned of a really neat display layout call Kaj-M, produced by a group of Dutch modelers called, Montfrooij ModelSpoor. It depicts the Port of Rotterdam in HO scale. Montfrooij ModelSpoor are a group of 5 modelers, 3 Montfrooij  brothers, one of their sons and a friend. They have been working on this project since 2009.  They scratch built nearly all the models on the layout including many impressive ships, cranes, and straddle carriers. Their layout is a very impressive display.  They take it to a couple shows a year in the Europe. Check out their website. It is written in Dutch but well worth a peek.