A journal following the history, design, construction and operation of Bernard Kempinski's O Scale model railroad depicting the U. S. Military Railroad (USMRR) Aquia-Falmouth line in 1863, and other model railroad projects.
©Bernard Kempinski All text and images, except as noted, on this blog are copyrighted by the author and may not be used without permission.
-----------------------------------------------------------------------------------------------------------------------------------------------------------------

December 16, 2019

Merry Christmas 2019


This animated battle map was very well done.
A plaque outside the visitor's center describes the opening
phases of the battle
The NPS spent over a million dollars restoring
 the exterior of the Worthington Farm House,
but the interior was not completely restored.
Location where confederate artillery began the battle
The past few months have been trying times for us. We managed to rebuild the damage after the flood and even had a chance to upgrade some parts the house. Then, after Thanksgiving, my mother got sick and spent 10 days in hospital and 6 days in rehab. She made a good recovery thanks to modern medicine and wonderful nurses and doctors.

Last weekend, we transported mom to Pennsylvania where she will spend Christmas with my brother.  On the way back home, we had just enough daylight to stop at the Monocacy battlefield. We had visited it about 15 years ago with Alicia's mom and dad on a genealogy trip with several members of the Worthington family.

The farm house in the lead photo is the Worthington House on the battlefield. Fighting swirled around the farm while a boy, one of Alicia's distant relatives, watched the battle from the basement. He later wrote the book, "The Battle that Saved Washington."

I would like to build a model of this farm for the expanded Aquia Line layout. Hopefully, I can begin work on that in 2020.

The NPS has built a new visitor's center on the north side of the battlefield. It has some nice displays, including one of the better animated battle maps I have seen.

Along with the family connection, the Battle of Monocacy holds a special place in my memory. The first miniature wargame I played was a scenario based on the Battle of Monocacy. It was at Larry Bond's house around 1988. It was this game the really ignited my interest in civil war history and gaming.


November 14, 2019

Not again!

Current state of our dining room


Last week we had an unfortunate plumbing incident that resulted in water damage to our master bathroom and dining room downstairs. A toilet leak developed while we were sleeping. Because the water was from a toilet, the flood repair folks treated it as biohazard, so all the wet stuff had to be removed.

The short version is that we have to get new floors in the master bath, and new sheet rock in the dining room. The demolition and repair work is underway. Since some of the upstairs carpet had to be removed, we took this opportunity to install hardwood floors on the whole upstairs level.

Events like this are very disruptive. We have spent a large portion of our time moving and covering furniture, organizing  clean up crews, finding contractors, selecting materials, purchasing supplies, waiting for insurance adjusters, etc. I had to cancel an op session last weekend because the house is in disarray as furniture is either moved or covered to prevent dust.

The basement has proven to be the one place where we can find relative peace and a sense of normalcy. A small amount of water reached the basement, but did not cause any damage as it went to the drain in the utility space without touching anything that could be damaged. The layout was not damaged at all.

I am using the "free time" I have in this period to work on the large side wheel steam ship kit. I have discussed this kit before. As I have stated before, the kit is spectacularly bad. It is so bad, that each time I start work on it, I get demotivated, and I look for something else to do.  The kit is oriented toward building a pond model so the level of detail and construction techniques tend more to robust toy versus fine scale model. The instructions in particular are very poor, despite being voluminous. So I am discarding most of the kit and making my own parts to better match photos of paddle wheelers that were at Aquia Landing or in use in the ACW.  It remains to be seen how it all comes out.

I also built some new paint racks for my model work bench to try to get a handle on the myriad bottles of paint, washes and weathering powders I have accumulated.


Hopefully by next week, the house will be put back in normal operation and I can prepare for visitors for North East Interchange.


November 5, 2019

Building a model display case

I am gradually getting things knocked off my do list. Today I finished a small display cabinet to store and display the military miniatures I have been building over the past year.

I decided that the models deserved better treatment than to be stuffed in storage boxes in a closet. So I made a cherry wood display cabinet with acrylic shelves. I installed a battery powered LED light in the top. The LED lighting can display different colors to reflect the mood. The models are on display near my work shop and gaming room.

I added a seventh shelf since taking these pictures.


I used the display case as a sample project to learn Fusion 360. I recently downloaded the program and started to take some tutorials on it.  I drew the display cabinet as an exercise. This is in preparation for learning how to do 3D printing. That is another item on my do list.


Next, I want to build a larger display case that will organize and display my 1/43rd scale Porsche race car collection. The theme will be "The History of Porsche Racing."  I hope to use some of the lessons I learned from the first display cabinet to improve this larger one.

The frame glue-up

Mood lighting


Once the Porsche racing cabinet is done, I'll be able to start work on the shelving in my office including space for a small layout.

But before that happens, I have some op sessions on the Aquia Line to prepare for, and several projects for Alkem Scale Models.

Recycling The Cambrai Diorama


Night shot on the diorama 


A few weeks ago, Jonathan Goldman, the new curator of the B&O Museum, called me to say that their "First to Fight" WWI exhibit was being redone. They wanted to return the WWI diorama to me. I did not expect to get it back and I don't have any place to store it at my house. So I told them I would stop by the museum and take the diorama apart. I would keep the models, but discard the frame. Here is a brief video showing scenes from the diorama.


Museum crew lift the vitrine off the layout
That is what Alicia and I did last weekend. After golf lessons in Columbia, MD we stopped by the museum. The crew there helped remove the vitrine, which was very heavy. Then I stripped the figures, tanks, structures, railcars and some of the details. The rest of the diorama went in the trash.

L to R Amanda (museum designer), Alicia, and Ana (museum archivist) 
As I examined the models, I was reminded about how nice the W^D  Models WWI figures are. They are some of the nicest sculpted small scale figures I have seen. W^D also makes some great detail stuff for WWI era military modeling.

I don't have any immediate plans for the residual pieces from the WWI diorama. Last year Bachman UK announced the release of a 2-6-2T Baldwin steam engine in OO scale. That would be the correct engine for this era and locale. Perhaps I'll build  a new version of the diorama that is more portable and operates using that Bachman engine for motive power.

However, Bachman USA also announced the 2-6-2T in On30. I happen to have a bunch of On30 stuff that could be used in a WWI themed layout including  brass kit ion a Dick-Kerr gas electric and some military figures. So maybe an On30 layout will be the next WWI project.

Meanwhile, I am working on existing do-list. I have lots of stuff to get done before tackling a new layout.

October 28, 2019

Virtual Railroading - The USMRR City Point Depot


Chris Gerlach, Tim Muir, Steve Thompson, and help from several others are working on a most remarkable project. They are trying to create a virtual model of the USMRR supply depot at City Point, VA during the Civil War. They have been at this project for several years and their effort has resulted in a spectacular virtual railroad. It continues to improve as they add detail and more realistic features, such as moving steamships. 

The images are some screenshots from the virtual project that Chris has posted to the ACWRRHS at groups.io. Members of the groups.io  can see more images, but I believe you have to be a member that specific group. The fee is quite modest and it covers the cost that groups.io charges.

Here is how Chris describes the project, 


"City Point Army Line USMRR 1864-65
We have started a project to reconstruct the USMRR based at City Point Virginia in support of the final campaign of the Civil War, focused on the Siege of Petersburg. The Union Army restored an older rail line to supply the front lines and constructed over 280 new supply, housing and service structures including a large engine house, car repair shop, other shops and huge warehouses along the shore that supplied freight to the railroad. We also plan to detail out the battlefield, and the James River and all of the shipping and other items but have started with the rolling stock of the Railroad, being constructed by our Trainmaster Tim Muir, and the Route itself, land and scenery, structures and details by our Roadmaster Steve Thompson. This is all being done in digital format and will operate using a railroad simulation program called Microsoft Train Sim but updated in to a new upgraded forma called Open Rails. I am the Project Lead and am leading the part of our team making the structures and models of ships, equipment, figures and clutter. We plan for a development of two to three years. We have been fortunate to have been able to obtain high rez scans of relevant military maps, thanks to Mike Weigal, and various archives and also to obtain many very good high rez glass negative photos from both the US Military Archives and other..."

Chris Gerlach writes, "The fine model of the Mason Locomotive the USMRR Gen. J.C.Robinson which was built as the General Haupt and re named. This model took over a year of research and work to finish, and features a complete build of all operating parts, in historically accurate textures and paint schemes as best can be determined from the advice and references available and from Tim's own deep research and 20 years of modelling in great detail of many rail locomotives, and traction engines John Ott very kindly provided the template for the unique lettering on the tender, for which Tim and we all were very grateful."

October 27, 2019

An In-door/Out-Door Layout

The large size of G gauge cars and structures makes prototype layout planning difficult but not impossible 
I visited Fred and Helen Hutchison today to see Fred's work in progress on his new 1:22.5 scale model railroad.  I also got to meet their new grand daughter! He and his wife live in the Maryland suburbs northwest of Washington, DC. Fred is a fraternity brother from Kappa Sigma at MIT. Fred was class of 75, three years ahead of me at the 'tute. It turns out that there were several model railroaders  and one serious railfan in my fraternity. Along with Fred, Andy Zalewski, and Steve Semken are model railroaders. Steve was a member of the Tech Model railroad club while he was at school.  None of the rest of us were members of the club, as far as I knew. Steve claims he tried to recruit me to the club, but I wasn't interested at the time. The serious railfan was Larry Gross. He ended up making the railroad business his career. He was heavily involved in the development of the Roadrailer concept. Larry also has several by-lines in Trains magazine.

But back to Fred's layout. He is planning a G gauge (1:22.5) layout in his garage. His objective is to have an operating layout that also allows him to do build and showcase some fine scale modeling.  His concept is quite clever. He plans to use about one third of his two-car garage to create a switching layout based on the town of Black Hawk, CO on the Colorado and Southern narrow gauge railroad. His plan is not quite finished, but it is prototype based and depicts most to the railroad items of interest in the town including the station, turntable, beer distributors, ore mill, and two run-around tracks.

To fit this along one side of his garage and make it operational, he plans to add a temporary staging track at one end. That track will extend out of the garage. He will only set it up when he is operating. Thus, his layout has elements of both an indoor and outdoor layout.

The benchwork is about 21 feet long and 5 feet wide. He plans to  build large, rolling storage bins under the layout to keep various household items. To provide access to the rear of the layout, he plans to mount all of the baseboards on a rollers. When needed, he would be able to pull the layout benchwork away from the wall to access the rear without disturbing the 2x4 supporting framework.

Some of Fred's C&S Station decor
He has decorated the walls of the garage to look like the exterior of a Colorado and Southern Railroad Depot. He made a replica station sign and has several cool posters on the wall to set the era and mood.

Fred has some impressive motive power. It will be fun to watch the large scale rolling stock in action at nearly eye level.  The higher layout height will also allow one to see all the impressive detail that one can model in large scale.  This is going to be neat layout.
Fred posing by the framework that will support the baseboards.

October 17, 2019

New Work Benches


Wood working shop in the garage is nearly done

The last phase of the flood recovery was to rebuild and reorganize my model building workbench.  I now finished that project and I am very pleased with it.

I had earlier posted pictures of how I reconfigured my wood working shop upstairs in the garage.  Since that post, the final set of Festool Sys-Az drawers for the miter station arrived and I was able to install them. Yes, Marty, there is more for tool growth. These Festools have a way to multiply.

By re-organizing my wood shop I was able to move some tools from the basement to the garage. In particular, the spin caster, vulcanizer, and metal melting pot are now in the garage.  That freed up some space in the basement shop.  I am not completely done with my wood shop as I plan to add a better router table and dedicated table for the spin caster.


Terry working in the old model building shop.
The model building work bench is located in the narrow space near Clozet Tunnel and Aquia Landing on the layout. This photo of Terry Terrance working on a locomotive shows how cramped the space was.  It was tough for layout operators to work there too.

The revised model workbench plan  had two objectives. Make the aisle space wider, and rationalize my storage to better utilize the space I had.

I started by getting rid of the existing workbench, which was a hollow core door on two metal filing cabinets.  The filing cabinets were not good for model building supplies as they had a few, deep drawers.  While I was getting rid of stuff, I took down the wire shelves above the workbench that held numerous boxes of supplies. I did not replace these. I felt they added to the visual clutter of the space. I sorted through the supplies ruthlessly and got rid of stuff I really didn't need. The rest of the supplies were placed in plastic tubs and stored elsewhere or got consolidated into the new work bench.

Alicia asks, "Can you keep it this neat?" Probably not. 
The new workbench is a wooden pine table top that is made with edge joined pine boards. I added an oak 1x2 face frame. The harder oak will help protect the edge of the pine from dings and dents.  I used my router to counter sink a 12x24 inch porcelain tile into the pine top. This is the primary gluing and painting surface. When glue or paint drops fall on it, the surface can be easily cleaned with a razor blade. This is working wonderfully. If the tile cracks or gets too scratched, I can easily lift it out and replace it.

Speaking of tiles, the new tile floor is proving very durable and stain resistant. I think it was a good choice for this basement.

The work bench top rests on two Ikea ALEX style drawers on casters. These 12 drawers are wide, deep and not too tall. They are perfect for sheets of styrene and for access to tools.  I was able to store most of my model building tools and lots of supplies with room to spare.

I previously used the peg board behind the workbench to hold detail parts. I decided that was not a good use of the pegboard. So I sorted the detail parts into plastic tubs. Then I added tools that I frequently use to the hooks. This is very handy.

The LED bar light on the wall creates some back light on the workbench. So I added an inexpensive desk light with a 1600 lumen 5000 degree K light. That provides plenty of direct task light. Note that I have converted all the lights in the basement to 5000K except for some lights in the area near Brooke and and Stonemans in the front room.

The lathe station
Next to the new workbench, I built a small rolling platform with plywood and locking casters. On this platform, I placed a metal tool cabinet made by Craftsman, that was a gift from my wife a few years back. My Sherline lathe sits on top of this tool chest. The drawers below it have all the necessary tools for working on the lathe.

The bottom drawer of this tool chest houses my airbrushes and supplies.  The spray booth is under the bench work on the opposite side of the lathe, so I can access it if needed while spraying.

Spray booth tucked under the wye at Aquia Landing
The Itawa air compressor is under the spray booth. It is a Iwata-Medea Studio Series Smart Jet Pro. It is quiet and perfect for airbrushing models. I have my airbrushes on hoses with quick release fittings. That way it is easy to change airbrushes. I tend to use the Grex Tritium with a 0.7mm nozzle for big models and the Iwata Eclipse HS for smaller stuff. I also have an Iwata Neo  that I use as an emergency backup. Yes, one time all my other airbrushes were out of service and awaiting spare parts. So I bought an Iwata Neo at the local craft store with a 50% oof coupon. It works pretty well for a $60 airbrush.

The spray booth is a Pace  Industries Peacekeeper 24 inch. It vents to the outside through a fairly long 4 inch pipe. The Pace spray booth uses regular HVAC filters that are cheap and easy to replace.  I added a kitchen style turntable to the booth to spin models while  spray painting.  That works pretty well.

Finally, I added a small fan at the end of the space. Since this area is a dead end, ventilation can be poor. The fan helps disperse fumes where they can exit from the basement.

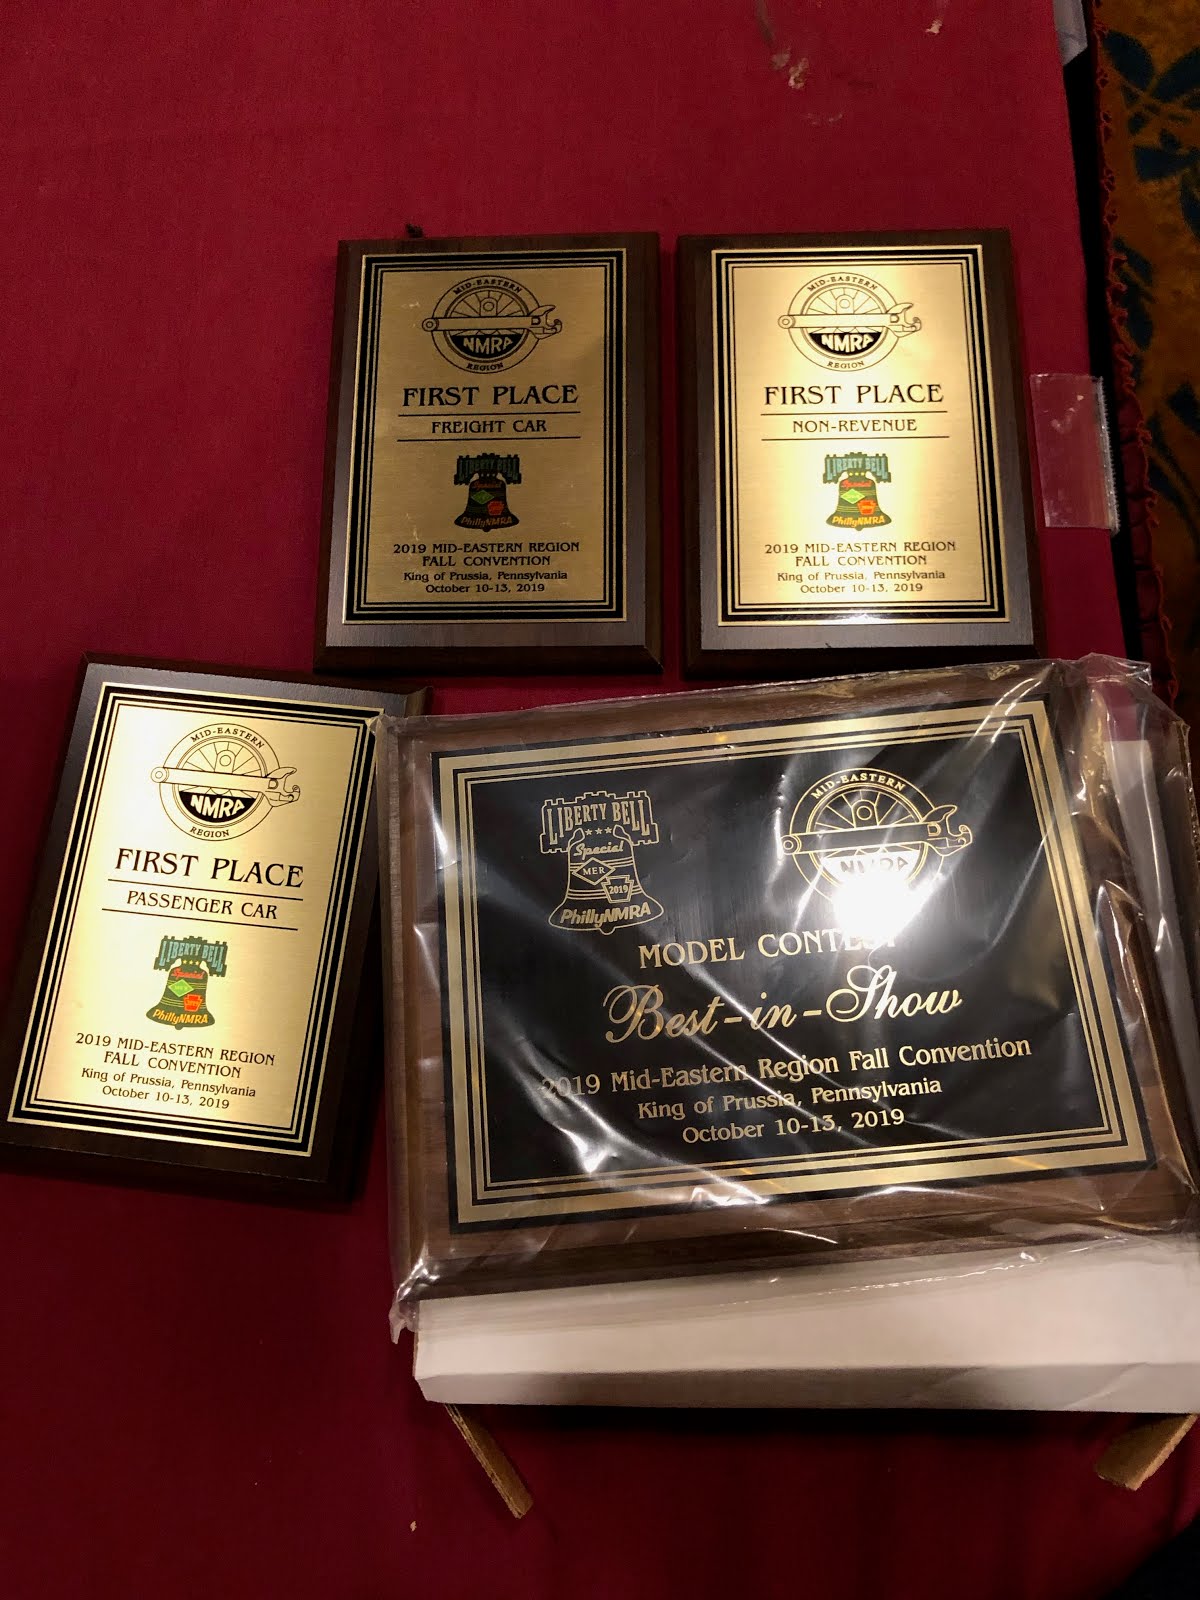
Future plans for the workbench area include two display cabinets on the walls to house my collection of Porsche car cars and military miniatures.  So now Chris, you may take your picture!


October 14, 2019

Liberty Bell Special 2019

This weekend I attended the Liberty Bell Special, the 2019 annual convention of the Mid-Atlantic Region of the NMRA. The convention was held in King of Prussia, PA, near Valley Forge. I drove up on Friday. After registering for the convention and submitting 4 models to be judged for NMRA Achievement Program purposes, I took a short ride to visit Valley Forge National Historic Park.

Replicas depict a few of the 1,000 log huts built at Valley Forge

This home served as General Washington's HQ during the encampment 

Valley Forge was the site of the 1777-78 winter encampment of the Continental Army. With 3,500-acres of monuments, meadows, and woodlands the park is much bigger and hilly than I expected. I had a chance to tour some of the replica huts that the soldiers spent the winter.  I also had a chance to visit the stone home that was Washington's headquarters for several months.

Back at the convention, I attended some clinics and visited some layouts.  I also presented a talk on the USMRR Aquia Line, which seemed to be well received.


The interior of Washington's HQ is set up as it might have looked in the
winter of 1777-1778
Ted McLean stands near Sand Patch on his layout
 Ted McLean's N scale layout was very impressive. He models the B&O and WM lines up the Sandpatch Grade in the early 1990s. The scenery, structures and overall look of the layout is spot on. It is beautiful layout.

My models did well in the contests. All four models received AP Merit Awards. The judges awarded me three first place plaques for  Passenger Car,  Freight Car and Non-Revenue Car. They picked my model of  the Lee-Brooke gun as the best in show. 

With this recent spate of travel over, I hope to finally get some work done on my layout.

The judges selected my models for these awards..


October 6, 2019

Great Lakes Getaway 2019

Downhill ore train on Doug Tagsold's Colorado and Southern Railroad


I just returned from a fantastic long weekend of operating railroads at Great Lakes Getaway 2019.  I left Alexandria on Tuesday and picked up Steve King in Fayetteville, PA on the way.  I got to see Steve's new double deck N scale layout. I also dropped off a coal dock model that I had built for Steve.  This model was one of the N scale Handley coal docks I offered for sale over 10 years ago. Steve bought one and asked me to build it for him several years ago. I finally had a chance to deliver it to him! Some things can't be rushed.

We arrived in Dundee, Michigan in time on Tuesday night to have dinner with several other model railroaders in town for the Great Lakes Getaway.

On Wednesday, a group of us operated on Doug Tagsold's new Colorado and Southern narrow gauge railroad. To model this narrow railroad in an economical way, Doug used HO equipment modified to 1/72nd scale. This created a narrow gauge railroad that runs great, looks great, has long runs and was relatively inexpensive to build as he was able to reuse much of his existing HO scale track and structures. The railroad uses Time Table and Train Order with waybills and switchlists. Because the trains are short, the switching is fun and manageable.  But, oh those long runs between towns. I can't recall another railroad that I have operated that has such long runs between towns. It adds so much realism to the TT&TO operations.

Several Alkem Scale Models kits on display at
Mike Burgett's layout
The next day we operated on Mike Burgett's C&O Alleghany and James River Subdivision railroads. Mike's double decked layout is in my opinion one of the top 3 model railroads in the United States. If you want to run on a railroad that is as close to prototype as it can be, then this is the railroad for you. In addition to the exquisite railroad, Mike also has a full CTC machine with authentic equipment in its own room upstairs. And the icing on the cake, is that in his detached garage is a fully functional replica of the N&W tower at Lynchberg. The tower is staffed by an operator during op sessions. That operator watches the layout through the windows of the tower video closed circuit TV.  The layout is a museum as well as a model railroad.

John demonstrates his automated staging yard
After Mike's sessions, we stopped by John DePauw's EJ&E double deck layout. We didn't operate it, but we did admire his dense, heavy industrial focused layout. I had a chance to operate that railroad many years ago. It was nice to see it and John again.


Bruce Carpenter's new layout 
On Friday, a van load of us rode to Wapakoneta, OH (home of astronaut Neil Armstrong) to operate on Bruce Carpenter's 2-year old Milwaukee Road layout. I had visited Bruce's first layout, the BNSF Chillicote Sub, about 12 years ago. After 25 years with that railroad, Bruce decided to build a whole new double deck railroad depicting the Milwaukee Road in Idaho and Montana. The railroad is signaled with APB, and uses TT&TO. The layout design focuses on long trains (30-35 cars) and slow operations. He is trying to replicate operations as close to the prototype as possible. For example, trains must simulate setting retainers at the top of a grade by taking one minute per car. So a 30 car train would take 15 real minutes with the 2-1 fast clock he uses. The mainline is long, about 700 feet. But most jobs run from staging to the crew change in the middle of the layout.  It's an interesting concept. It will be interesting to see if the simple, yet highly prototypical operations remain interesting to Bruce and his operators.

On Saturday we headed to Saline Michigan to operate on the Wabash Operations Road Show layout. From their website,
"The Operations Road Show is an ongoing project to build and operate a large portable HO scale layout to demonstrate and teach prototypical timetable and train order operation in a friendly, low-pressure environment. We have taken it to the NMRA National Conventions in Toronto in 2003, Cincinnati in 2005, Hartford in 2009, Grand Rapids in 2012, Cleveland in 2014, Indianapolis in 2016, Kansas City in 2019, and brought out guests to the layout from the Great Lakes Express convention in Detroit in 2007. The 2019 trip to the NMRA National Convention in Kansas City was the last road trip we have planned for the layout, though we continue to hold sessions at our home base, near Ann Arbor, Michigan."
Steve and I teamed up to run two trains. A quick Monon interchange job, and a long way freight. The railroad is TT&TO based, but also has a complex blocking system for freight switching. I suspect it would take several op sessions to really get the hang of it.

Later that afternoon, we went back to Doug's Colorado and Southern for another session. This time I ran an ore extra. After making a serious error in reading the timetable, I decided to play it safe. On my return trip to the mines, I occupied a short siding on the up hill climb as I had three trains meeting me. After one double saw-by, and two single saw by's I was on my way back to the mine. What a hoot!

After seeing three double deck railroads with clean, uncluttered presentations, I am thinking about ways I could add a partial double deck to my railroad. The long runs on Doug's layout really demonstrate how they enhance realism.  My layout design thinking cap is on.
I like the clean uncluttered look of Doug's double deck construction. Travers Stravac approves too.


On Doug's layout, operators sit on rolling chairs to work the lower level, which is very effective.
Mike's layout also has a neat, uncluttered professional look to its construction

September 26, 2019

The War Room

In August,  my niece, who acted as an interior decorator to help us with the basement renovations, coined the term, "war room" when discussing the front room of my layout that houses the Aquia Line from Brooke to Falmouth. I thought the name was cool. However, I decided that moniker applied better to the crew lounge when it is set up for war gaming.

Model railroad tables repurposed as a wargame table
This afternoon I set-up the first miniature war game in the new War Room.   The table is 5 by 7 feet overall. Ironically, the game table started as two 5 by 2.5 feet model railroad tables that I built for John Drye. He decided that he didn't have time to finish the project he intended for those tables. So, he traded those tables back to me for the benchwork of a  small layout I had built nearly 25 years ago.

I added a set of folding legs to the blank tables. These are lower in height than normal for a model railroad, but just fine for gaming.

Alicia helped cut pieces of felt for dirt roads. The main paved road
is pieces of masonite I cut on my track saw with sloped shoulders
Next, I made an additional 5 by 2 feet section that fits between the two 5 by 2.5 feet tables creating a 5x7 overall size. That section clamps to the other two tables. The whole arrangement is reasonably sturdy. It can be disassembled and stored when not in use.

The crew lounge is large enough to house the 5x7 table with plenty of room for the planned expansion of the Aquia Line.  Even Alicia likes it. She came down and helped me build the terrain board. It is very rare for her to come down to the basement. I think she is lobbying to keep the crew lounge /war room open.

War gaming scenery is a bit different than model railroad scenery. It has to be robust and reconfigurable. So it tends to be less detailed, and more stylized. But a lot of the same principles apply.

The figure below describes the scenario we will play. This is part of our commemoration of the 75th Anniversary of the liberation of Western Europe. Each month we have been playing a scenario that is appropriate for that month in 1944.
We have already done scenarios from D-Day, Fighting in the Bocage, and the Battle of Arracourt. This is from operation Market Garden, the Bridge too far campaign.


The first scenario we will play in the new "war Room" involves the Battle of Koevering,
on 23-25 September 1944. It was part of the Market Garden campaign.