A journal following the history, design, construction and operation of Bernard Kempinski's O Scale model railroad depicting the U. S. Military Railroad (USMRR) Aquia-Falmouth line in 1863, and other model railroad projects.
©Bernard Kempinski All text and images, except as noted, on this blog are copyrighted by the author and may not be used without permission.
-----------------------------------------------------------------------------------------------------------------------------------------------------------------
Showing posts with label Modules. Show all posts

August 26, 2018

O Scale National Finale


Judy and Tony Koester pose behind their new P48 layout while mom gets a ground level view.


My mom and I attended the O Scale National Convention on Saturday. We visited the dealer areas and saw some portable layouts, including Tony Koester's new P48 portable layout. Later in the afternoon I presented two talks to the attendees.

Can you image the layout needed to house this structure? Yes, O Scale is big.

Alicia and mom posing with their new toys from  the convention


On Sunday a few of the convention attendees visited my layout since they could not make the Thursday open house. On Sunday afternoon I went to Marty McGuirk's house to work on modules with him. We got his modules almost ready to lay track.
(L - R) Andy Brusgard (father), Andy Brusgard (grand father),
and Andrew Brusgard (age 6)
Robert Lavezzi tries his hand at link and pin couplers,
while his wife, Karen, looks on.
Peter Gentieu tries his hand at running an engine. Peter is a local guy a
and signed on to the call board as a future operator for the Aquia Line
George Wallace and his daughter Karen visit the layout.
George had previously visited in 2012


Working on Marty's module

August 23, 2018

O Scale National Convention

Kent Smiley runs a train while Steve Bird (I think - his handwriting was hard to read)
Marty holding forth on civil war naval guns


The O scale National Convention is underway this weekend in Rockville, MD. I hosted an open house for the attendees. About 30 of them arrived to see the layout. Kent Smiley, Marty McGuirk, Brad Trencamp, Doug Gurin, Jeff and Christian Peck helped run trains while I answered questions from the guests.

On Saturday I will be presenting two talks at the convention.

Yes, Marty has a padded room in his house.
Hmm, is this ruler straight?
One of my modules in the Honda CRV
On the module front, one of my modules made its first road trip to Marty's house so he can catch up on constructing his module. Next weekend we'll get the track down and then my two modules will return home so I can finish all the track.


August 1, 2018

Viaduct? Why not?

Chooch Stones for the viaduct walls
This project has been a real quacker. I finished adding the stone walls to the viaducts on my new modules.  I used Chooch flexible vinyl sheets for the stone walls, as they were just about perfect size for this project. The cap stones are carved basswood. It took several iterations of materials to get the right height of the road bed. One of the problems with using pink foam is that the thickness is not uniform over the whole sheet. So you have to take measures to level it out.

I painted the stone with black acrylic primer. I did some quick dry brushing with gray, but they will require a little more painting to get the colors right.

This is what the stone viaduct looks like now. 

This is starting to look like something other than a wooden table

May 21, 2018

Module Frames Done

The module frames are done. John Drye helped me move them to the basement where I will continue to work on them. The garage is back to being a car storage room. It's a tight squeeze, but they do fit in my basement.

John posed by the modules at the lower height. We then changed the the module height to 50 inches.  The higher elevation allows me to push my portable Craftsman cart under the modules.

Note that the plywood surface is the street level. The tracks will be on an elevated stone viaduct abut 3.75 inches above the plywood surface.

Then I cut some foam core to mock up the main structure on the right side module, which will be a brick warehouse. The  warehouse  will be 24 inches along the track, while the back side angles for about 34 inches. I will have to truncate it to fit on the module.


Four Men and a Trebuchet

This was a crazy busy weekend. My wife has commented that since I retired I am actually getting less sleep than when I was working. I think she is right.

Now that's a wood shop - Colonial Hardwoods, Springfield VA.
The weekend actually started on Wednesday when I bought a car load of plywood at Colonial Hardwood, in Springfield, Va. This is a specialty lumber yard with a complete wood shop. I bought a total of 8 sheets of 5x5 Baltic Birch plywood. They ripped the 3/4 inch thick sheets into over 100 pieces  of 1.5 inch and 3 inch wide by 60 inch long strips, and the ¼ inch into 8 plywood tops.

About $450 of ripped Baltic Birch
These would be used to build modules for Marty McGuirk, John Drye and myself. The excess wood would be used in constructing Marty's home layout. Marty's module is a interim project.  He will be building a module to go along with the two that I am building for my book. John Drye is also building some modules, but these are a stand alone project that he wants to do. All these modules will be in HO scale and share a PRR theme, though JD's are not in the same locale as the other three.

Felix cutting plywood on 10-ft panel saw
Since the lumber yard used a panel saw to cut the strips, I did some checking at home to make sure all long edges of the strips were parallel. As the cutting progresses, the panel stock got smaller, so the chance for the panel tilting out of square was greater. Turns out that only 5 of the strips were off from about a 1/8 to ¼ inch. I trimmed these using my  track saw.

Michael Spoor (with his Army haircut) helps build the first
module
Friday evening Michael Spoor visited and he helped me build the first module base. It was 30 by 60 inches.
Andy uses a drill for his Trebuchet

Then, a diversion on Saturday. I spent most of the afternoon and evening helping a high school student build a trebuchet model for a science class. He did much of the work under my guidance. He did not have much experience with tools, so it was a good learning experience for him. And yes, we did get it to work, though it might not set any records.

I also cut some parts on the laser for a custom structure.

Mass Production - I cut the strips to length and Marty drilled the pocket holes. You can see some
completed frames to the left bottom of the image.
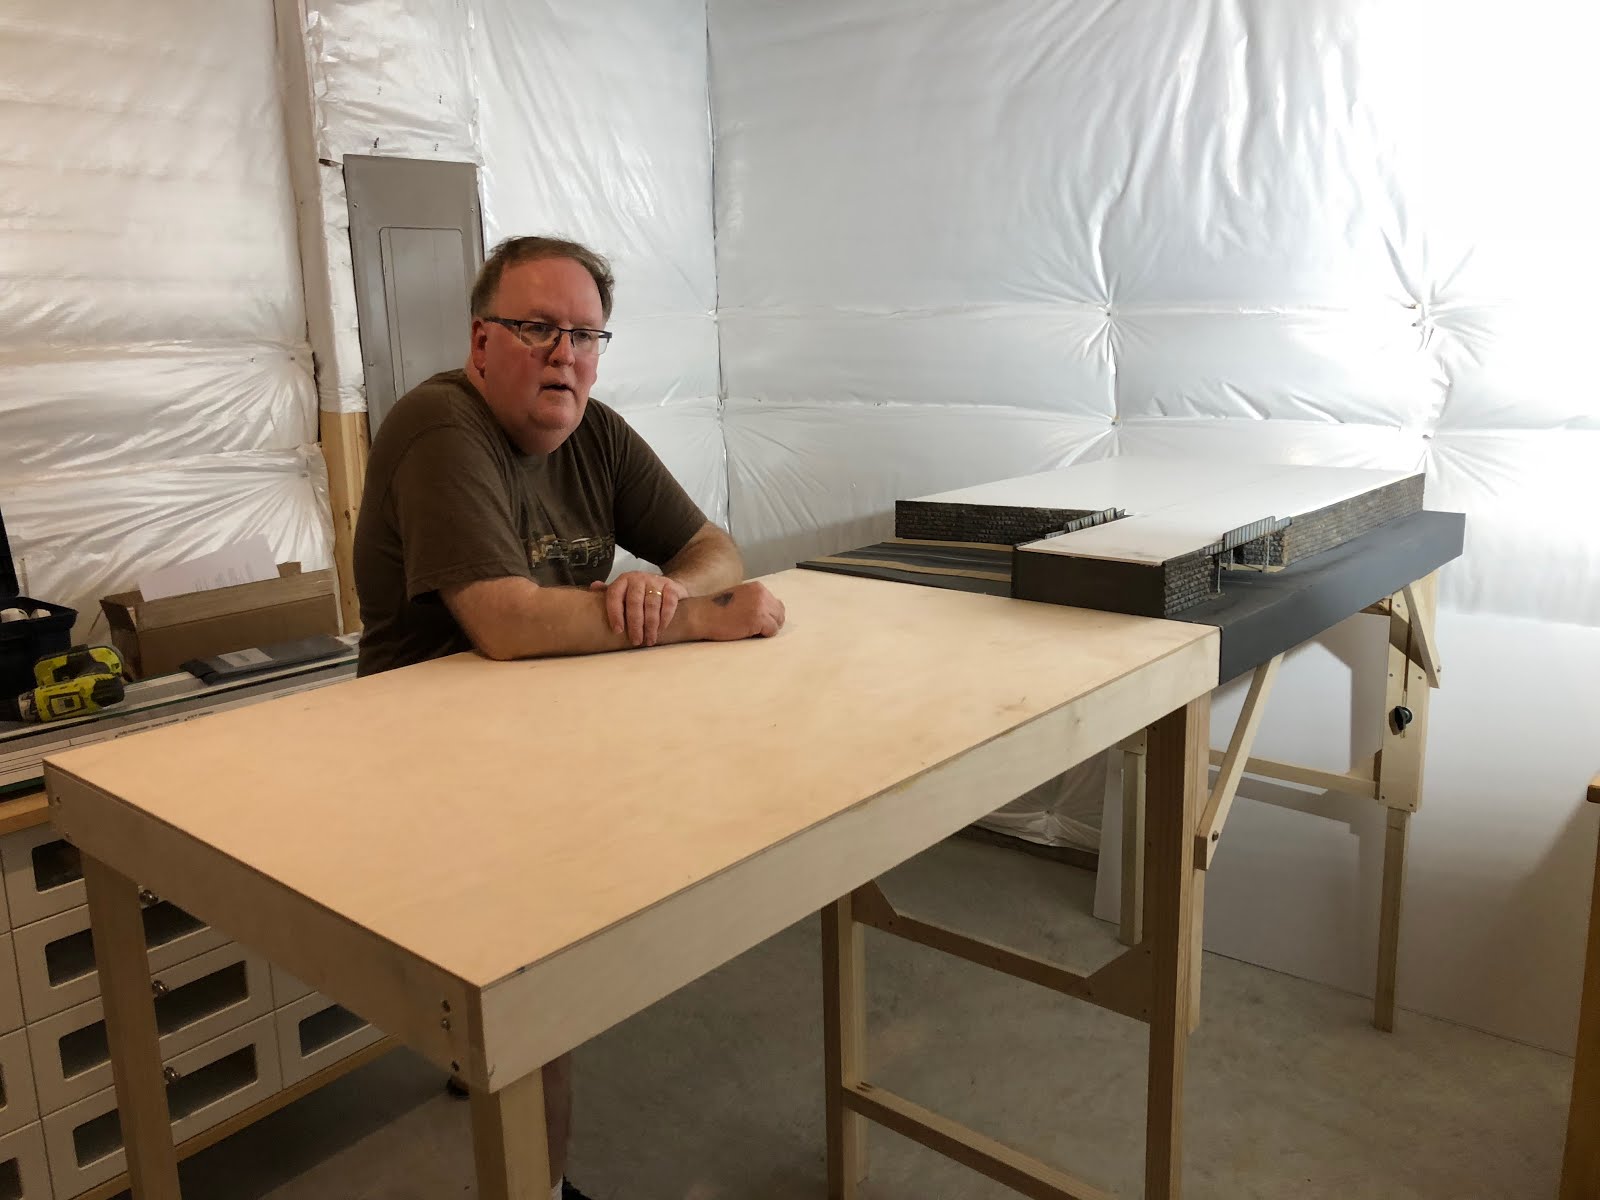
On Sunday Marty and JD arrived and we had a extended work session. We built 4 more bases and added legs to the first. We couldn't do all the legs as we didn't have the necessary hardware. We assembled the frames with different techniques. The first was to build a square frame with cross members and then attach the top. The second method was to build the frame directly to the plywood top once we insured that the top was square and the proper length. The latter was a bit easier to do.  I'll be covering the building techniques in my next book.

On Sunday evening my mom made for us dinner including a delicious blueberry pie.


October 9, 2016

Speed Module Challenge - Complete


I wrapped up work on the TTRAK module challenge. Here is a photo on the front yard in direct sunlight. This video shows a time lapse of the construction. Enjoy.

Some thoughts on the experience. The last two N Scale projects I built (the Pioneer Mills Diorama and this module) were fun, but they did not make me want to change my ACW layout from O to N scale. I believed and still believe that O is the best scale for ACW if one has the space.

My N scale eye balls were not calibrated properly for this project. I should have made the fence with thinner wood stock.

I was very pleased with how the dirt, paint and weeds made the Unitrak look like weathered civil war track.

The 1 foot square TTRAK format is really tiny. Even in N Scale it was impossible to fit in all the planned elements. For example, the planned shed and some of the trees just didn't fit.

Overall it was a fun diversion. It will be fun to see trains run on it next week. If you will be at the ACWRRHS meet in Memphis next week you will probably see it in operation.


October 8, 2016

Speed Module Challenge - Day 3

The base ground cover dried overnight. So I added the first coat of scenery using various ground foams, dried leaves, static grass and other scenery materials I have on hand. I then used a photo flood light to help dry the dilute white glue that I used to secure the scenery to the base coat.

While the glue was drying, I worked on the station building. It's a simple model I made with laser cut 0.032 inch plywood, Grandt Line windows and paper shingles. The columns are tooth picks.
I painted the walls a Vallejo Cavalry Brown, a reddish brown color, as that is what the B&W photo suggested to me.

Weathered Kato Unitrak looked surprisingly good.
Once the base scenery was dry, I removed the protective masking tape from the track. Then I airbrushed the plastic Unitrak roadbed, ties and rail in various shades of Vallejo Rust and Mud Brown. Using fine sand I added more ballast to the Kato Unitrack hide the ties to make the track look a bit more weathered and worn.  I was pleasantly surprised at how that worked out.  I added small tufts of Silfor grass  in between the ties to make the track look even more weathered.

I made a simple worm fence with small pieces of basswood. I pre-stained the parts before gluing to the scenery. Then I added some of the trees I made two nights ago. I didn't use all the trees I made as there isn't enough room on the small module. It's looking a little crowded already. Lets call it selective compression.

Bachmann 4-4-0 as a destroyed loco- should I use it?
Next tasks are the back drop, the destroyed rail cars, a landing platform, and some figures. I have an old Bachmann 4-4-0 that I could use as a destroyed loco (see photo at left). But I never really liked the look of that model, so I'll probably not use it.


Speed Module Challenge - Day 2

base coat of ground cover
After dinner tonight I shaped the foam terrain and added the base coat of ground scenery to Appomattox Station. For the base coat I used a mix of Durhams Water Putty, sifted dirt and red-brown acrylic paint.

While that was setting, I drew up the laser file for the structure shown in the picture. I am not sure if it is the station or just a home. (This link has a good description of the battle and t he location of things)I had a very similar N Scale model I built several years ago, so the file was easy to draw. I modified the windows to use N scale Grandt Line castings, of which I have a good supply.

I will have more time tomorrow to start the scenery and details.
laser cutting the house
Testing the placement of the house


October 6, 2016

Speed Module Challenge - Appomattox Station

Last weekend Joel Salmons mentioned to me that he had an extra TTRAK module that was unfinished. He asked if I would be interested in finishing it.  First a little background, the ACWRRHS started a TTRAK project a few years ago at one of the annual meets. Since then several members have built TTRAK modules with ACW themes.   I agreed to take on the project to join in the fun. The only drawback was, it had to be ready by next Tuesday as Joel departs for Memphis via automobile on Wednesday. I will fly out on Thursday. Can I do it?


Before Joel delivered the module, I thought about what I could do.   A standard TTRAK module is only about 1 foot square. Not a lot of room, even for N scale.  I looked at what N Scale ACW stuff I had on had. It wasn't much. I have lots of N scale locos, cars etc, but almost all oriented on 20th century.  So I decided to keep it simple- a scene in the woods with a dirt road, worm fence, trees and perhaps some wagons and cannons marching past since I had those miniatures on hand. Perhaps a farm house on the backdrop.


As I thought about it, I remembered the famous photo of Appomattox Station after the battle (see lead photo above). It had most of the elements I was looking for, and it would make a nice "book end" for the ACW RR story as it depicts the last strategic use of rail by CSA forces (see plaque below), which ended with a burned train. That would be simple to model. The sketch below is the final design.

Nothing like a good cavalry charge to get you fired up.
This scene will not be included in the module.
Tonight Joel delivered the unfinished module.  I started work. The ACW modules use one track, while standard TTRAK uses two tracks. Since this prototype photo shows a main line and a siding on the Southside RR, I decided to use both TTRAK tracks. I glued the tracks to the wood with acrylic caulk.

A challenge will be to make the perfect Kato Unitrack that the TTRAk standard calls for look more like poorly maintained CSA track at the end of the war.

Next I cut out a piece of ground foam and caulked it to the plywood frame to create the basic terrain. Once the caulk is cured, I will do the initial terrain carving.

While the caulk was setting, I made about 10 N scale sized Super trees.  That's it for the first night. Early golf tee time tomorrow.

Planning the scene
Stay tuned to see if I can make the deadline.


Miniatures I have on hand
some N Scale "Supertrees"