A journal following the history, design, construction and operation of Bernard Kempinski's O Scale model railroad depicting the U. S. Military Railroad (USMRR) Aquia-Falmouth line in 1863, and other model projects.
©Bernard Kempinski All text and images, except as noted, on this blog are copyrighted by the author and may not be used without permission.
-----------------------------------------------------------------------------------------------------------------------------------------------------------------
Showing posts with label Work sessions. Show all posts

February 15, 2026

Work Session on the Rio Grande

 I went to a work session on Charlie Bassing’s HO scale Rio Grande layout yesterday. Mark, Steve and Nick joined us. My job was to install tunnel portals at Tennessee Pass. I prefabricated and painted the tunnels at my house. I used laser cut kits from Alkem Scale Models. I painted them with acrylics and chalk. 


The portals needed a slight trimming as the benchwork is very narrow on this part of Charlie’s layout. I was able to cut off the extra width using a motor tool with a cut off wheel.

I was able to get the south portal installed with the surrounding terrain. I started work on the north portal, but Charlie needs to make some changes to the sky board before I can finish. 

Meanwhile, the other guys installed more rock castings and added basic scenery to some of the terrain.


At the end of the session, we discussed how to finish the big trestle on the end of the peninsula just as you walk in the room. I volunteered to build the micro engineering trestles for the project. The bridge will be about 18 inches tall and it’s highest at about 36 inches wide. 


December 15, 2025

Work Session on the DRGW

About one quarter of the overall layout

 I went to Charles Bassing’s DRGW layout today to participate in a work session. I had not been to his layout before. I only knew about it from Mark Gionet. Well, turns out I was really in the dark as this is probably the largest layout in Northern Virginia. Charles has been working on it since 2008. It’s pretty far along with benchwork and track. Now a crew of folks are helping build scenery. The railroad covers the Tennessee Pass and Royal Gorge regions from Pueblo, CO to Minturn, CO in the 1930-40s including standard and a fair amount of narrow gauge. This is an area that I am somewhat familiar with as I modeled Tennessee Pass in N scale about 20 years ago.

I was assigned rock carving jobs. First I helped add rock castings to some of the many vertical cliffs. They were using sculptamold as a means to “glue” the castings to the cliffs and to carve the areas between castings. Believe it not, this  was the first time I tried sculptamold. I found the my regular carving techniques didn’t work as usual when I use Water Putty. But, we made it work. 

After lunch, Charlie asked me to finish the rocks around a tunnel portal. For that I used lightweight hydrocal. My usual carving techniques worked here and it came out nice. After that I went back to sculptamold on the cliffs.


Meanwhile, Nick Kalis was painting structure mockups, Steve, Mark and Charles worked on staining and painting the huge cliffs. By the end of the day, the cliffs looked great.

.


Mark making some last minute corrections to rock castings


Mark begins staining rocks


Steve, Mark, Charles and Nick painting rocks

.


Pueblo yard

Looking good. 

..
Great rockwork


December 15, 2021

Hell Frozen Over?

Doug placing some track on his new bench work

Last weekend I helped Doug Gurin start building the benchwork for his long planned layout.  As many folks know, he has been planning his layout for years. He wrote an article in the first issue of Model Railroad Planning that describes his basic concept . That was 1996. The layout has evolved into a single deck design with staging in one room and the main switching areas in the other larger room. But the basic idea remains. 

Original Plan from 1996. Since modified.

After the first day

We had a good time building open grid benchwork in his basement. It is an older house with decidedly unsquare and non-plumb walls. But in about 8 hours we got the benchwork for his staging area done. Hopefully, we can continue to build the rest of the benchwork in early 2022.  

Doug is looking for help with his wiring switch motors as he plans to use Tortoises for most of them. If you want to help, please let me know and I can pass it on.


Meanwhile, on the Aquia Line I installed most of the fascia for the extension. I wondered if this was a good time as I still need to hand lay some track going into the tunnel. But I decided to make the cuts of the long pieces while I had the tools out.  Plus, an installed fascia helps make an unfinished layout look a lot better.


The fascia is thin to avoid encroaching on  the TV and book shelves. 


 I still need to add the hand laid track for the bridge and tunnel scene


November 6, 2021

The Week of Carpentry


The completed loop of track

Fred posing with his 4-ft loop of roadbed
Fred Hutchinson was back at my shop to make road bed sections for G scale layouts for under a Christmas Tree. The road bed is an oval with 4 quadrants. The quadrants were precision machined using a CNC router. G scale track fits perfectly in the slot on the top. 

Disassembled kit ready for storage
My job was to drill domino holes in the ends so the  4 quadrants could be assembled into a loop. Fred is using Festool knock down connectors so that the loop can be disassembled after Christmas and stored with the rest of your decorations. Fred will be offering these for sale if you want one. Contact him for more info at fred@fhhutchison.com.

I don’t have any G scale equipment but I know a little granddaughter who might like to have G scale trains going around her Christmas tree.

Later that week I worked on a fixture for my miter saw that would allow me to safely cut small parts. I did some research and used a design based on this 
video, but made a few modifications to better fit my saw. The clamps holds the small pieces safely.  I included a moveable stop for repeat cuts.  I laser engraved a scale on both sides. 
It seems to work great and cuts nice and square. My saw has a depth limiter to prevent my cutting all the way through the fixture.


I plan to add a angle adapter to the right side to allow cutting oddball angles, especially bench work pieces on sharp angles. That is why I added the second track on the base.


October 17, 2019

New Work Benches


Wood working shop in the garage is nearly done

The last phase of the flood recovery was to rebuild and reorganize my model building workbench.  I now finished that project and I am very pleased with it.

I had earlier posted pictures of how I reconfigured my wood working shop upstairs in the garage.  Since that post, the final set of Festool Sys-Az drawers for the miter station arrived and I was able to install them. Yes, Marty, there is more for tool growth. These Festools have a way to multiply.

By re-organizing my wood shop I was able to move some tools from the basement to the garage. In particular, the spin caster, vulcanizer, and metal melting pot are now in the garage.  That freed up some space in the basement shop.  I am not completely done with my wood shop as I plan to add a better router table and dedicated table for the spin caster.


Terry working in the old model building shop.
The model building work bench is located in the narrow space near Clozet Tunnel and Aquia Landing on the layout. This photo of Terry Terrance working on a locomotive shows how cramped the space was.  It was tough for layout operators to work there too.

The revised model workbench plan  had two objectives. Make the aisle space wider, and rationalize my storage to better utilize the space I had.

I started by getting rid of the existing workbench, which was a hollow core door on two metal filing cabinets.  The filing cabinets were not good for model building supplies as they had a few, deep drawers.  While I was getting rid of stuff, I took down the wire shelves above the workbench that held numerous boxes of supplies. I did not replace these. I felt they added to the visual clutter of the space. I sorted through the supplies ruthlessly and got rid of stuff I really didn't need. The rest of the supplies were placed in plastic tubs and stored elsewhere or got consolidated into the new work bench.

Alicia asks, "Can you keep it this neat?" Probably not. 
The new workbench is a wooden pine table top that is made with edge joined pine boards. I added an oak 1x2 face frame. The harder oak will help protect the edge of the pine from dings and dents.  I used my router to counter sink a 12x24 inch porcelain tile into the pine top. This is the primary gluing and painting surface. When glue or paint drops fall on it, the surface can be easily cleaned with a razor blade. This is working wonderfully. If the tile cracks or gets too scratched, I can easily lift it out and replace it.

Speaking of tiles, the new tile floor is proving very durable and stain resistant. I think it was a good choice for this basement.

The work bench top rests on two Ikea ALEX style drawers on casters. These 12 drawers are wide, deep and not too tall. They are perfect for sheets of styrene and for access to tools.  I was able to store most of my model building tools and lots of supplies with room to spare.

I previously used the peg board behind the workbench to hold detail parts. I decided that was not a good use of the pegboard. So I sorted the detail parts into plastic tubs. Then I added tools that I frequently use to the hooks. This is very handy.

The LED bar light on the wall creates some back light on the workbench. So I added an inexpensive desk light with a 1600 lumen 5000 degree K light. That provides plenty of direct task light. Note that I have converted all the lights in the basement to 5000K except for some lights in the area near Brooke and and Stonemans in the front room.

The lathe station
Next to the new workbench, I built a small rolling platform with plywood and locking casters. On this platform, I placed a metal tool cabinet made by Craftsman, that was a gift from my wife a few years back. My Sherline lathe sits on top of this tool chest. The drawers below it have all the necessary tools for working on the lathe.

The bottom drawer of this tool chest houses my airbrushes and supplies.  The spray booth is under the bench work on the opposite side of the lathe, so I can access it if needed while spraying.

Spray booth tucked under the wye at Aquia Landing
The Itawa air compressor is under the spray booth. It is a Iwata-Medea Studio Series Smart Jet Pro. It is quiet and perfect for airbrushing models. I have my airbrushes on hoses with quick release fittings. That way it is easy to change airbrushes. I tend to use the Grex Tritium with a 0.7mm nozzle for big models and the Iwata Eclipse HS for smaller stuff. I also have an Iwata Neo  that I use as an emergency backup. Yes, one time all my other airbrushes were out of service and awaiting spare parts. So I bought an Iwata Neo at the local craft store with a 50% oof coupon. It works pretty well for a $60 airbrush.

The spray booth is a Pace  Industries Peacekeeper 24 inch. It vents to the outside through a fairly long 4 inch pipe. The Pace spray booth uses regular HVAC filters that are cheap and easy to replace.  I added a kitchen style turntable to the booth to spin models while  spray painting.  That works pretty well.

Finally, I added a small fan at the end of the space. Since this area is a dead end, ventilation can be poor. The fan helps disperse fumes where they can exit from the basement.

Future plans for the workbench area include two display cabinets on the walls to house my collection of Porsche car cars and military miniatures.  So now Chris, you may take your picture!


August 25, 2019

Work sessions galore

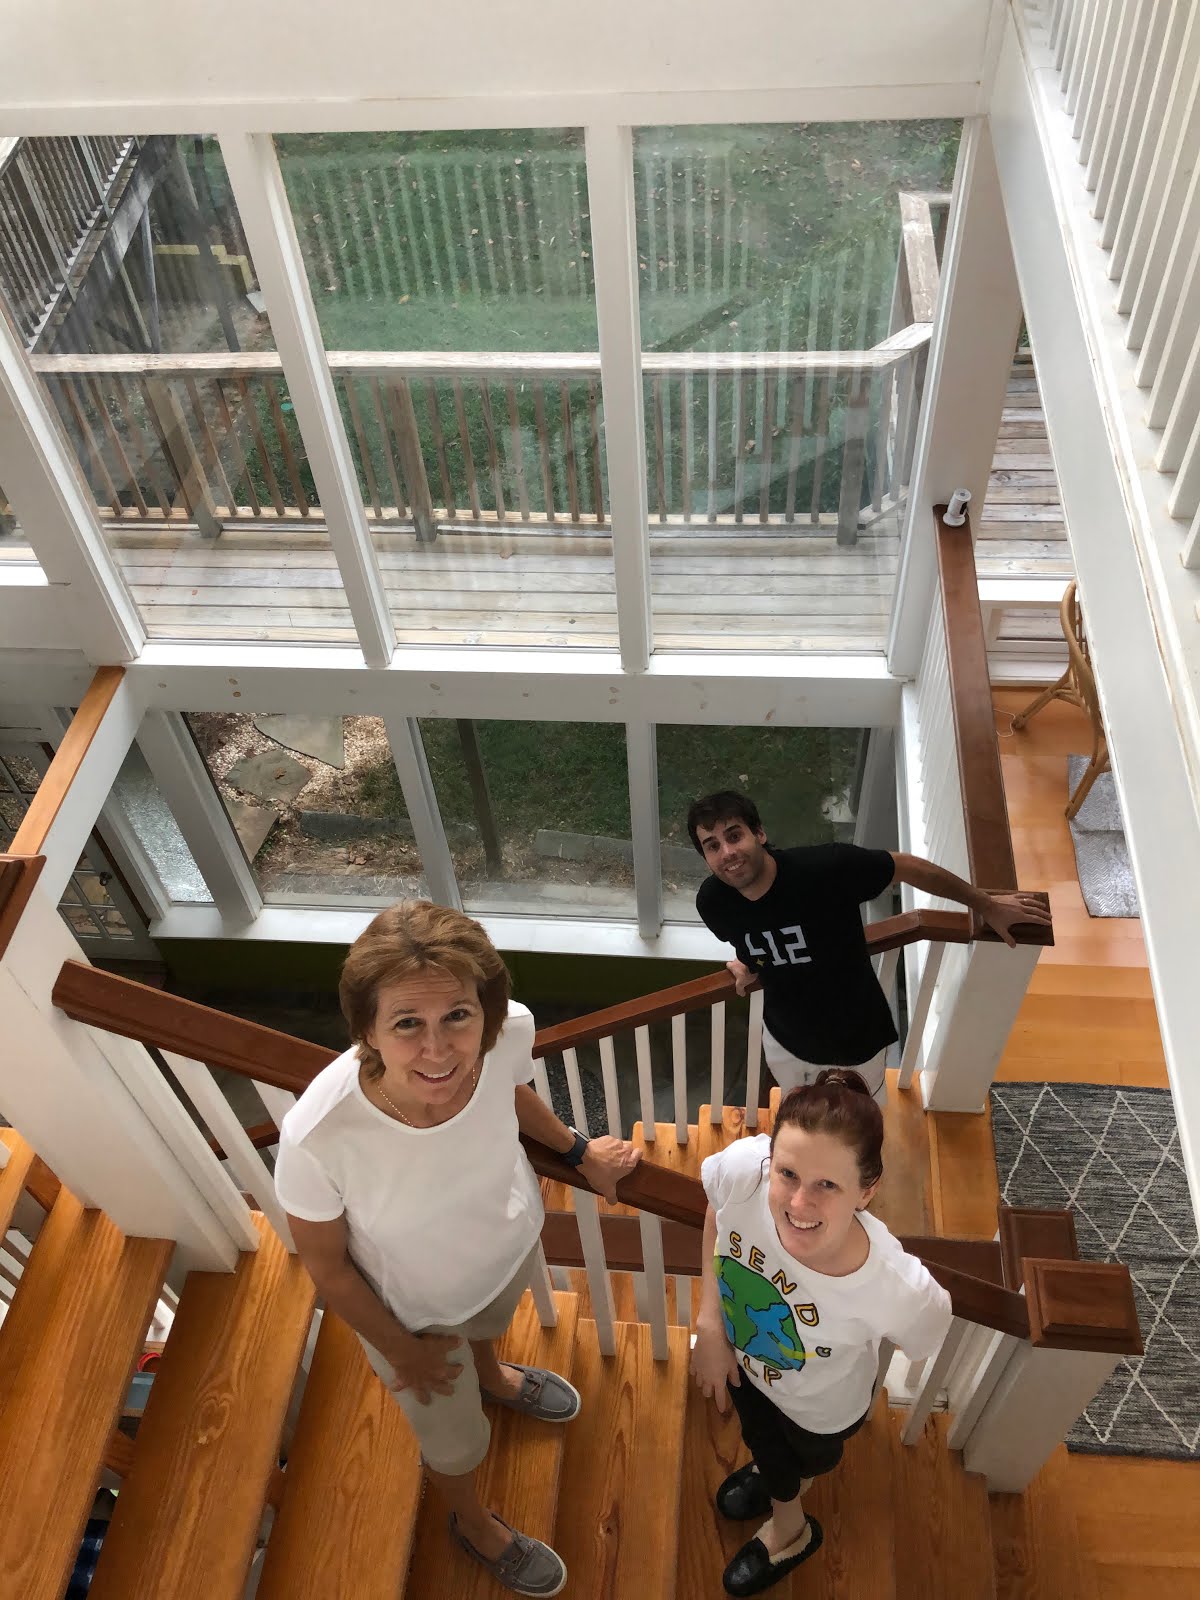
Alicia, Danica and Adam in the atrium of
their new home.
Last week we took a break from flood recovery to head to Alabama to help my daughter and son-in-law with some work on their new house. They relocated to the Birmingham area and purchased a house that needed some work.

After 6 days with them, we returned to Northern Virginia to continue to rebuild the basement.

I finally have my office and computer set-up and operational.  The past few days I built a new workbench for my hobbies.  I still need to get it installed and the modelling tools and supplies organized. Hopefully in a few days everything will be back to normal and I'll start working on the Aquia Line as well as catching up on Alkem Scale Models.

Fascia frame for Marty's layout
Today I  and some of my Festools took a ride to Gainesville to help Marty McGuirk with some carpentry work on his layout. Stic Harris was also there. He worked on the track lighting and the swing gate. I worked on fascia  for the left end of the layout. Marty wanted to create a "picture frame" effect for the far end of the layout.  The photo at the left shows the fascia "frame." The area by the clamp still needs to be trimmed to the final profile. I also used my track saw to rip several more fascia panels for Marty to install on his own. The Festool TS-55 track saw is great tool.

Marty's layout is coming along. It won't be long before he can run some trains across the whole branch line.


marty says, "This will be where the sluice for the paper mill will be."

July 25, 2019

Stage 2 Flood Recovery: Making lemonade


My niece Katrina and her son, Nile. He loves Uncle Bern's trains!


I will be hosting the last op session on PoLA at 1300 on Sunday, 28 July. After the session, we will begin to box up the freight cars for storage and or sale. Once the cars are removed, I will prep the layout for removal. A local guy is planning on buying the PoLA layout for use in his basement.  He may backdate it and change it to Philly or Baltimore to better suit his rolling stock. But it will survive, which is a good thing.

We will not operate the Aquia Line this time as we are still doing recovery from the flood. Here is an update on that.

We have not been able to find a contractor that is willing to work under the Aquia Line benchwork to install tile. They don’t want the liability of damaging an “irreplaceable asset.” However, we did find a painter that is willing to paint the floor and walls. So we plan to have them paint the floor, walls and baseboards. Then we will use area rugs for accents. In my workbench area we will install foam floor tiles that can be removed if they get wet or stained.  If I wanted to have a contractor tile the whole basement, I would have had to remove all the layouts.  I may want to start over on building a layout at some point, but not under these conditions.  So I am going with paint

There must be no shortage of work for contractors in this area, because we also tried to get contractors to do some remodeling work upstairs with no luck. They show up, look at the job, and never call back.

In the process of clearing out flood damage, we removed the teak veneer book shelves from my office. Without the bookshelves, the room feels much bigger. It makes the possibility of layout expansion into the office more feasible. The opportunity to expand the Aquia Line into the crew lounge and perhaps the office is very tempting. I also purged about 15 linear feet of books and magazines from my collection. My garbage pick up this week was quite full, even after a trip to the dump.
My nephews both have "jobs" that need attention. Kevin
is a music composer and producer for Hollywood, while Nick
is a HVAC engineer and salesman.  I call it, "taking a break."
They were a BIG Help! Thanks guys.

The past two weeks have been very demoralizing as we try to sort through the aftermath of  the flood. I was lucky that my niece and nephews were visiting the past few days. They were a big help, plus we got to play with my grand-nephew, Nile. He is an adorable toddler, who loved Uncle Bern’s trains.  My niece is an interior decorator and she gave us some good ideas for colors etc.

Amongst the chaos, Mat Thompson, Pete LaGuardia, and John Paganoni came over on Tuesday to judge the layouts for NMRA AP certificates. I wanted them to look at certain parts of PoLA for the Electrical AP. But, when I did the paperwork, I realized I had all the requirements covered with items on the Aquia Line. So the three of them looked at the layouts and examined my paperwork. All was in order so that I should be getting the civil, electrical and scenery AP Achievement Awards. Mat advised me to pursue the Car and Prototype AP certificates next and that should complete my Master Model Railroader certification.

Thanks to family and good friends, we are making lemonade from the unwelcome lemons.

July 13, 2019

2019 NMRA National Convention and Train Show

West bound stack train creeping through Echo Canyon due to track work further west
The Jackson River scene on Brian's layout
 got a lot of positive comments

Whew, what a week. My wife and I traveled to Utah for vacation that included the NMRA National Convention and Train Show.

Actually, I didn't spend much time at the convention as I stayed with Brian Brendel to help him prepare his layout and then host several open houses.

I arrived at Brian's house on Sunday after a few rounds of golf with Alicia. We immediately went to work on the layout. The tasks we accomplished included painting rock carvings, finishing the fascia, adding scenery to various sections, hanging skirts and clean up. Brian has been working on this layout for about 3 years and has made a good deal of progress, especially considering he is now the chief of the Mountain Green Fire Department, a volunteer outfit. In the four days I was with him, he went on 4 calls.

The strategy we followed was to have the scenes that greet the visitors to be relatively finished.  So that's what we concentrated on. While I worked on fascia and some scenery, Brian installed the tracks to the Waynesboro switch district.

This is the view the greets visitors as they enter the layout room
The open houses went off very well. There were about 110 visitors over three days. Everyone was extremely nice and polite. Brian received a lot of nice comments. The green covered hills and the Jackson River scene received most of the accolades.
Brian entertaining visitors from the LDSIG
Steve Woodward and Paul Graf from Atlas Model Train Comoany 
listen to Brian extoll the virtues of code 80 track

LDSIG presented Brian with a fancy plaque on 
plywood and homasote  
After the open houses, we did an afternoon of railfanning. I finally managed to get a shot of a train in Echo Canyon, a very scenic spot on the UP main line. (See lead photo). Track work on the line had reduced the normal high train frequency to a much lower level.


On Friday, we went to the train show. I enjoyed talking with the various vendors and manufacturers, also trying to recruit vendors for MARPM.

There were a few product announcements that were of interest to me. First, Bachman announced a new locomotive in On30 based on the 60cm  WWI 2-6-2T tank engines. They also plan to have rolling stock to go with the engines.

Bachmann is going to offer On30 2-6-2T Tank Engines
Walthers announced that they are reissuing their steel mill model kits with new details and packaging. The blast furnaces will have the stairs and railing included. The rolling mill will be doubled in size with new details inside.

Lionel announced two new 4-4-0s in 3-rail configuration. The engines look nicely detailed, but conversion to 2-rail would be a big job as the wheels would have to be replaced or machined to smaller flanges.


Converting to 2-rail looks like a big job
The locos look nicely detailed


The FreemoN folks had a massive and impressive modular layout. They had some very nice modules.

Later that evening I presented two clinics at the convention hotel. I got some nice comments from the attendees.

That ended my convention activities, as Alicia insisted I play more golf with her.


July 4, 2019

I'm in the mood for a work session before the NMRA National

John Drye and Mark Franke stopped by Alkem Scale Models World HQs today for a work session. I ran the airbrush and repainted two of John's cement hoppers and weathered a half dozen coal hoppers.

Meanwhile, Mark was painting US infantry for our next game.  I did not get any pictures of the weathered models. But I did get a shot of us having a great BBQ dinner at Myron Mixon's Pitmaster BBQ in Alexandria.


Before today's work session I completed the sand tower to accompany the coal dock for Brian Brendel's  N scale layout. I will hand carry these with me to Utah.


Back to the wargaming. We have been commemorating the Allied campaign in France 1944 with a scenario appropriate for each month. Last month, on June 6th,  I ran the Battle at Fiere. Later this month,   JD will organize a scenario set in the bocage country of Normandy.

To get ready for that scenario, I've been working on a M4A1 76mm Sherman with Cullin hedgcutters.  Those cutters were field expedient plow-like devices welded onto tanks to allow the tank to break through Norman bocage hedges. The tank I am modeling belonged to Sergeant Lafayette Pool.   He was a tank ace with 3rd Amored Division

According to Wikipedia, he was an American tank-crew and tank-platoon commander in World War II and is widely recognized as the US tank ace of aces, credited with 12 confirmed tank kills and 258 total armored vehicle and self-propelled gun kills, over 1,000 German soldiers killed, and 250 more taken as prisoners of war all of which took place in a combat career that covered only 81 days in action from 27 June to 15 September 1944 with three different Shermans. He received many medals, including the Distinguished Service Cross, the Legion of Merit, the Silver Star, the Purple Heart, the Belgian Fourragère, and the French Légion d'honneur.
Pool served with the 3rd Platoon of Company I, 32nd Armored Regiment, 3rd Armored Division in France between June and September 1944. He successively commanded three Sherman tanks; an M4A1, and two M4A1(76)Ws, all of which bore the nickname "IN THE MOOD."  He kept the same crew throughout the majority of the war. Corporal Wilbert "Red" Richards was the driver, Private First Class Bertrand "School Boy" Close was the assistant driver and bow gunner, Corporal Willis "Ground Hog" Oller was the gunner, and Technician Fifth Grade Delbert "Jailbird" Boggs was the loader.
Pool's first tank, an M4A1, lasted from June 23 until June 29, when Combat Command A attacked for the first time at Villiers-Fossard. It was hit by a Panzerfaust, causing Pool and his crew to bail out of the stricken tank. Pool's second tank, his first M4A1(76)W, lasted from around July 1, 1944 to August 17, when he was leading CCA in the process of clearing remaining German forces from the village of Fromental.  This tank was knocked out by friendly fire from a P-38.


Pool's third and last tank, another M4A1(76)W, was destroyed on the night of September 15, 1944 while CCA was attempting to penetrate the Siegfried Line at Munsterbusch, Germany, southwest of Aachen. The tank was hit by an ambushing Panther, and while Pool's driver was trying to back his damaged Sherman up, the Panther hit it a second time. Positioned precariously on the edge of a ditch, the force of the second round caught the tank and tipped it over. The round killed Pool's replacement gunner, Private First Class Paul King, (Corporal Oller had been temporarily transferred back to the United States) and threw Pool out of the commander's hatch, severely injuring one of his legs with shrapnel. The leg was so badly mangled that it later had to be amputated eight inches above the knee. As a result, Pool would not return to amateur boxing after the war.

Speaking of 3rd Armored Division, I highly recommend the book Spearhead by Adam Makos. It is one of the most exciting books  with unbelievable plot twists I have read on WWII, made all the more memorable because it is based on actual events. This is the book that movie Fury should have been.  You can learn more the about the book in this video.


June 9, 2019

Model Railroad Doubleheader

Panorama of the main room of Mat Thompson's Oregon Coast Railroad. The Swift Meat Plant is in the foreground

Some of the many boats and ships on Mats layout. This scene was featured
in my latest book on Waterfront Terminals
On Saturday I drove out to Gainesville for a model railroad double header. The first stop was Mat Thompson's HO Scale Oregon Coast Railroad for an op session. I joined about 12 other folks for an enjoyable session.

Mat teamed Marty and I to work the Swift Meat  Packing plant that is visible in the foreground of the lead photo. The job is an interesting one as the reefers and meat cars must make several intra-plant moves from inspection to icing and then meat loading. Stock cars also come with cattle and leave empty.  Mat uses timers to regulate how long the cars remain at each location. The icing takes the longest time, about 40 minutes real time. So as plant train crew, you spend some time waiting for cars to cool. But there are other tasks you need to do, so it makes for a very interesting job. This was the first time I have switched a meat plant and it was a lot of fun.

Mat's layout is full of beautiful models. He has dozens of craftsman structures. He also built many boats and ships. All of these helped contribute to his attaining Master Model railroader certification from the NMRA.  Speaking of that, Mat presented to me the NMRA certificates for Author and Volunteer. Mat is our local Achievement Program rep, as well as the organizer for layout round robin op sessions.

Mat has built dozens of craftsman structures for his layout that
helped him attain Master Model Railroader certification
Some nice bridges on Mat's layout


Paul Dolkos makes an inspection visit to Marty's work-in-progress layout. Here they
confer on the layout design and construction.

Marty screws MDF fascia to the benchwork
The second phase of the doubleheader was a work session on Marty McGuirk's Richfield Branch of the CV. Orville, I mean Stic, Harris and I joined Marty for the session.  Paul Dolkos also stopped by for an inspection visit.

Stic installed track lights, while Marty and I installed more fascia. The track light work well with the high ceiling in Marty's layout room.

I used my track saw to cut the pieces in the back yard.  While I was out there, a wood chuck came to check on my progress. Molly and Beauregard, Marty's Basset Hounds, didn't do much to scare the woodchuck away.

After finishing the back fascia on the back wall, we adjourned to the crew lounge where we put Marty's new 85-inch 4K TV through its paces.

I used my track saw to rip the fascia
Molly and Beauregard did not discourage the wood chuck
from checking on construction

Stic Installs track lights. The cartoon is an actual quote from the day's banter.


Marty surveys the fascia on the back wall benchwork.