A journal following the history, design, construction and operation of Bernard Kempinski's O Scale model railroad depicting the U. S. Military Railroad (USMRR) Aquia-Falmouth line in 1863, and other model railroad projects.
©Bernard Kempinski All text and images, except as noted, on this blog are copyrighted by the author and may not be used without permission.
-----------------------------------------------------------------------------------------------------------------------------------------------------------------
Showing posts with label Tunnels. Show all posts

May 18, 2020

Phase I-B complete


I am naming this area Drye's Curve because he has been admiring it as it developed.
I finished the basic scenery and backdrop painting for Little Chain Ring Ridge and Stares Tunnel.  I got a start on Phase I-C by making several trees. I will need about 6-10 more big trees. Then there are details including stumps, fences, tents, etc.  The forested area on the ridge will help break up the line of sight from the room entrance to Belle Air farm. The basic idea is to prevent a visitor from  seeing all the layout from any one spot.  Camp Pitcher and Belle Air Farm need to be installed and detailed.

I started adding some static grass. The first location was above Stares Tunnel. There is a lot more scenery detailing to finish this scene.


April 25, 2020

It's Deja Vu All Over Again

The passenger car is the biggest car I have, so I use it to check clearances.


I started building the terrain leading up to the north portal of Stares Tunnel. I don't have a name for this hill yet, but by the end of this post I might.

I started by using my trim router to put a 45 degree bevel on the edge of the plywood roadbed. In the future, I will cut these bevels on the road bed sections in the wood shop on the router table before assembling. That will be much easier. Still, the trim router did a nice job except for places where the tool couldn't fit. In those spots I used my utility knife to trim the bevels.

Next I started building up the terrain using a combination of sheet foam and cardboard webbing.   One objective was to disguise the turn back loop into the tunnel. The high hill and fascia do a good job of hiding the curve, especially as one enters the room and looks to the right.  Some trees on the top of the hill will help enhance the view block and help isolate the scene even more. 


One can never have too many clamps


Tennessee Pass Layout under construction


As I was building this hill, I started getting a strong sense of Deja Vu. Then, I realized, I had built a similar  hill in this spot once before. It was for my N scale Tennessee Pass layout. That time I used styrofoam sheets to build up the hill as it was not as tall as this O scale hill.  On the N Scale backdrop was Mt Elbert.  There will be no mountain on the backdrop in this new version.

Until I come up with a better name, I'll call this area  Deja View Ridge. 
Here are 600 of the 1200 trees I had on the Tennessee Pass layout 


April 22, 2020

Two steps forward, one step back

I built the two tunnel portals using the stone design. These portals have the elliptical adits, which really convey the early rail theme.
South portal on straight track. 
The north portal is on a curve so I made the brick liner only 6 inches. The south portal is on a straight track, so the liner is 13 inches. The key is to make sure the closet is dark so the interior of the tunnel is also dark.


I tried installing the first section of fascia using the bendy plywood.  It does bend easily, but I didn't like how flimsy it is. I ordered some hardboard from Home Depot to use instead of the bendy plywood. I will use the bendy plywood for other uses such as roadbed and laser cutting stock. It cuts nicely on the laser.

Short video showing a train popping out of the tunnel.

April 20, 2020

Designing Stares Tunnel

First attempt at the tunnel. It has some issues. I will not use it.
I installed rest of the spikes, which were about 1500 total, the electrical feeders, painted the rail and re-stained the ties over the weekend (it's so hard to keep track of weekends now). So now it is time to start some basic terrain around the this area and tunnel. Terrain is needed to prevent cars that come off the track from falling to the floor. Also, some basic terrain and fascia will give the area a more presentable and finished appearance.

The first step in shaping the terrain is to site the tunnel. Then I can fill in the shape of the hill, and the approach cut around it

My original intent was to model the tunnel portal after Millboro Tunnel on the Virginia Central (then C&O-CSX-Buckingham Branch). I visited this tunnel in 2008 and liked its brick design. Unfortunately, my photos of the tunnel disappeared when Webphotos went away. So I worked off some low res images I found on line. But I was not sure about the brick patterns.

I asked the Facebook hive mind for advice and Jonathan Jones suggested that I did not have the brick patterns correct, especially on the pilasters. Turns out he was right.

It never occurred to me to search Facebook, but after Mike Spoor found a contemporary photo of Millboro Tunnel on Facebook, I did a search there too.  And sure enough, a man named Gary Smith had posted drawings of the original tunnel, which was a timber and rock design, and the brick portal that the C&O added in 1892.

So now I see that the brick portal is too modern for my railroad. Since this is a freelanced tunnel, I have some flexibility. But I prefer a tunnel that speaks more to ante-bellum technology styles and building techniques. So I will not use the brick tunnel. At least for my layout. I can offer the corrected version as a custom tunnel for Alkem Scale Models, so not time completely wasted.

I don't like the idea of a timber tunnel that the original Millboro tunnel used.  The RF&P did use substantial stone work on their bridges, so I am leaning more to a design like the Lick Run Tunnel in the drawing before. The elliptical shape of the arch and the stone material suggests ante-bellum RF&P to me. Unfortunately, I was unable to find any photos of the Lick Run Tunnel. It was built in 1872, so a little after the Civil War.

Back to the drawing board. Here is the new tunnel portal design.


April 18, 2018

New Tunnel Scenery

Here is a shot showing the static grass scenery around the new tunnel portal. I plan to add trees to the hill in the rear later.

A shot like this shows off the crisp detail available in O scale.

Now here is the same shot with a photo backdrop for the tree line. I also did a little color tweaking to make the grass a bit less green and less saturated.


And here is the night version - converted using Photoshop

April 12, 2018

A Second Opinion


 My wife is brilliant! (She said I am allowed to say that). Why? You'll see soon enough.

I decided to finish the scenery at the north end of Clozet Tunnel. I had originally planned to use some structures to block the view of this portion of Clozet Tunnel, which is a fairly large hole in the wall, instead of a tunnel portal.

After several years of delaying work on this area, mostly because I couldn't make a structure view block work, I decided to go with a normal tunnel portal.

The first step was to make the tunnel portal. I used the drawing I had for Crozet Tunnel, I just slightly modified it. I cut the parts on the laser and assembled the tunnel portal with about 12 inches of brick lining. Placed in site, the tunnel sure is a deep dark hole.

Next I mocked up a piece of hardboard against  the existing fascia and laid out a cut line. I used my Festool Carvex jig saw to cut the profile (BTW the Carvex is rapidly becoming my favorite tool.)  I glued the fascia in place and started using card board strips, foam pieces, and rosin paper to build up the hill.

Next I started the rock carvings for the portal. That took the better part of a day. With the rocks installed and rough painted, I asked my wife to look it over and get her feedback. She looked at the tunnel for about 30 seconds and suggested that I trim back the fascia to allow a better view of the tunnel. Wow, she was right. There was something I didn't like about the hill side and she nailed it. The fascia was too overpowering for the scene. See, I told you she is brilliant! The animated gif above shows the difference.

So the next day, I got out the Carvex again and trimmed the fascia back so that the slope of the hill was consistent. By removing this section of the fascia, the area is more open. Since my workbench is immediately to the right of the tunnel, the more open fascia is much less claustrophobic.

That rock facing needed some patching, but that was an easy task.

With the tunnel portal, the backdrop required some rework, which I enjoyed immensely. I painted some large trees as I plan to trees on the top of the tunnel.

With the backdrop painted, I gave the terrain a base coat of scenery. Once that is dry I'll add static grass and other details.


Panorama of the scene with wet base coat of scenery. Masking tape protects the track.

  While I was working on the tunnel, some contractors arrived and installed new carpet in the stairs to the layout room. With fresh paint and new carpet, the entrance to the layout is much nicer, though some of my model railroad friends claim they can't tell the difference. Oh well, I can.

September 8, 2015

Draining the swamp

The saw mill is immediately in the foreground at Brooke

It's tough to remember you came to drain the swamp when you are up to your neck in alligators. A open house in a few weeks, and a tentative future visit next month by Kalmbach Video Plus to video record my layout made me decide to rearrange some priorities. At the top of the new list was to get some more work done on Brooke.

I completed a bunch of tasks in pursuit of that objective over the three-day weekend. The highlights include nearly finishing the  Tobacco Prizery, installing the saw mill and scratch built steam engine, installing the sawyers's work shed, installing the water tower, touching up most of the figures to fix damage from handling, adding grass and scenery to the area near the tunnel portal, finishing installing the split rail fences, and making a sign for the Spotswood Inn.

The steam engine is  skid-mounted with an external drive wheel. I based it on a photo of a similar engine shown in one of Andrew Russell's photos in Alexandria. I believe the tank on top is for water. Most of the parts were laser cut except for the steam dome. The dome I turned on my lathe. I could not spot a governor on the engine in the photo, and I forgot to add the valve control rod, but otherwise I am pleased with how it came out.

The saw mill is recycled from McCooks Landing. Since it was inside a background building on that layout , it was not very detailed. I need to add some of the pulleys and other controls for the slide now that it is in the foreground. Haupt mentions in his memoirs installing a saw mill to cut lumber for the bridges, but he did not specify where the saw mill was located. I put it at Brooke as it was the place where I had the most level ground other than at Aquia Landing.

The Inn is named after Alexander Spotswood, a prominent Governor of Virginia.  He was a very interesting person involved in military operations, establishing iron works and building the Virginia Colonial mansion at Williamsburg. He died in 1740. I made the sign on my laser and used a picture of Governor Spotswood off Wikipedia

The flag is another McCooks recycled item. I added it to the Inn via a hole drilled in the center column.

 This shot shows some of the scenery installed near the tunnel portal. The tall trees help block the view across this portion of the layout.  I installed the pine tress and added roots with Miliput. I added a lot of static grass and other scenery items to embellish the open fields near the inn. The dried looking flowers are Silfor autumn golden rod. Some of the new fencing is visible in this shot.

The brick mill is a Tobacco Prizery. It is based on a similar building in Brooklyn, Va,  a tobacco factory in a rural location. I added the cupola and weathervane to jazz it up a little bit. It still needs to be installed in its site and have loading docks added to it.

The water tower also came from McCook's Landing. I love how it fits in that spot.


The oxen are recycled from McCooks. I swapped out the boiler on the wagon with some logs for the saw mill.  The saw mill is in the foreground. I may need to install a plexiglass shield to protect it against wayward elbows and sleeves.

July 15, 2015

Telegraph Lines in Tunnels?

Note the telegraph poles with two insulators at Stoneman's Station. (The wires are not visible)
I am preparing to run the final section of telegraph line (scenic only, not functional) on my layout.. Since I have a tunnel that was not on the prototype, I wondered how they would have run the telegraph line. Would they run through the tunnel or over the nearby hill?

On the Aquia Line the telegraph line was installed by the U.S. Army Signal Corps and not the railroad.  I suspect the Signal Corps had other military, non-railroad related,  factors to consider when laying the lines. So they would not have necessarily followed the railroad.

However, photos of the Aquia Line do show a telegraph line paralleling the tracks in the Stoneman’s Station area (see image above). Since the units of the Army of the Potomac were deployed primarily along the railroad right of way, it is reasonable that the telegraph wire would follow it. But the Army of the Potomac Headquarters at this time was not near the railroad. It was at White Oak, a few miles east of  the railroad. Reports state that the Headquarters did have a telegraph office, so at least one line was sent over land away from the railroad. The Army Signal Corps was mobile (see wagon at left) and could lay lines over land as the campaigns progressed.


I posed this question to the Civil War Railroad Historical Society Yahoo Group. The consensus there was mixed with people suggesting that either case was possible.

Late 19th century postcard view of Crozet or Blue Ridge Tunnel
My tunnel is based on Crozet Tunnel on the Virginia Central. 19th Century photos of that tunnel show the telegraph lines going over land. Thus, I will run my lines over land.


With regard to telegraph lines at Aquia, perhaps the more interesting line was the “submarine cable” from Aquia to Washington. That allowed rapid communication between the Army and the War Department.  I suspect that the train orders on file at the National Archives are actually copies transcribed by operators at the War Department as they listened in to the Aquia Line traffic. Depicting the submarine cable on the layout will be really simple!

January 16, 2012

Homeward Bound

This Paul Strain painting shows the 20th Maine
marching to battle from Stoneman's Station
The Potomac Creek station scene will feature a long line of soldiers marching on a road to the railhead.  The road leads from the back drop to the railhead at Potomac Creek.

My intent is to display a regiment with each figure shown one-to-one. A full strength regiment has over 1,000 men. At two years into the war, most regiments were at partial strength. I have about 400 figures planned in this scene, representing a regiment that is about one third full strength.

The figures I am using look quite energetic and excited, so I decided this is a two year regiment whose enlistments have expired and they are going home.  There will be other soldiers and people watching them and cheering along.
This drawing showing two-year men taking a train is part of my inspiration. 

I built the road with pieces of foam hot glued to the hard shell. In retrospect, I think the road is too well built for a country dirt road of the 1860s. So I will add a ridge as shown in the photo below and have part of the road cut through ridge top, creating a sunken section. That will remove some of the fill and make the road look more rustic.
 The red lines show the planned terrain addition.
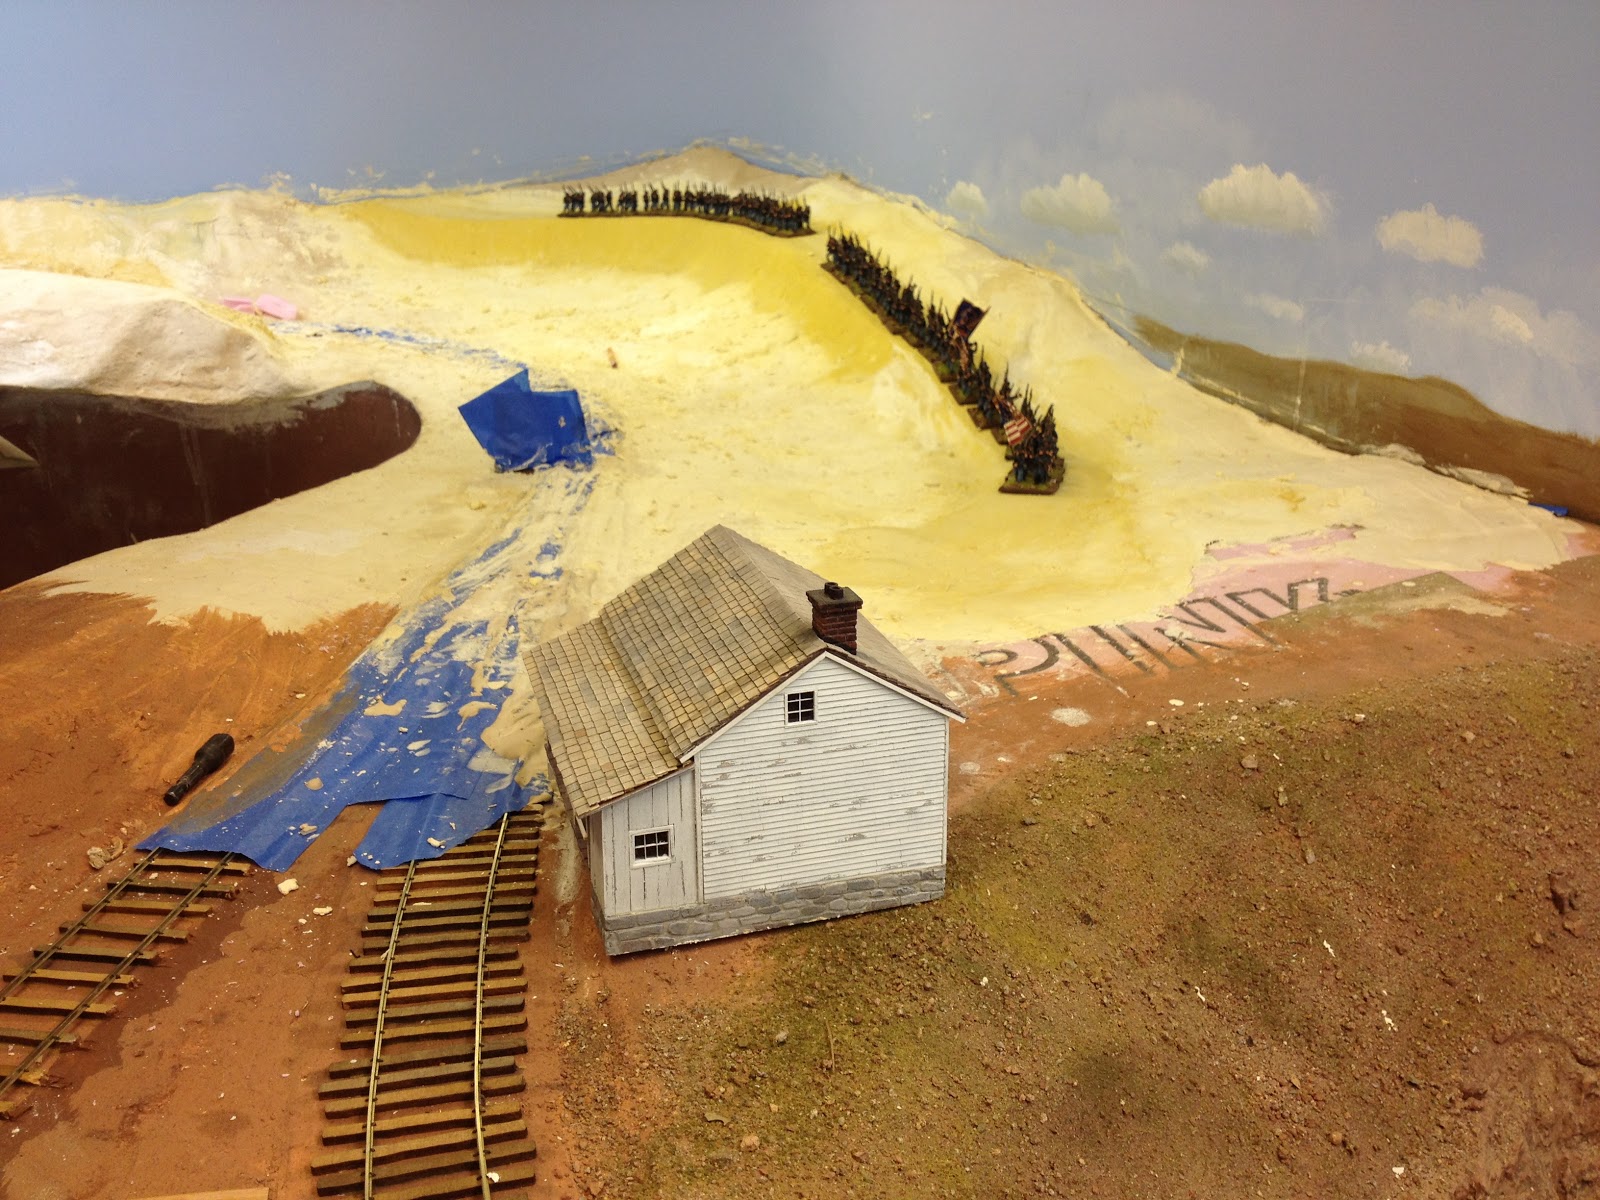
Looking down the benchwork to the road behind Potomac Creek Station. It's appropriate that the
word "pink" shows through, as that is the last pink scenery in the north room.

Over by the tunnel,
I added some ballast and base scenery.

I continued the base scenery around the curve at Brooke as the panorama photo shows below.

I will probably add the base scenery to the ridge behind Brook and then paint the back drop.

In surveying the new work, AW's said, "Wow, do you think you'll actually finish this one?"

A two shot panorama showing the big curve at Brooke.

Shelob's Lair.

In a long awaited move, I finally painted the base scenery and fascia from Brooke to Accokeek. Only a 6-foot section to go and all the fascia and scenery will be painted the base color. I am using Ralph Lauren Adirondack Bark. It is a textured paint and does a great job making the fascia and the layout visually blend together. The base coat of paint makes a big difference. The layout takes on a much more finished appearance even though there is still lots to do.

Shelob's Lair?

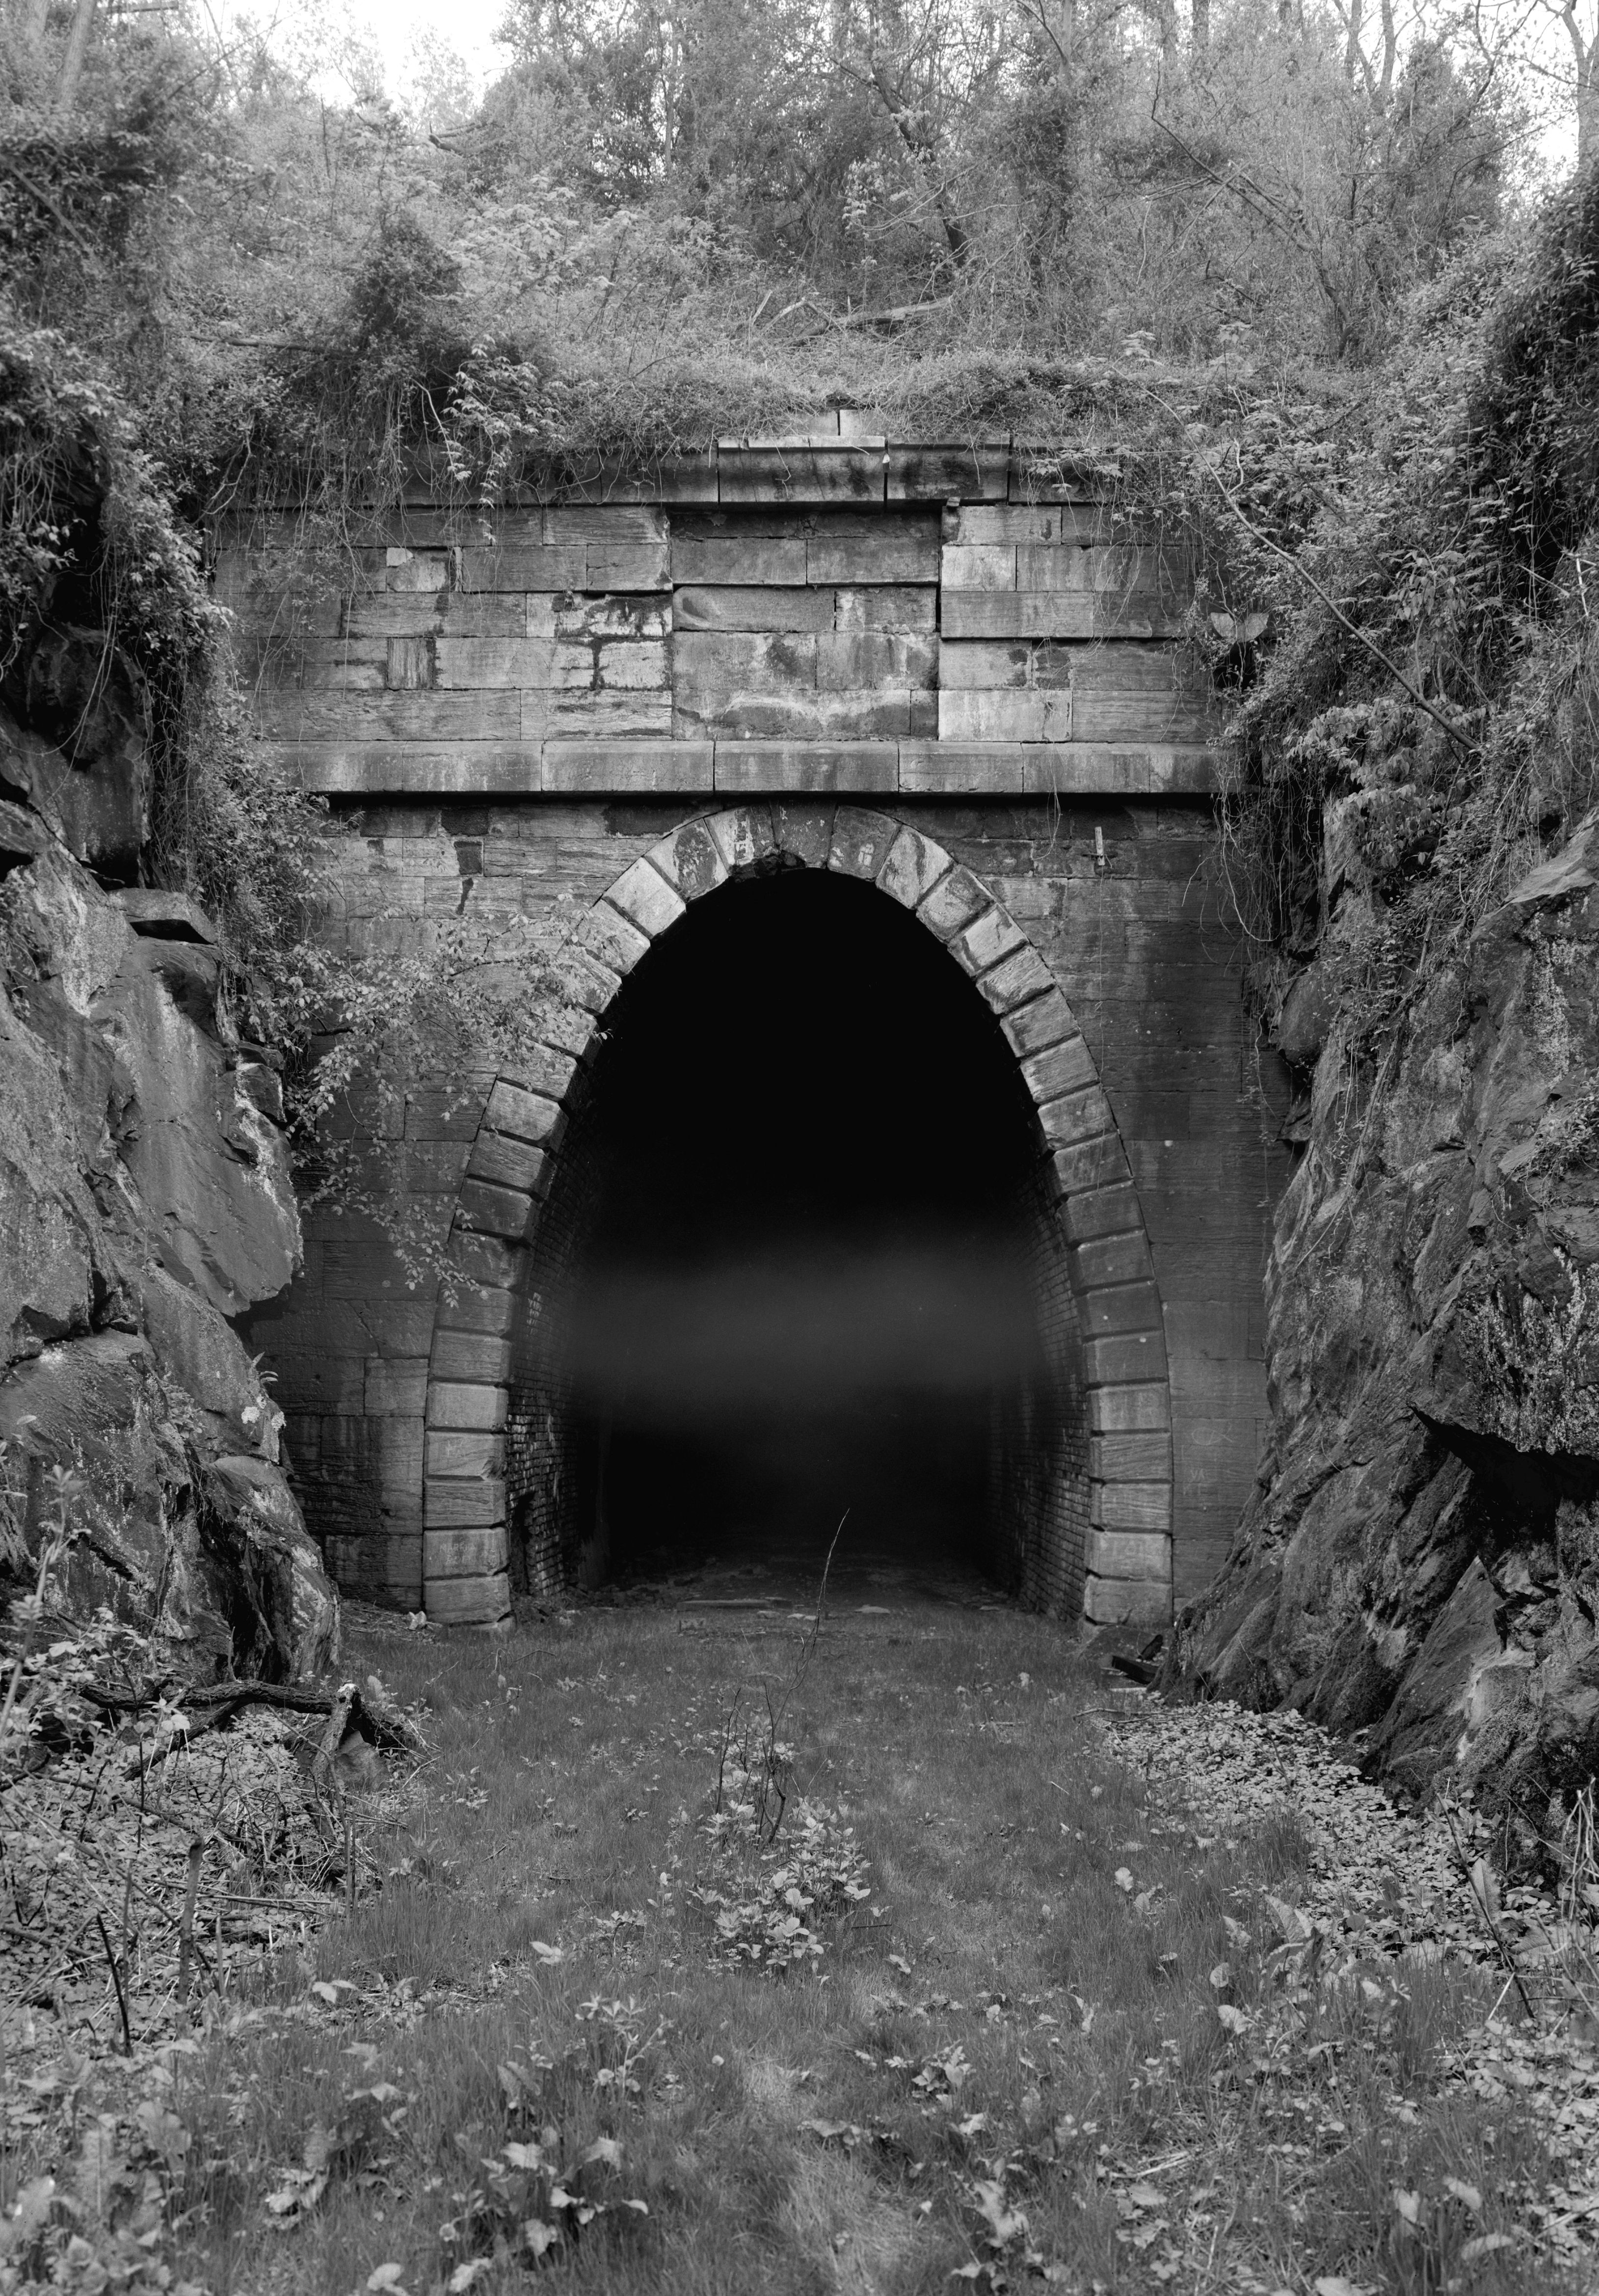
The prototype Crozet Tunnel, the prototype
for my tunnel. Note how narrow the
rock cut is.
I painted the tunnel rock cuts leading up to the tunnel portal. Then I added a base layer of scenic material. That helped reduce some of the darker shadows so that it doesn't look so much like the entrance to Shelob's Lair.

Rock carving at Weilepp's Cut is done, whew!

The Weilepp's Cut area still needs to be painted. I also need to finish the mill so I can place it in the scene and fill in the gaps with Water Putty and scenic material. I have to install a road in the far corner behind Weilepp's Cut. I have to build up the road with pieces of foam and water putty, as the terrain there is fairly rough.

July 11, 2010

A Necessary Evil

Wiring... a part of the hobby I don't really enjoy, but it must be done. Now that tracks have reached Aquia Landing, I spent a good part of the weekend cutting gaps, soldering feeders and running bus wires.  I just about have the Brooke Area wiring finished.  Trains were running from Brooke to Aquia Landing on flex track. The flex track will remain in the hidden return track, but will be replaced at Aquia Landing. I started adding roadbed in Aquia, but decided to finish the wiring at Brooke first.

Brooke siding and the hidden track will be one booster. Aquia Landing and the rest of the layout be be on separate boosters. That makes a total of three. But I can try using only one initially. The wiring is set up so that it will be simple to add boosters in the future.

I did some test running from Aquia to Brooke looking at different ways to scenic the back track. Normally my objective is to minimize hidden track, but in this case the best solution really is to hide the return track under a ridge. My wife suggested an alternative of some additional tunnel portals so that a portion of the return track would be visible.

I made a stone portal for the southern end of the tunnel. Once we saw how big the tunel portal was, she aggreed that more tunnels would not look right in the space available.
Once wiring is done I can rough in the terrain forms at Brooke and test the hidden return track to see how it will work in terms of operations. The idea is to force the operators to stop once they enter the tunnel and wait about 5 minutes. This simulates the long run from Aquia Landing to Brooke.

The Tunnel Portal

This is the first, and probably the only,  tunnel portal for the layout. The freelanced model was based on the original western portal at Blue Ridge crossing designed by Crozet. I added a date of 1858 to the face of my tunnel portal. That helps set the time frame for visitors. The tunnel is laser cut using architectural cardboard. It has a slight stone texture. The brick liners are G scale brick plastic card I had on hand. The overscale bricks are not too noticeable in the tunnel lining. I gave the stones a coat of black spray then added the brick liner. I did a quick dry brush and dull cote. I'll touch up the paint once things are dry. You can see one of the black feeder wires in the lower left.


"Painted" Sky
This was the sky that greeted us on the golf course Sunday Morning.  I made me think of  Monet, maybe that's why my golf game was so bad.

July 6, 2010

A Scenic Challenge

I finished gluing the roadbed pieces to their risers for the hidden track that runs behind Brooke to Aquia Harbor. Using Atlas code 148 flex track I soldered three lengths together and loosely installed them in position. (I forgot what a pain flex track can be to work with especially on tight curves. It weren't  for thousands of spikes to hand lay, I'd never use flex track again).

The first photo shows the tight spacing of the return track compared to the visible track at Brooke. I think the best scenic treatment is a cut through a hillside allowing the upper track to be hidden. The yellow lines show the approximate alignment of the terrain for the future cut. The additional challenge will be to make this section removable for maintenance.

This photo at the right shows the transition between the Atlas Flex Track and the hand laid section as it enters the closet. The 30 inch inter-rail track curve template helped get everything lined up. I still need to fashion transition pieces to allow the code 148 and code 100  rail sections to line up both at the top of the rails and laterally. The tie heights worked out to be about the same, so I'll need to add ties to the wood sections and sand them on an gradual incline (vertical easement)  to allow the tops of the rails to line up.

Eventually this scene will be hidden by a tunnel portal.  I will use the portal at Crozet as my prototype inspiration. The photo at the left shows an HO version of the tunnel portal that I cut with my laser cutter. There will not be a tunnel at the Aquia side of the hidden track. The hole in the wall will be disguised by a warehouse structures.

 The US Mail also delivered us a surprise - the solid wood hull from my Bluejacket 1/48th scale Smuggler kit minus the section below the water line. My brother Rob in Florida took it home with him last week to cut on his Inca band saw to make it a waterline model. He did a great job as the cut is quite smooth and perfectly level. He hand planed the base to smooth it out and to make it flat using a Stanely no. 5 Jack plane at first and then a custom made infill smoothing plane.  He also eliminated the carving stubs that were on the ends of the hull. The smooth bottom makes the machine carved sides and deck of the hull look quite crude in comparison. Here the model hull is sitting on the infamous Minwax water surface at Aquia.  Finishing this ship will be a fun project for next year.