A journal following the history, design, construction and operation of Bernard Kempinski's O Scale model railroad depicting the U. S. Military Railroad (USMRR) Aquia-Falmouth line in 1863, and other model railroad projects.
©Bernard Kempinski All text and images, except as noted, on this blog are copyrighted by the author and may not be used without permission.
-----------------------------------------------------------------------------------------------------------------------------------------------------------------

March 11, 2024

Phase 1 D-Day Diorama Is Complete

German View of the Invasion. This is opposite the view that most visitors to the
diorama will see.

We wrapped up work on the D-Day diorama today. Keith arrived today with the shipping crate in his van. He had about 30 figures to install according to the narrative he has designed for the diorama. Most of the other work was done earlier in the week. 


Jeff Hammer and John Drye stopped by Wednesday night to work on punch list items. JD installed most of the German infantry and remaining weapons. Jeff worked on scenic details such as barbed wire and log piles. The fences really added a nice touch to the diorama.

I worked on the remaining punch list items such as installing boats, painting fascia and adding flickering LEDs to the burning LCM. 


Mike and Linda Pierce arrived on Sunday morning for a visit. Kieth put them to work prepping and touch up painting figures. I didn't have much to do today, so I got the camera ready for a photo session and waited to load it all.

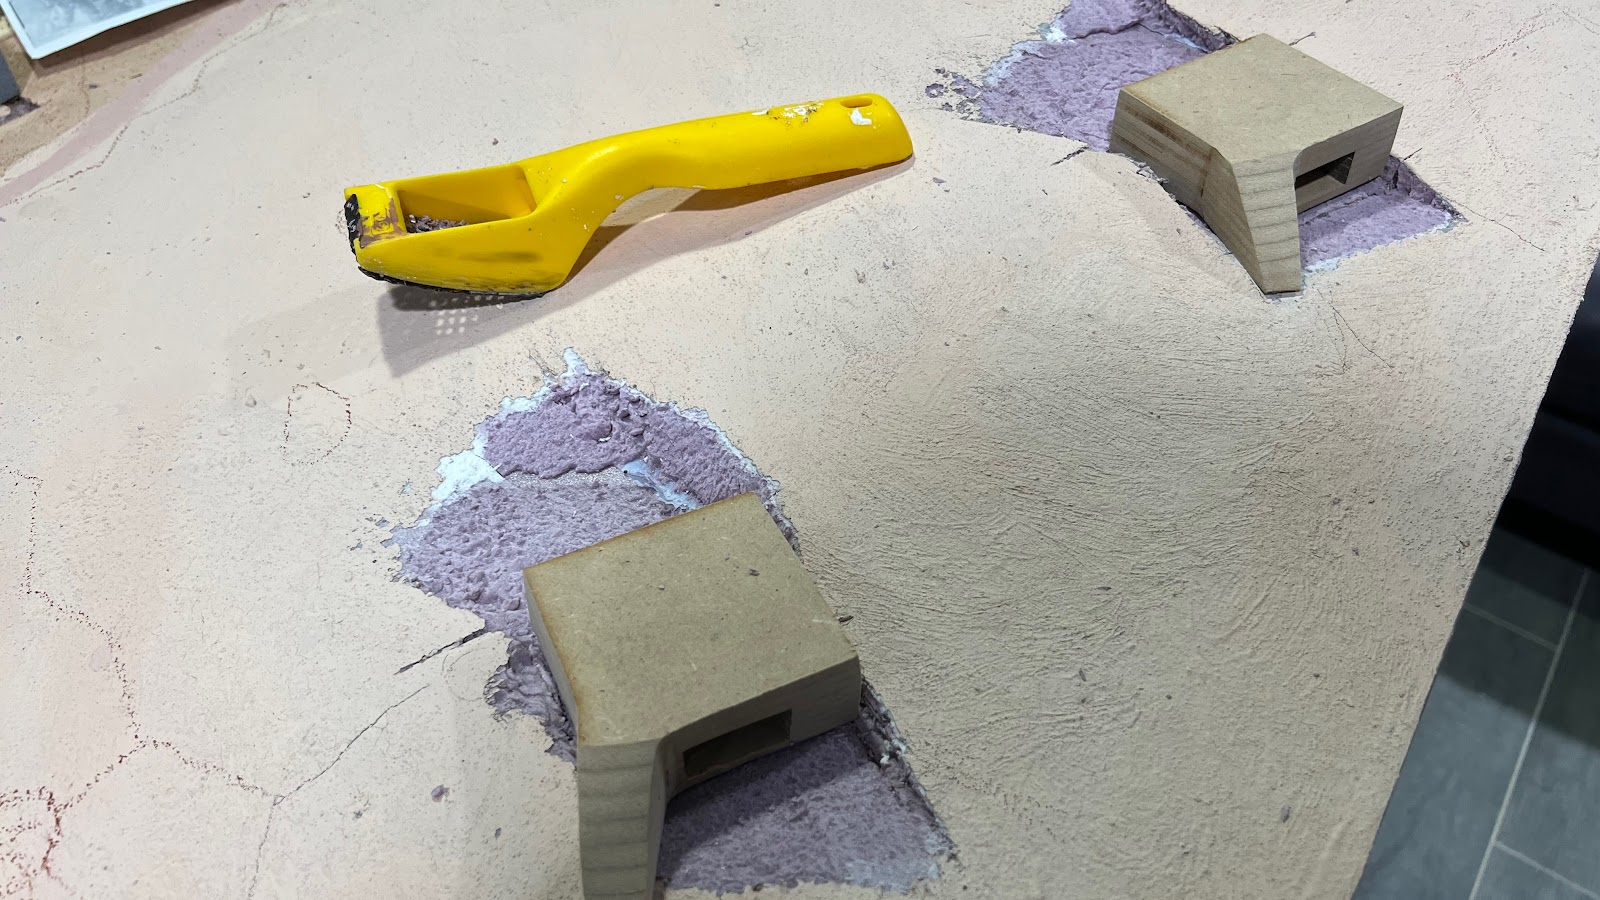
Keith and Ted, a friend of Keith's that is a woodworker, built the carrying cases that will also serve as a table for the diorama. The diorama comes apart in 2 sections. Each section slides into the case.


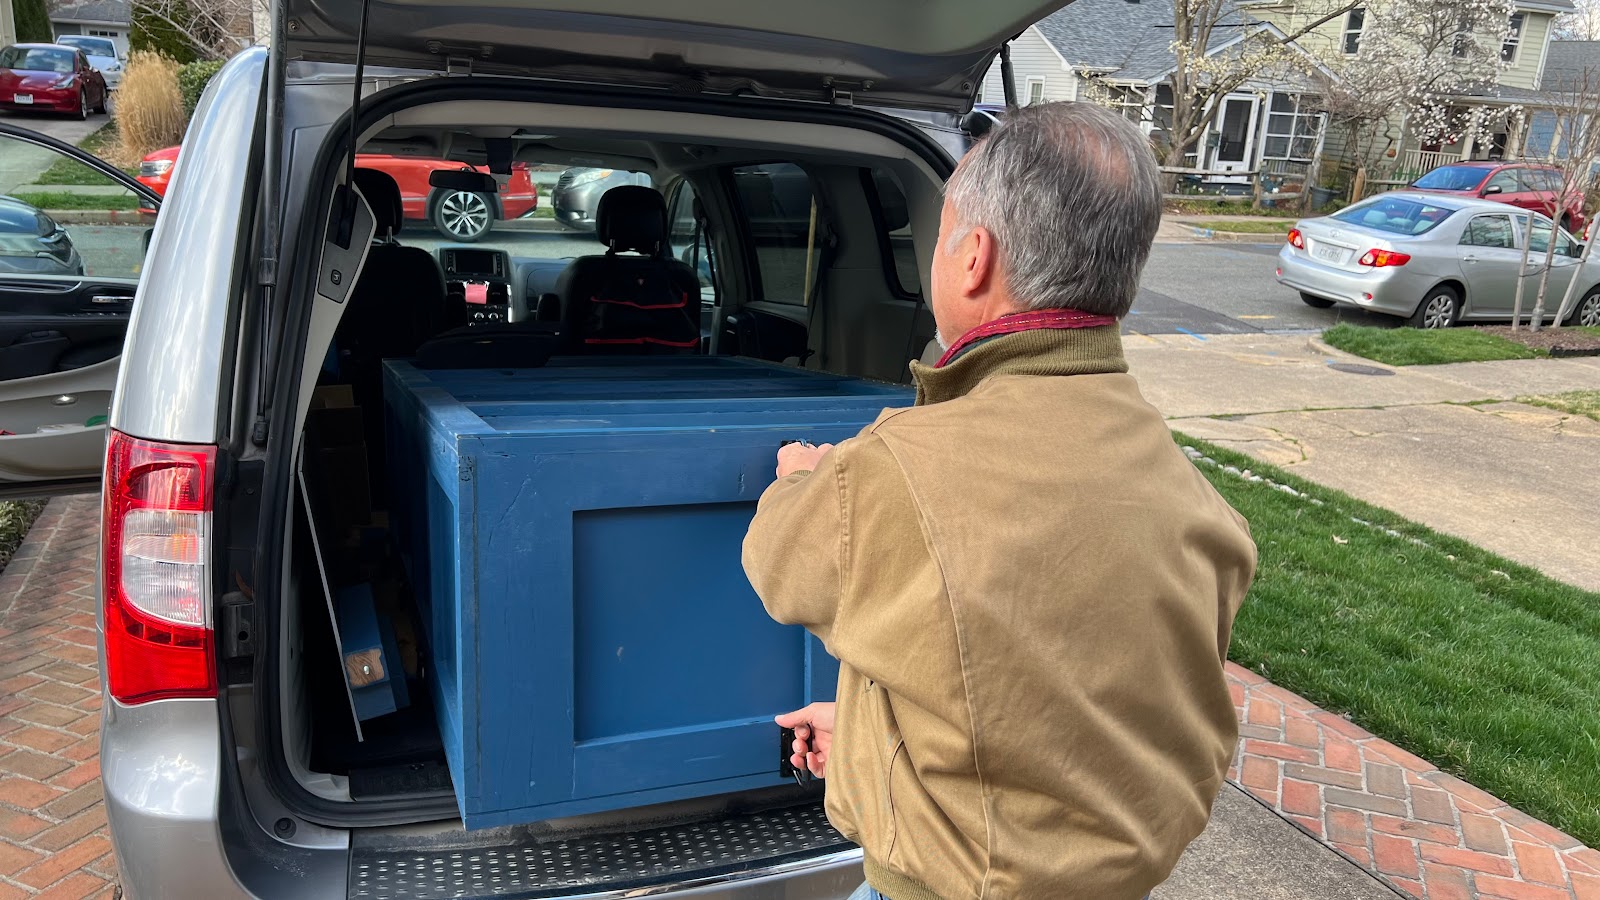
The case is quite heavy. Keith says it weighs about 100 pounds, though it didn't feel that heavy to me when I was helping move it.  The case has it space for the legs. The saw horses in the picture are only to help load it. 


Here are some final photos of the finished diorama.  Keith has a bit more work to do for his part, such as the backdrop and information plaque.  We'll start work on Phase 2 in a few weeks. 

One aspect I like about this diorama is its broad scope. Many folks have built dioramas with a this theme before, but I don't know too many that show the actions with this scope. Keith has woven in numerous historically accurate vignettes and story elements in the diorama. But I think it is the overall spectacle that makes this one work. 

Thanks again to everyone that helped.


March 5, 2024

Three Day Marathon Work Session


We just wrapped up a three day marathon work session on the D-Day Diorama. Whew!

Jeff paints figures while Mark and Charlie
drop off more painted figures

On Sunday Mark Franke, Jeff Hammer, John Drye and Tom Karstens joined me for the start of the worksession. Mark worked on the boats, Tom and Jeff worked on figures. I continued work on the WN62 fighting positions.  Later that day Mark and Charlie Fastoso stopped by to drop off the 160 figures that his gaming group painted.  John Drye came by a bit later and finished painting all the German figures. They are in 10mm scale as they will be further back.


Keith working on the figure placement 
Keith Rocco showed up Monday for 2 days of constant work on the diorama. Keith proved to be the Eveready Bunny of modeling as he worked nearly non-stop in the two days he was here. He focused on installing the boats and figures. He also installed most of the pole obstacles. 


Keith discovered that he could modify the poses of the metal figures by bending arms and legs.  He modified many of the figures that are in the water by trimming off their lower body.

He also concentrated on cutting holes in the surf to allow the boats to sit more realistically in the water. 

I worked on the remaining details and fighting positions on WN62. I also finished the command villa, now in a destroyed state.  

We are about 95 percent done with the diorama. Keith took the remaining figure home with him to trim bases and touch up paint. 

I took a few photos tonight to see how it all looks.  

It was a fantastic three days. We should be done with this by next weekend. 


March 2, 2024

A Railroad on Omaha Beach?


You knew I had to find a way to add a railroad to the diorama. But, it's not gratuitous! There was a 60cm Decauville railroad at Omaha Beach.  The Germans were using it to move construction materials along the various work sites. The prototype photos show the remnants of the railroad tracks after the Allies had secured the beach.

To model the railroad, first I cut some pieces of foam to make the roadbed sections that extend from the shingle to the work sites. I used Durham's water putty to fill in the gaps. Once those was dry, I painted the road bed to match the scenery.


Then I used my laser cutter to cut ties from 1/32nd inch birch plywood. I did not glue then one by one. Instead,  I cut them like a piece of flex track with small connectors between each tie. To curve the track, I had to cut one side of the connectors.  Thus it was easy to glue down the ties. 

  The ballast is fine N Scale gray limestone gravel from Highball Products.  Once that was glue  dry I added the rails. The rails are 0.015 inch resin impregnated cardboard with self-adhesive backing. I tried to secure them further with a coat of mat mod podge, but that wasn't too successful. The wetness of the mod podge made some of the rails buckle. So I had to reinstall some of them. 


The shingle stones on the beach adjacent to the tracks are coarse ballast from Woodland scenes. We painted them to better match the colors in the photos. Some additional painting is probably necessary.

I was also adding additional layers of gloss polyurethane to the water in-between the other tasks. There are about 8 coats now and I think that is enough.


I also installed the two R669 casements for the 75mm artillery pieces in position in WN62.  I made the casements with layers of MDF that I cut on my laser. 


They were mostly buried with earth, so I used pieces of foam and water putty to build up the earth berms.


Then I cut some of the trenches using a xacto knife and a soldering iron to melt away the foam. The iron worked pretty well.  I gave everything an acrylic  brown wash. There are still several gun emplacements, pillboxes and numerous details that I need to add. But the final photo gives an idea of how the diorama looks so far.


 ,