The cameras in the new iPhones are quite remarkable. They can take great photos when the lighting is good. In model railroad photos, their small size and lens form factor allow for some compositions that are not possible with DSLRs without the use of front edge mirrors, such as low angle views in tight locations. So can iPhones replace DSLRs? For many applications such as sharing on social media, yes. But the DSLRs still have the advantage, particularly with image resolution, in certain applications.
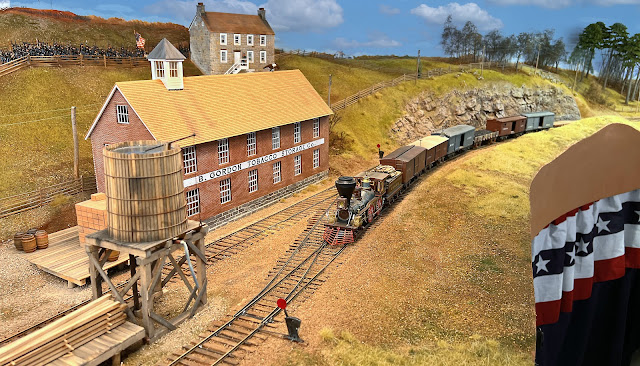
Can you tell which of the shots above were taken with the iPhone and which was the DSLR?
One thing that is not obvious in these web photos is that resolutions are different. The blog ap reduces the images to jpgs to the same resolution. But the original iPhone was a horizontal resolution of 3892 pixels while the DSLR has 5500 pixels. If you use the rule of thumb of 300 pixels per inch of final image in a publication, the iPhone can do an 13 by 8 while the DSLR can go to 18 inches. So if you want a two-page spread, you probably need a DSLR. I have noticed in the last 3 articles I have had published by Kalmbach, they used 3 of my DSLR images in two page spreads.
Here are closeups at 100 percent magnification for both images. There is some blurriness in the iPhone image as I only used 4 images for the focus stack, while the DSLR used 8 and I shot the DSLR at f18. The DSLR had so much innate sharpness that the stacking was almost not necessary. The iPhone would have been sharper if I did more layers in the focus stack.
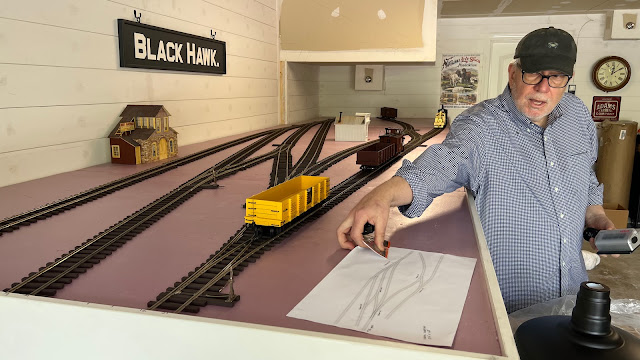
One other neat feature, I used the EOS Canon camera Utility Ap to control the DSLR to take these photos. The 70D has wifi which I can use with my iPhone. However, I could not get the EOS utility ap to work with my Windoze 10 laptop. Apparently, I am not the only person with that problem. The latest Windoze updates nerfed the EOS Utility ap. I didn't try with my iMac as the iPhone was more convenient.
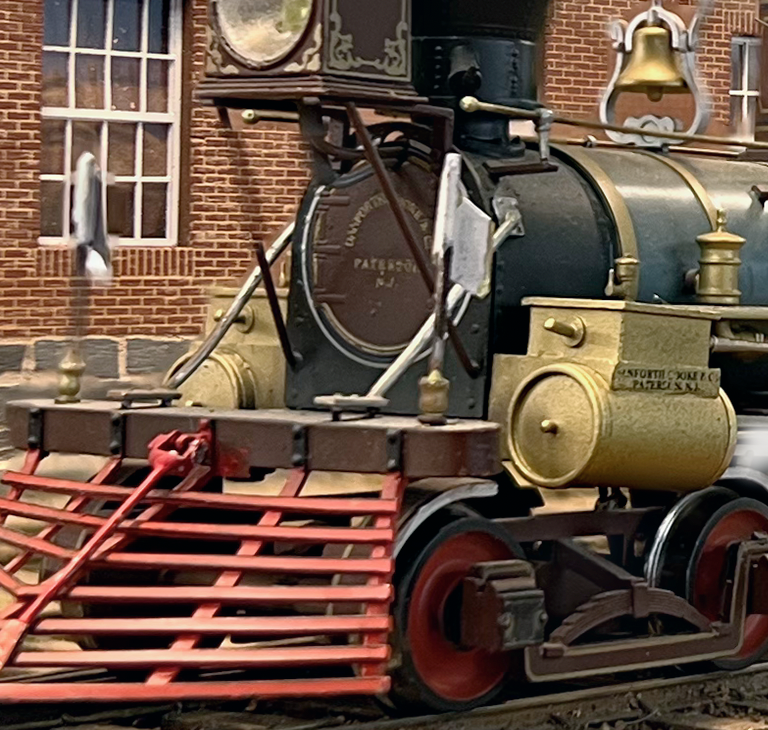 |
| iPhone 13 Pro |
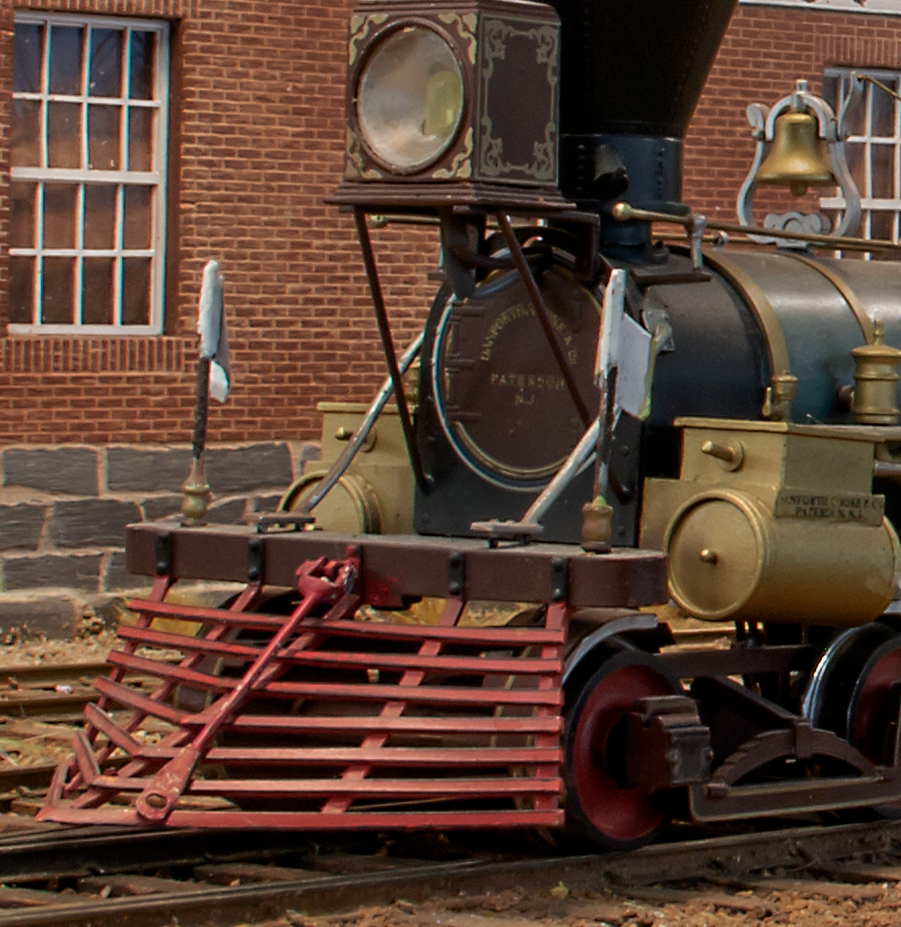 |
| Canon 70D |
The answer to the question above - the DSLR is on top, iPhone below. My DSLR, a 20 megapixel Canon 70D DSLR, is almost 10 years old, so I decided to upgrade to a newer mirrorless camera. The new technology in autofocus and automated focus stacking plus even more pixels convinced me to go for it. The autofocus tech is not really needed for model railroad shots, but is useful for action shots like wildlife and racing. Even rail fanning shots will benefit. The camera is back ordered now, but I'll post some test shots when it arrives.