A journal following the history, design, construction and operation of Bernard Kempinski's O Scale model railroad depicting the U. S. Military Railroad (USMRR) Aquia-Falmouth line in 1863, and other model railroad projects.
©Bernard Kempinski All text and images, except as noted, on this blog are copyrighted by the author and may not be used without permission.
-----------------------------------------------------------------------------------------------------------------------------------------------------------------
Showing posts with label Scenery. Show all posts

July 7, 2024

Punch List Time


We are almost done with the Operation Chattanooga Choo Choo diorama. There are just a few items on the punch list left to do.  Mark is just about finished with the last major element, which is a German tactical truck in the foreground. 

I have a few more things to do on the trains and that will be it.


To make the water I used a product that I haven't tried before - UV curing resin. I painted the stream bed with mud brown and dark blue gray taking care to feather the brown into the gray. Then I added a thin layer of UV resin. I used a portable UV light to cure it. But after a half hour, Alicia helped me carry the whole diorama outside to let the strong sunlight help cure it. I couldn't leave the diorama outside too long as it was very hot today, and the sun was strong. The models heated up very rapidly.  Good news was the resin cured quite nicely. This is probably the easiest way to make a clear resin stream. 

While the models were outside, I decided to take a few test photos. There is nothing like actual daylight to make a model look realistic. 


January 3, 2024

Test photo

Test shot with trees added in Photoshop

Backdrop trees in progress
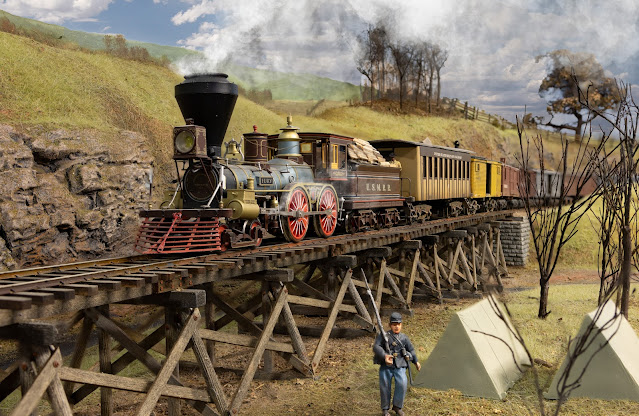
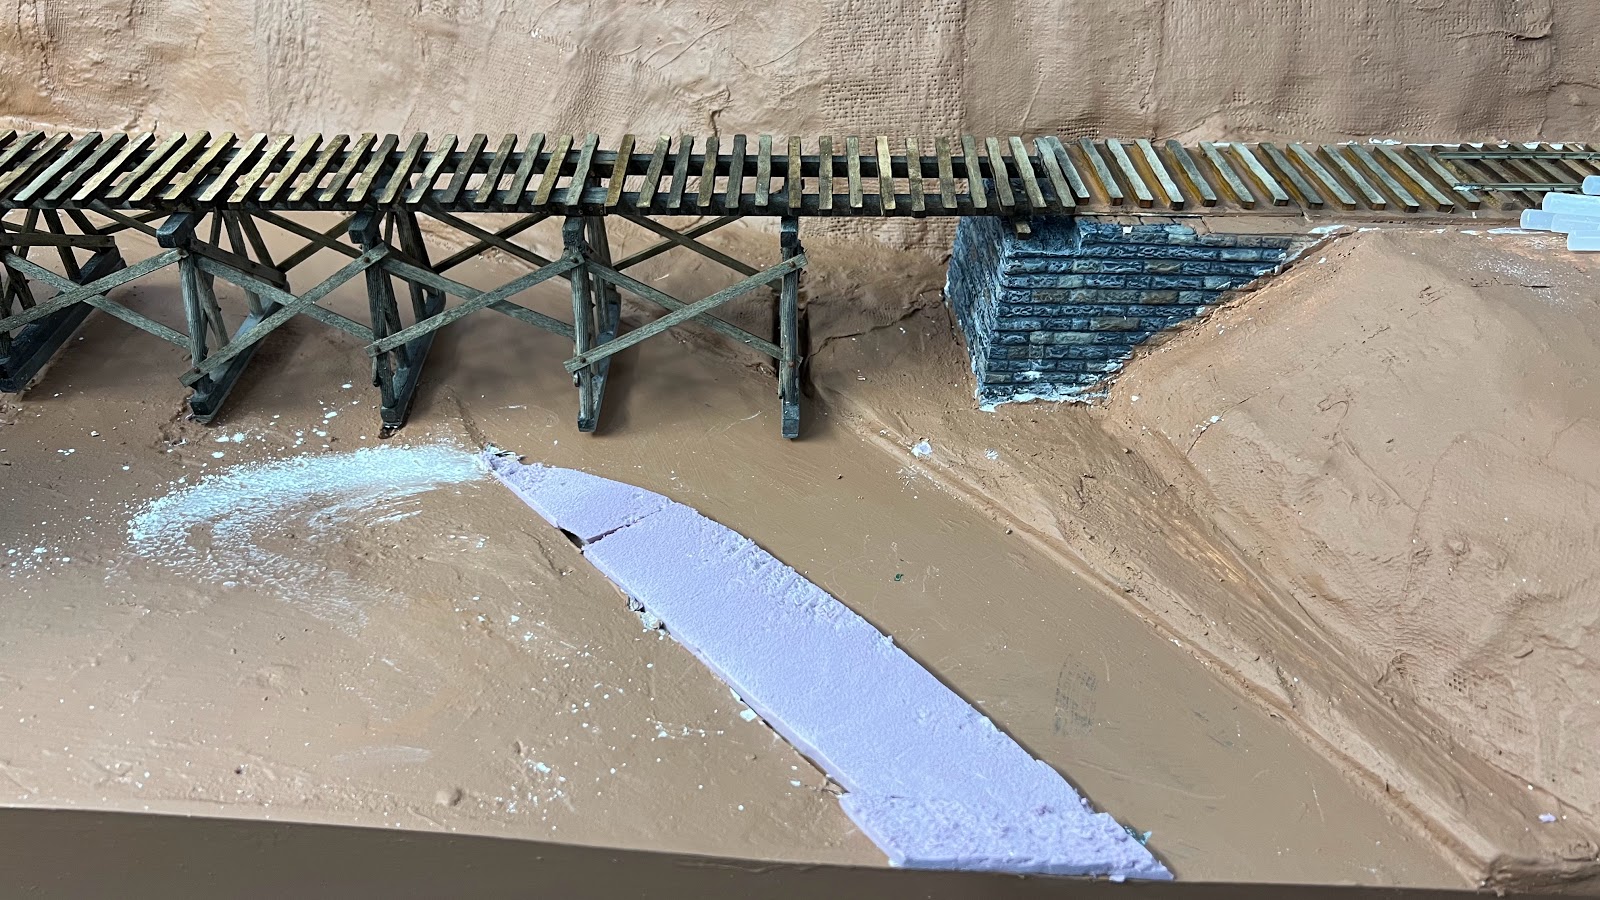
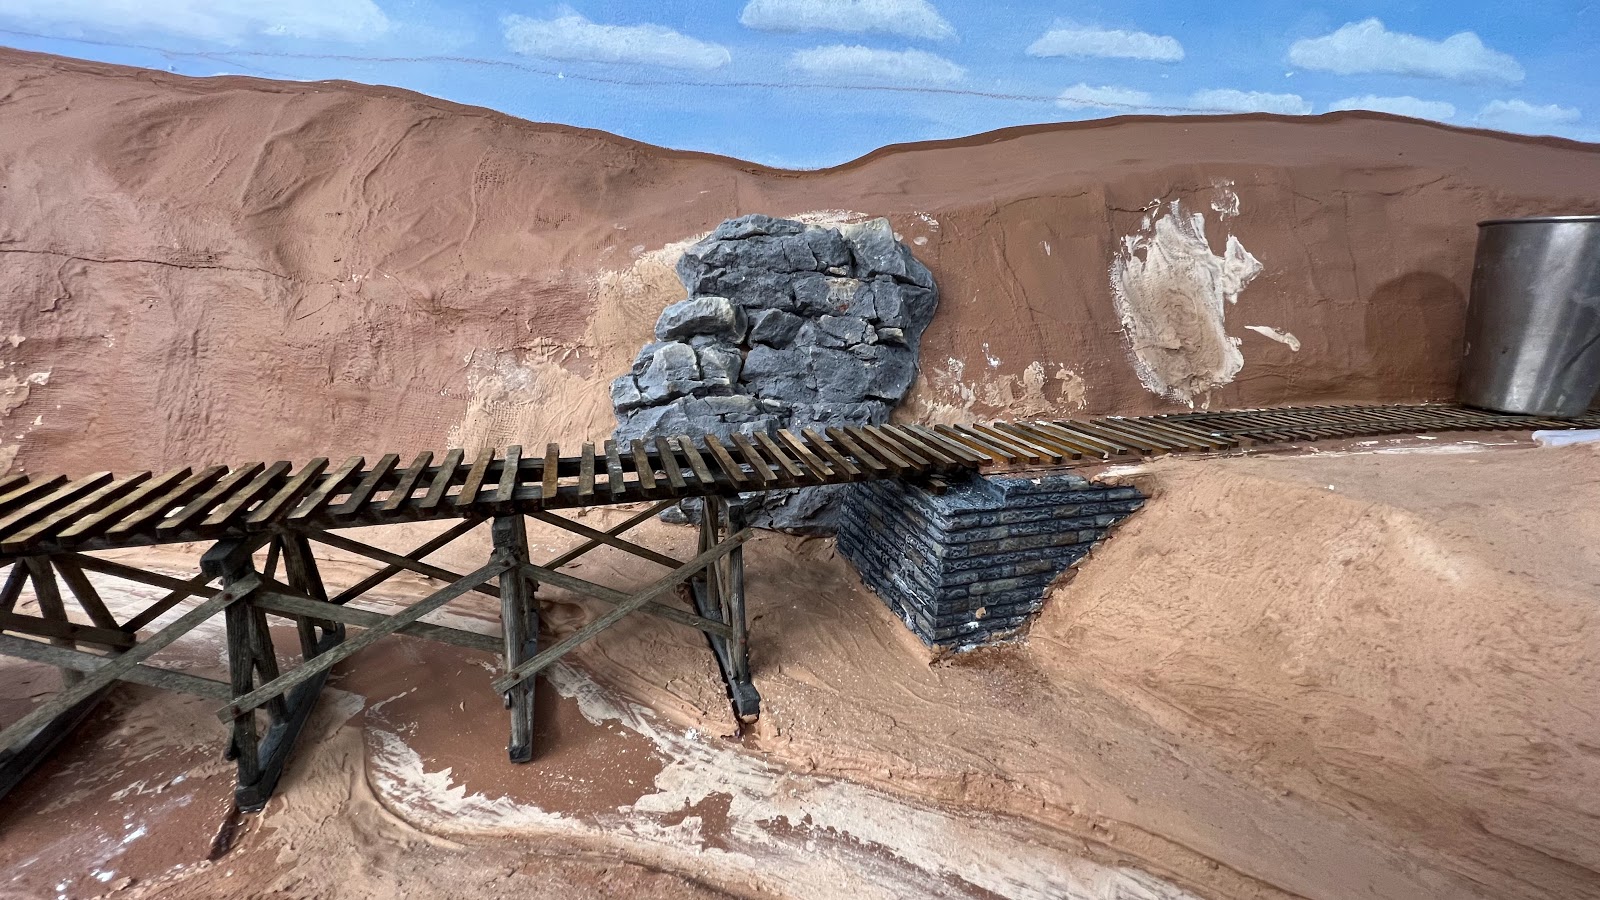
I continued work on the scenery and backdrops at Mueller's Creek. I suspect it will need about 30 more trees to capture the effect I want. In the meantime, I took a test shot with a train on the trestle. Then I used PS to add some trees to get a feel for the scene.  This photo angle is the main reason I added about 4 inches to the foreground scenery.


Wet scenery - ground leaves and twigs. Looks like a
mess now but will be OK when dried
This has potential to be a very nice scene. It will greet viewers as the come down the stairs into the layout area.


The top of the hill might be a candidate for an HO or N scale farm house and barn.


January 1, 2024

Making some progress on scenery

The scene is starting to come together. The next step it to make a bunch of trees, which can be somewhat tedious. But worth it when they are done.  


December 30, 2023

Some new scenery underway


 I finally had a chance to start to work on the scenery by the new trestle. The area behind the bridge will be largely forested. 

June 8, 2023

20,000 Leaves Under the Sky

High Road to Rome Diorama (1/35th scale)

I will be taking a short break from modeling for some family events, but I thought  I would post a photo of the work in progress on the 1/35th scale diorama that my brother and I are building. The diorama is a showcase for some new scenery products that Alkem Scale Models will be introducing.  If you look closely you will see sumac, oak, beech and hickory trees.  We plan to offer a line up of new scenery items to allow builders to make super scale trees like these with individual leaves. In fact, that is what we will be calling them, Super Scale Trees or SST.  We should be announcing them in a few weeks. 

October 7, 2022

Scenery Continues - Marcescent Oak


 I continued with scenery work today.

Marcescent pin ok

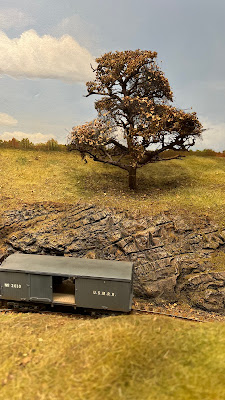
I used one of the dead bonsai trees that Samir gave me to create a marcescent oak, in this case a pin oak.  My brother suggested trimming the branches to give it to have a rounder crown. That worked.  I used a combination of Silfor Plane Tree foliage autumn, 933-24, and furnace filter sprinkled with Hudson and Allen forest litter to make the oak leaves on the tree. This tree is broad, so it was tricky finding a spot that worked. The hillside by the balloon camp worked the best.

Then I made a set of background trees from Scenic Express Supertrees and pieces of a witch's broom. The witch's brooms are available for sale this time of year due to Halloween. This year the broom I purchased has a pumpkin spice scent. I hope that wears off as it is a bit much.

Finally I added a split rail fence and some goldenrod weeds from Sifor to embellish the scene.

I am experimenting with trees or bushes in the foreground by the trestle. I added a few pup tents  and a guard too. I don't want the trees to be too big as I don't want to interfere with long photos of trains on the trestle.


October 6, 2022

Water + Dirt = Mud, Mud + Dirt = Mud


Those are probably the two most important equations I learned at US Army Engineer Officer Basic Course.  The instructor told us to remember them when the Colonel wants to fix the mud in front of his tent.  Don't add dirt, fix the drainage. 

Tonight I put the first formula to good use as I finished ballasting and applying a base coat of scenery on the new Falmouth.  I wanted to make it look like mud.

I made a secret concoction of 1/3 Amby's clay, 1/3 tile grout, and 1/3 Old Dirt from Scenic Express.  I processed Amby's clay in my blender to get as rid of as many clumps as possible. The Old Dirt from Scenic Express is great as it doesn't have sparkly mica in it. Unfortunately, the new bottles of dirt I purchased from them do have mica. 

I applied the secret formula to the layout. Then I hit it with wet water and then dilute glue. I used rubbing alcohol as a wetting agent. It has the benefit of drying faster too. The tile grout helps lock all the dirt and clay into a solid layer.

It's nice to be finished. Tomorrow I will be cleaning track and testing everything for post ballasting  problems.


September 26, 2022

HOOCHES


 I built three hooches for the camp scene at Falmouth. For the tent portions I used plastic tents by Reneda Models. I built the log portions and chimneys from wood dowels, balsa wood, pink foam, and wooden meat skewers.

I reserved the place in front of the hooch with the brick chimney for the soldier doing his laundry. Since I don't have a figure like that yet, I added him with photoshop. I will look for an appropriate figure, perhaps to 3D print.

Amby gave me some red Virginia  clay from his yard to use in the scenery. This is good stuff as there is no mica in it. But, you must grind it to a powder. Clumps of clay are impervious to water, that's why civil engineers use it for water barriers in dams and superfund sites, so it won't absorb the scenic wet water and glue. But once it is a powder, it works well and adds an authentic color. 


September 20, 2022

The Joys of Wiring

Haupt negotiating  the dip

 We finished wiring the layout today with frog juicers, feeders and the auto-reverse on the turntable. 

Amby spent the afternoon installing 4 frog juicers. The task was a little more complicated than usual since the rails on the frogs on my hand-laid turnouts are not all electrically connected. The easiest way to connect them is to solder a jumper across all the rails and then use the extension of that wire as the feeder wire  to the frog.  See the yellow circle the photo to see the jumper under the frog rails.  That jumper is part of the wire to the frog juicer. 


The red circle show how I use pieces of dark gray styrene to seal the gaps in the rails so that the will not close and cause shorts or other electrical problems.

While Amby was working on the frogs, I put a base layer of scenery on the Stares Tunnel section.

After dinner, I finished wiring the last frog juicer. Then I filled all the gaps with styrene and filed them smooth to the rail.  I also added jumpers from the all the stock rails to the closure rails.

The last under table wiring task was to connect the auto reverse circuit on the turntable. That worked as soon as I hooked it up. That was a pleasant surprise.

Amby and I did some test running. If you want to find track problems, run one of the Masons. Sure enough Haupt was derailing when backing over the south abutment. After a lot of gauge checking and test running I determined that rear rail by the abutment had a dip. I was able to fix it by levering the rail up a few thousands with a  small screwdriver. It now works without problems. 

I ran Haupt and Osceola up and down the tracks to test  the track, gaps and feeders. and all seemed to be working pretty well.  The wiring is done, but I still need to paint and ballast the track. I also need to do some tidying up of the wires under the layout so that they do not interfere with removing the books.
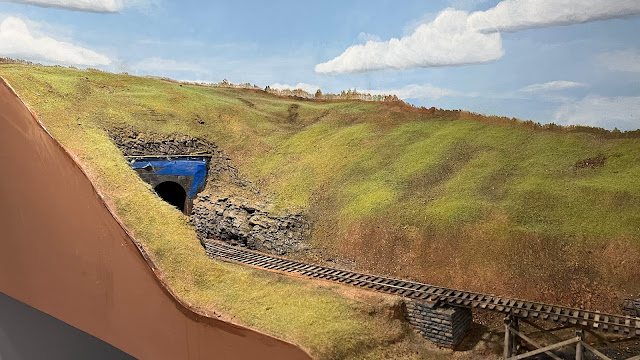

Base coat of scenery on Stares Tunnel


Doing scenery and backdrops and all the other work is fun, but when the trains move across the layout it really comes to life.


September 16, 2022

Backdrops at Falmouth - Alicia approves!


It really is amazing what a backdrop does for the layout. I spent today painting and making cut outs for the backdrop at Falmouth.  

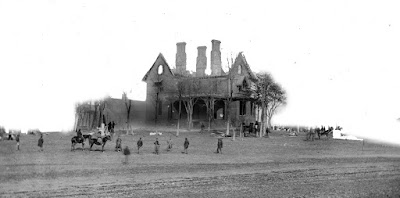
One of the key objectives of the backdrop was to show the Phillips House on the hill behind Falmouth. It was slightly north and east of the station. Gen Burnside used it as his headquarters when he was in command. Gen Hooker had his HQ near White Oak, so unidentified soldiers used Phillips House for their quarters. In February 1863, one of them started a fire in a hearth that accidentally spread to the rest of the house and it burned down. A photographer showed up and got a photo of it the next day.  I used that photo to make a cutout of the house and placed it on the backdrop.  I painted a road that leads to the house. I also used a cutout from Brian's artwork to show some of the servants quarters that were reported to be near Falmouth Station.

The burned station and the rest of the structures are recycled from the original Falmouth.

I also used some of Brain Kammerer's artwork to show the  army camp south of the Falmouth warehouse. 

I suspect there is about one more man day of work to finish the backdrops.

Alicia checked the layout tonight and said, "this is better than the port layout." I guess that is a good sign.

Brian's artwork was perfect for this spot south of the QM warehouse. I borrowed the lone pine from the rest of the layout. Making more trees is job one the do list.


September 15, 2022

First Layer of Scenery on Phase 2


Test shot showing the first layer of scenery. Auto focus bracket stack shot with the R7 with in-camera blending. I used PS to add the smoke and remove the window. 


First section to get ground cover
I started adding scenery at the north end of the bridge and will work to the south toward Falmouth. The reason I am starting here is that I am still waiting for some urethane rock castings from Scenic Express to be able to finish the tunnel portal area. 

This is the first layer of scenery. I used the dirt, ground foams and static grass in the first layer. Once it is fully dry, I need to decide what details I want to add such as fences, trees,  bushes, structures, and encampments.
With the base layer of scenery installed, I painted some distant terrain on the backdrops. I kept the horizon line low as I don't want this to appear like a mountainous region, just hilly with steep ridges.

I painted some distant detail on the backdrop

 Today the frog juicers arrived, so I will have to take some time to install those. 

September 14, 2022

Ready for scenery and backdrops


 I finished the last terra-forming for the layout.  The low hills behind Falmouth are stryofoam, while the large hill by Stares Tunnels is a cardboard/foam web covered with rosin paper and plaster gauze. 


I ordered frog juicers for all the turnouts at Falmouth.  I don't really need them given that I use battery powered and keep-alive equipped locomotives, except for one spot- the turnout from the arrival track to the rear siding. The front stub track to the turnout to the rear siding is too close to the frog of the turnout right before it. So I cannot cut a gap in that stub rail without weakening it. So that frog and stub rail will need a frog Juicer to avoid shorts when trains use the arrival track.  The battery locos will chug right through despite the short, but the other locos will be affected. Adding frog juicers is simple and really just best practice. 

I am waiting for some additional urethane castings from Scenic Express to finish the rocks by the tunnel. Meanwhile, I painted all the raw terrain and fascia with a coat of Virginia clay red latex paint. The paint really helps the layout look a lot more refined. 

Next comes scenery and backdrop painting, some of my favorite layout building tasks.


September 11, 2022

First Train to New Falmouth

When the glue under the bridge dried, I spent a good part of Thursday installing the rail over the bridge and connected it to the rest of the layout.  It took me about 8 hours to do the work, but I had to take a lot of breaks as I was feeling some mild side effects from a COVID booster shot. But, I was able to get all the track and spikes on this section complete. I figure that I can lay and spike about one foot per hour. That includes 4 spikes per tie.

Friday was a busy day as Amby arrived to finish wiring the bus and feeders and I worked on the scenery at Falmouth. We had an issue with my second booster. Amby thinks the second booster may be shorting the first booster, probably due to a fault in my wiring. Fortunately, the layout works fine with just one booster. I generally run 2 or maybe 3 engines at a time. My two work horse locos are battery powered and they run through shorts and other minor problems. So we should be OK.

With the wiring sorted out using one booster, Amby took the throttle with me as the conductor.  We ran a 7 car train into Falmouth. We used the main line as the arrival track as the arrival track had 3 cars parked on it. Those cars required Amby to make some extra moves to clear the main, get to the turntable, reverse the engine, run around the train. Pick up some cars and head out of town.

Amby was the first operator to OS a train into Falmouth using the telegraph system. Everything worked pretty well as long as the conductor made sure the switches were set correctly. 


After Amby departed, I continued with adding the scenery at Falmouth. Since this part of the layout is a narrow shelf, there is a lot less vertical relief. But I did cut away some of the fascia to provide a hint that the yard at Falmouth is adjacent to the creek.


September 8, 2022

Back to Spiking Time


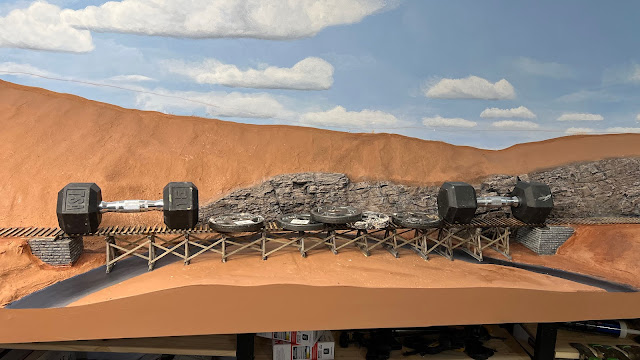
Forty two and a half pounds of weight to hold the trestle while the glue dries


I finished installing and carving rock faces by the bridge site and balloon camp. 

Black base coat on rocks

Next I painted the rocks. I use Durham's Water Putty for my rock carving material. It has a yellow color. So I add brown acrylic paint to the putty mix. But once the putty is dry I paint the whole rock face black. Then I dry brush white from above to create the zenith highlights. At this point the rocks look like a black and white image.


Color Palette

Next, I take dark brown, burnt sienna, medium gray, white, and tan acrylic paint. I brush the rocks lightly with these colors on a wet brush to catch the high points. The brush is not so wet as to run and puddle paint in the crevices. It's a like a dry brush technique but with a loaded wet brush. 

I did a quick job of painting the creek bed. This will be covered with layers of other scenic material so the paint wasn't critical, but it will look like a acceptable before I get to that.

Once the rocks and creek were painted, I inserted the bridge into position. I adjusted the fit slightly by cleaning away any stray bits of putty. Then I glued it with carpenter's yellow glue. I put 42.5 pounds of weight to hold it it position.

Zenithal highlights with white paint


I didn't finish the terrain over the tunnel. That will have to wait until the rails are spike down. 


September 6, 2022

Hmmm, Chocolate.

Typical terrain along the right of way. Note the exposed rock topped by soil in the railroad cut.
 
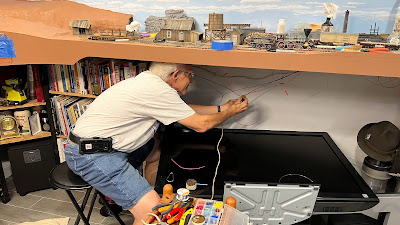
Work started early today as Amby arrived promptly at 930 to solder feeders to the main bus.  He brought some shower curtain hooks to hang the electrical bus and a heavy duty stapler to secure the hooks to the benchwork.  

While Amby was soldering away, I painted the scenery with a base coat.  Alicia came downstairs to say hello and remarked that the layout looked like a big milk chocolate cake. 

Chocolate hills - the ballon is down to avoid paint stains
Later in the afternoon, after the paint had dried I begin adding rock outcroppings to the scenery.  

Revising the creek banks north side

First, I made a modification to the stream bed. I thought it was too regular. So I added a small meander to the creek by the southern abutment.


Revising the creek banks south  side


Then I added the first of the urethane rock castings I purchased from Scenic Express. I used my Rotex 90 sander to remove the excess thickness on the back of the casting so that the rocks would fit in desired area behind the abutment.  The Rotex in direct mode made quick work of the urethane.

I places another big urethane rock casting in the middle of the bend in the creek. I cracked it into 3 pieces to better fit.

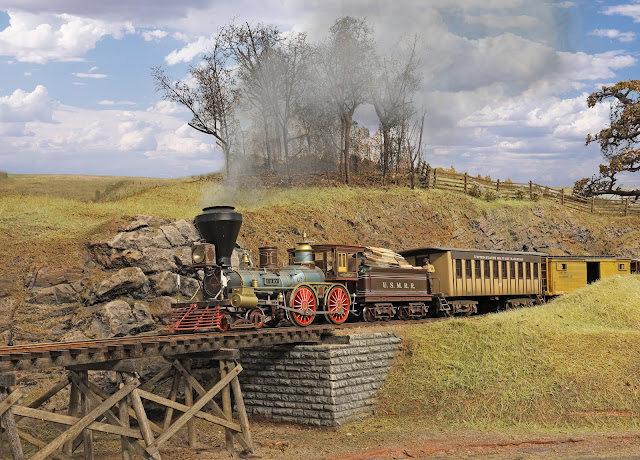
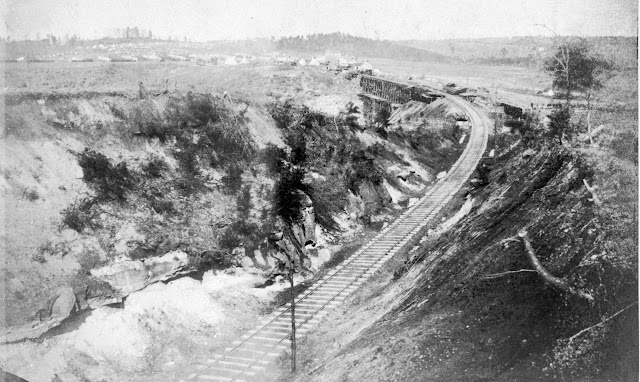
To continue the rock wall to the south, I used my rock molds and some hand carving. There are lot of near vertical walls in this section, but I am trying to minimize the amount of rock outcroppings. I will try to show plain soil as much as possible. But the really vertical sections need to have rock faces.  Yes, they look cool, but I don't want this to end up looking like Colorado.  The terrain in this area is marked by numerous steep ridges of about 200-300 vertical feet with many cuts and fills.  See the lead photo.

Carving rocks - messy but fun work.


September 5, 2022

Snow in September?


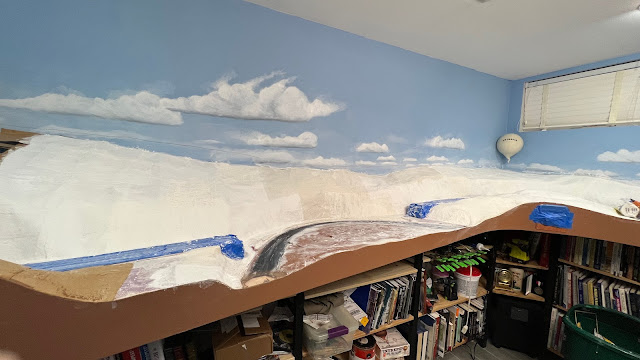
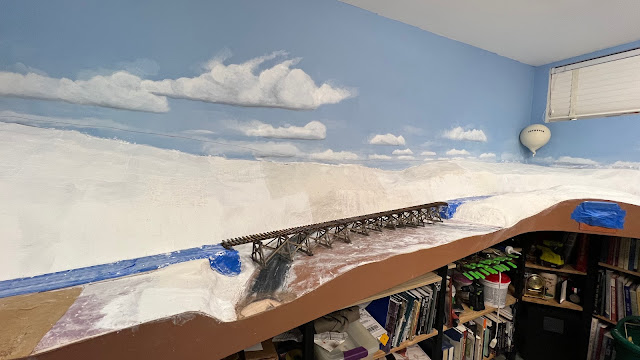
I spent the past two days working on the terrain of the ridge between Falmouth and Stares Tunnel. I decided I needed to get this messy work done before installing the bridge and laying the track. 


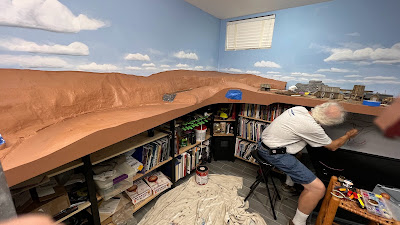
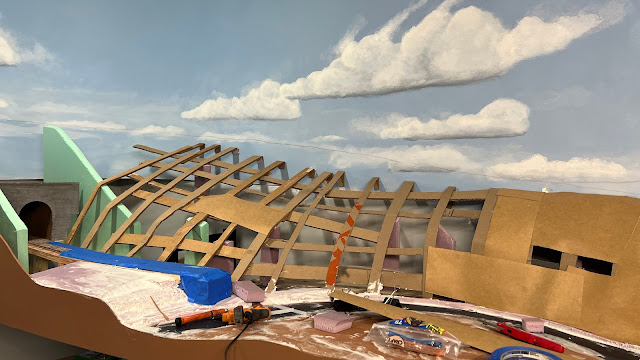
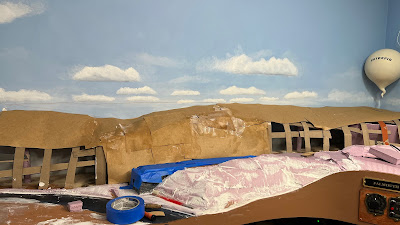
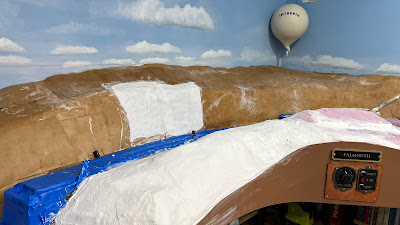
I used the cardboard web to build up the overall shape. Then I applied a layer of thick paper, sometimes called rosin paper,  used to protect floors. The first layer of rosin paper was dry as I used hot glue to stick it to the cardboard ribs. Then I applied another layer of rosin paper that I cut into smaller sections, soaked in water and secured with white glue.   Once that dried, the terrain structure was reasonably solid.


Next I covered the whole surface with a two layers of plaster impregnated gauze.  Now I need to let this cure before I can paint it with the base scenery color.

The bridge is a sturdy enough that I can insert it to test fit and then remove for scenery work.