A journal following the history, design, construction and operation of Bernard Kempinski's O Scale model railroad depicting the U. S. Military Railroad (USMRR) Aquia-Falmouth line in 1863, and other model projects.
MARPM 2019 weekend ended today with layout open houses and op sessions. www.MARPM.org
Ramon Rhodes demonstrates Monroe Weathering Solutions
Open house visitors at my layout
Bill Hanley leads a class on freight car construction
MARPM2019 was a remarkable success. Thanks to all that participated and helped make it a great event. We plan to continue this meet next year, so please mark your calendars.
Butch Eyler tutors Norm Wolf on weathering freight cars
Here are some photos from the meet and open houses.
More visitors to my layout
Andy Dodge showing off his new paddle wheel steamer for his next layout
One of the benefits of the flood this summer was that I did a serious purge of excess hobby stuff that I have accumulated over the past 20 years.
A large bald eagle keeps a lookout at Aquia Landing
In the process of purging and sorting stuff, I found two O scale bald eagle figures that I had purchased. One had with its wings spread and one with wings at rest.
The flag pole at Aquia Landing seemed like the perfect place for the resting eagle to perch. The other eagle needed a more substantial base, so I placed him on the roof at the warehouse at Brooke. I thought about trying to suspend this eagle with wires but didn't think it looked good.
Bald Eagles were once plentiful in the Chesapeake Bay area. They were nearly killed off by DDT and other human interference. Fortunately, with conservation intervention, they are making a comeback in the bay area.
A few years ago a pair of bald eagles built a nest at the National Arboretum. The National Park Service established a live "eagle-cam" to monitor the birds. My wife was very interested in watching them developed. Alas, some animal lovers were shocked to see the eagles bring squirrels and cats to the nest to feed their young. They are apex predators.
Post script: A week after this post I was playing golf in Utah on the Wasatch Mountain State Park Mountain Course. I was able to score an eagle on the 9th hole, a relatively short, but all up-hill par 5. That is only the second golf eagle of my meager golf career.
1. Work-in-progress on my new Festool based work bench
As the continuing saga of the flood recovery unfolds, I am in the garage making a new work bench to house my miter saw and festool collection. How did that happen? Surely, working in the garage isn't on the basement's critical path.
Turns out it is. See, I want to get my home office set up and running. I have the computer and my desk set up. Good, I have a lot of computer related work to do.
But first, I need to get the display shelves built so I can get my models put away in a reasonable fashion. So I need to work in my wood shop.
But first, I need to sort out the stuff that we brought up from the basement and placed in the garage. Now that I cleaned out the garage, I can start working on the display shelves.
But first, I need to get the workbench set up in the garage. Ok, I'm starting to clear off the Multi Function Table (MFT). I am ready to cut.
But first, I need a plan. Ok, let draw a design.
But first I have to get the casters to find out the dimensions.
Ok, got the plans drawn. Now to get some wood, and so on....
2. An example of the dogs in action
After three days of garage work, I have the work bench set up. Next I need to put on a couple coats of shellac on the cabinet base and install the drawers. Then I can access each tool without having to unstack them each time. I am using the Pre-built Festool SYS-AZ drawers. They are perfect for Festool systainer boxes. They don't cost much more than a set of drawer slides and a piece of good plywood.
I used baltic birch plywood (over $100 for a 4x8 sheet!) and 3/4inch red oak trim. I plan to finish the wood with a clear shellac as I like the look of the wood as is, though I wouldn't mind having the oak a bit darker. But I don't want to use any stain.
The whole cabinet is mounted on locking casters. That is really handy for cutting long pieces that might not fit in the garage and for cleaning up. The miter stand and the MFT are the same height. If I need to cut long pieces, I can use a support clamped to the MFT to make a temporary miter stand. There is no space in my garage for a dedicated miter stand, so that is my work around. This is the way I've always done it. Check out this video below to see a good explanation of how it works.
Those of you that use a Festool MFT are probably familiar with 20mm dogs. For the rest of you, a dog is the name for a metal dowel that fits precisely in the holes in the MFT table. The dogs, when used in conjunction with a track saw and track, allow all kinds of cool precision cutting without a table saw. (see photo 2)
3. The Dog Pound
Anyway, the dogs like to roll around when not in use and hide in unlikely places. So I built a shelf in the workbench with 20mm holes and M8 threaded inserts to hold my collection of 20mm dogs and locking knobs. I call this the "dog pound."
Yes, this is the 1,000th post on my blog! Thanks to everyone that follows along.
Mock up showing the height of the benchwork
\under the bridge.
Paul Dolkos stopped by today in part to see how the flood recovery was coming along.
We discussed plans for the Aquia Line expansion. Paul agrees with Alicia that the Aquia Line expansion should have minimal impact on the crew lounge. He suggested a narrow shelf along the east wall (the wall where the couch is now) instead of the big bridge scene.
The problem with the big bridge scene is that the bottom of the bridge would only be 28-30 inches above the floor. That makes placing the couch in under the bridge a problem. The photo at the left of the bridge mock-up illustrates the problem. Another concern is that the the river level under the bridge will be lower than the Potomac River at Aquia Landing on the opposite side of the room. That might cause some geotechnic confusion when once can see both scene at the same time.
To address those concerns I modified the plan. Instead of the large trestle, I would instead have an open country scene along the east wall. Part of that scene would have the track paralleling Clairborne Run, as it does in the prototype.
To satisfy my desire for another bridge, I would put a low trestle in the north room where Falmouth is now. There was a long low trestle at Accokeek Creek on the prototype, so having another trestle would be very plausible.
After Paul left, my advance copy of the September 2019 issue of Model Railroader arrived. The issue features a photo of the Aquia Line on the front cover. I have had my modeling featured on the cover of several other magazines and catalogs, but this is the first time my work has appeared on the cover of Model Railroader. I had a spot reserved for it on my Wall of Lost Layouts, so I framed it and put it up.
Now it is a well known phenomena that when one of my model railroads get published in the model railroad magazines, the layout is doomed. Can the Aquia Line be the exception and survive? I hope so. It did survive the great flood of 2019. I hope if stays around for a while longer.
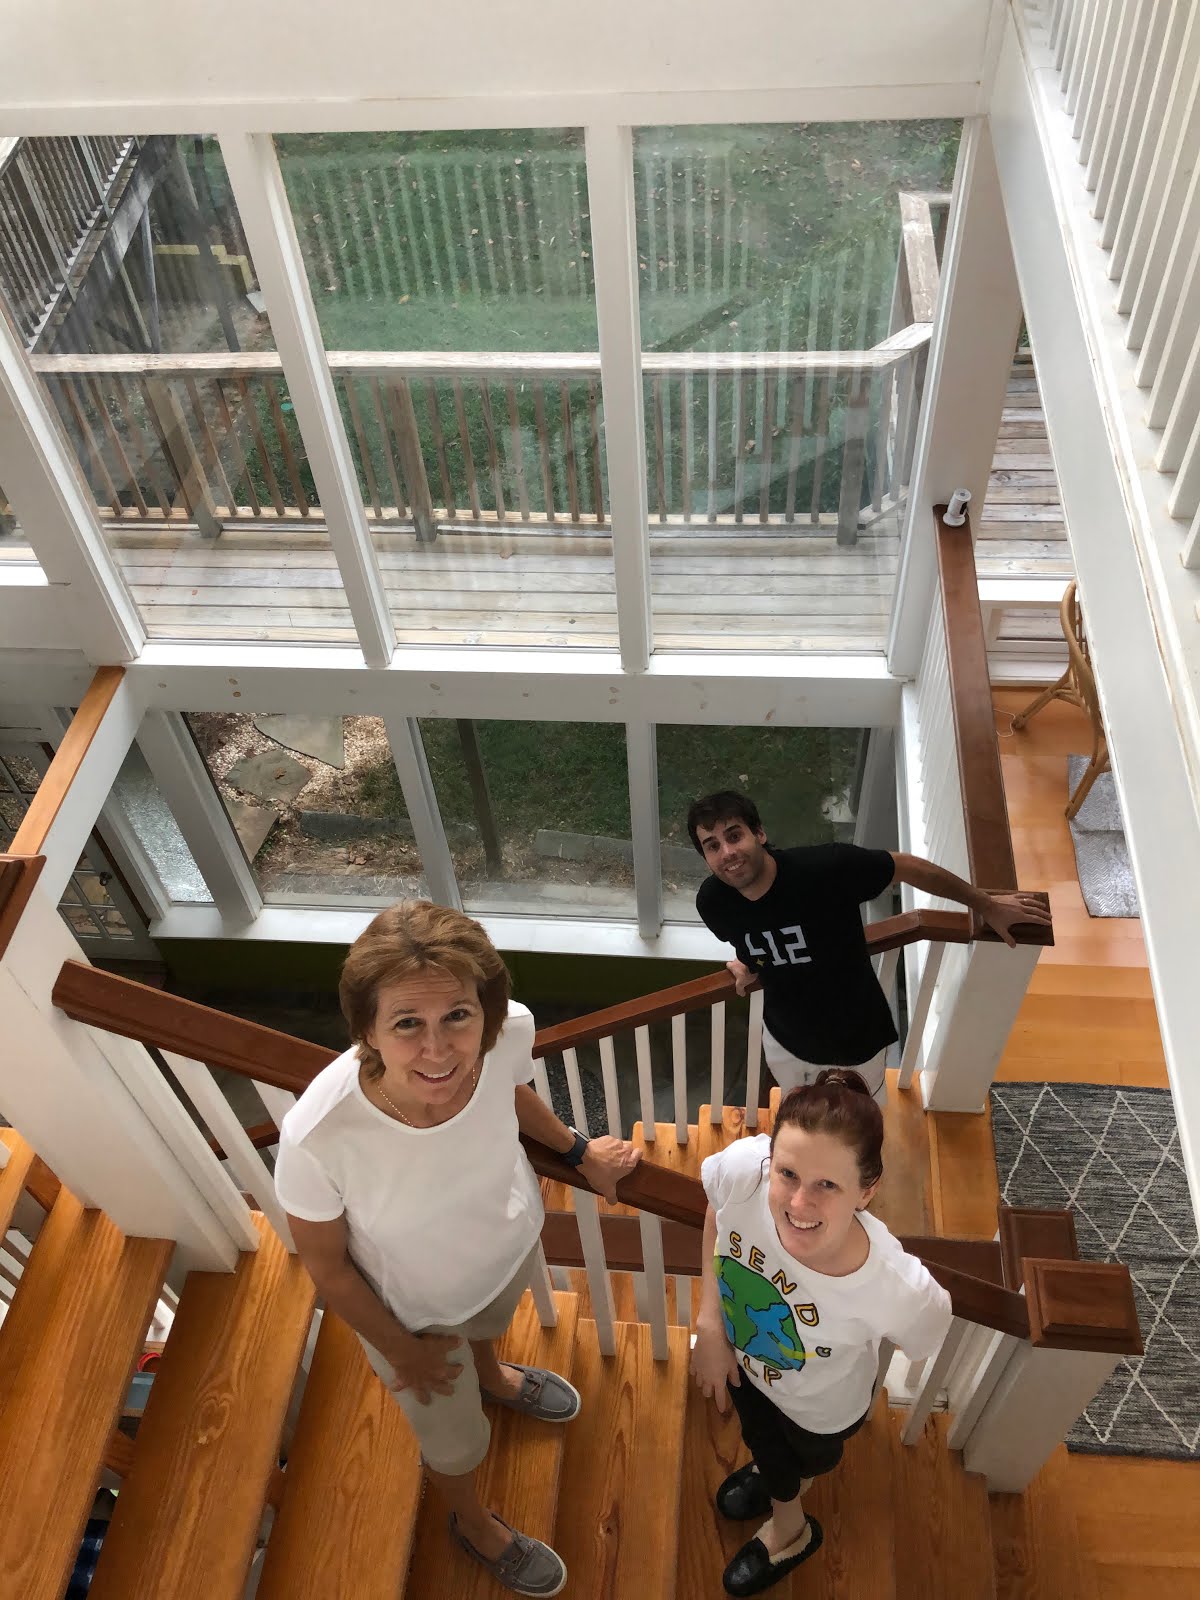
Alicia, Danica and Adam in the atrium of
their new home.
Last week we took a break from flood recovery to head to Alabama to help my daughter and son-in-law with some work on their new house. They relocated to the Birmingham area and purchased a house that needed some work.
After 6 days with them, we returned to Northern Virginia to continue to rebuild the basement.
I finally have my office and computer set-up and operational. The past few days I built a new workbench for my hobbies. I still need to get it installed and the modelling tools and supplies organized. Hopefully in a few days everything will be back to normal and I'll start working on the Aquia Line as well as catching up on Alkem Scale Models.
Fascia frame for Marty's layout
Today I and some of my Festools took a ride to Gainesville to help Marty McGuirk with some carpentry work on his layout. Stic Harris was also there. He worked on the track lighting and the swing gate. I worked on fascia for the left end of the layout. Marty wanted to create a "picture frame" effect for the far end of the layout. The photo at the left shows the fascia "frame." The area by the clamp still needs to be trimmed to the final profile. I also used my track saw to rip several more fascia panels for Marty to install on his own. The Festool TS-55 track saw is great tool.
Marty's layout is coming along. It won't be long before he can run some trains across the whole branch line.
marty says, "This will be where the sluice for the paper mill will be."