


You knew I had to find a way to add a railroad to the diorama. But, it's not gratuitous! There was a 60cm Decauville railroad at Omaha Beach. The Germans were using it to move construction materials along the various work sites. The prototype photos show the remnants of the railroad tracks after the Allies had secured the beach.
To model the railroad, first I cut some pieces of foam to make the roadbed sections that extend from the shingle to the work sites. I used Durham's water putty to fill in the gaps. Once those was dry, I painted the road bed to match the scenery.

Then I used my laser cutter to cut ties from 1/32nd inch birch plywood. I did not glue then one by one. Instead, I cut them like a piece of flex track with small connectors between each tie. To curve the track, I had to cut one side of the connectors. Thus it was easy to glue down the ties.
The ballast is fine N Scale gray limestone gravel from Highball Products. Once that was glue dry I added the rails. The rails are 0.015 inch resin impregnated cardboard with self-adhesive backing. I tried to secure them further with a coat of mat mod podge, but that wasn't too successful. The wetness of the mod podge made some of the rails buckle. So I had to reinstall some of them.

The shingle stones on the beach adjacent to the tracks are coarse ballast from Woodland scenes. We painted them to better match the colors in the photos. Some additional painting is probably necessary.
I was also adding additional layers of gloss polyurethane to the water in-between the other tasks. There are about 8 coats now and I think that is enough.
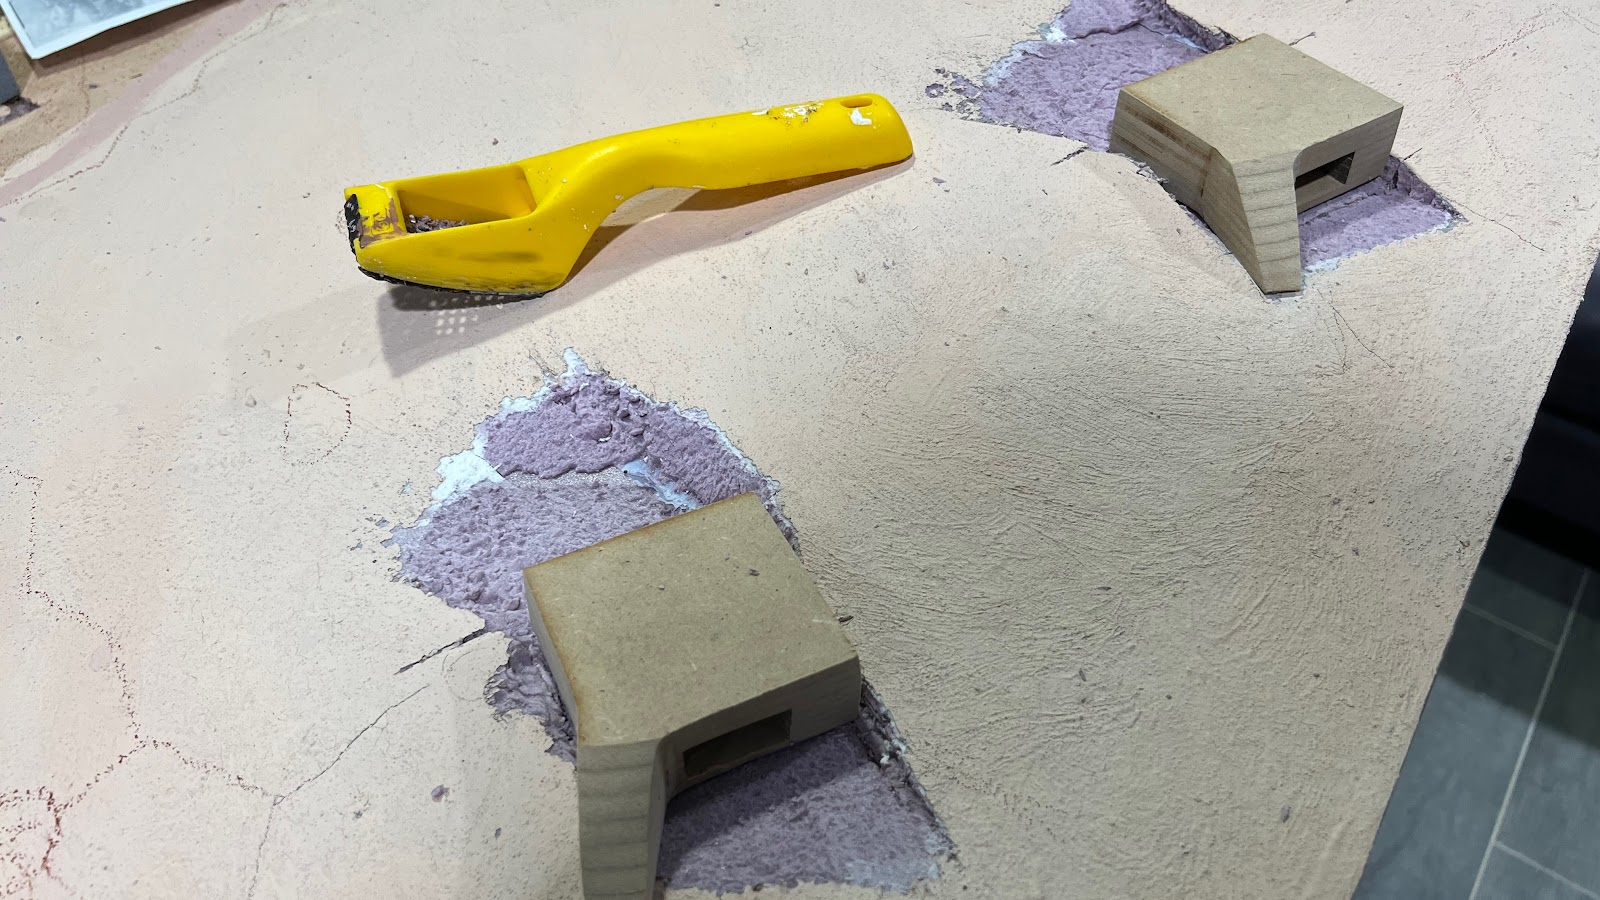
I also installed the two R669 casements for the 75mm artillery pieces in position in WN62. I made the casements with layers of MDF that I cut on my laser.

They were mostly buried with earth, so I used pieces of foam and water putty to build up the earth berms.
Then I cut some of the trenches using a xacto knife and a soldering iron to melt away the foam. The iron worked pretty well. I gave everything an acrylic brown wash. There are still several gun emplacements, pillboxes and numerous details that I need to add. But the final photo gives an idea of how the diorama looks so far.

,
Ever see this layout? https://pnsudmodelisme.com/product/1-48e-reseau-mur-de-latlantique/
ReplyDelete