A journal following the history, design, construction and operation of Bernard Kempinski's O Scale model railroad depicting the U. S. Military Railroad (USMRR) Aquia-Falmouth line in 1863, and other model projects.
©Bernard Kempinski All text and images, except as noted, on this blog are copyrighted by the author and may not be used without permission.
-----------------------------------------------------------------------------------------------------------------------------------------------------------------

September 8, 2022

Back to Spiking Time


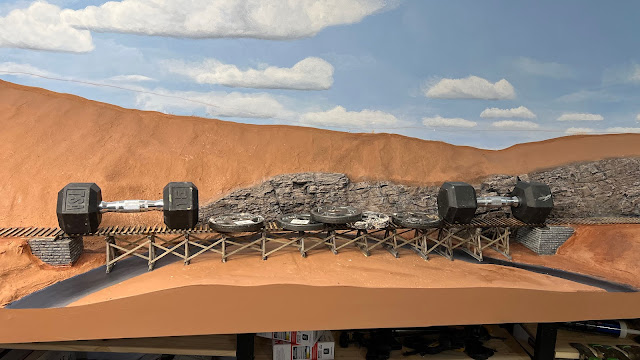
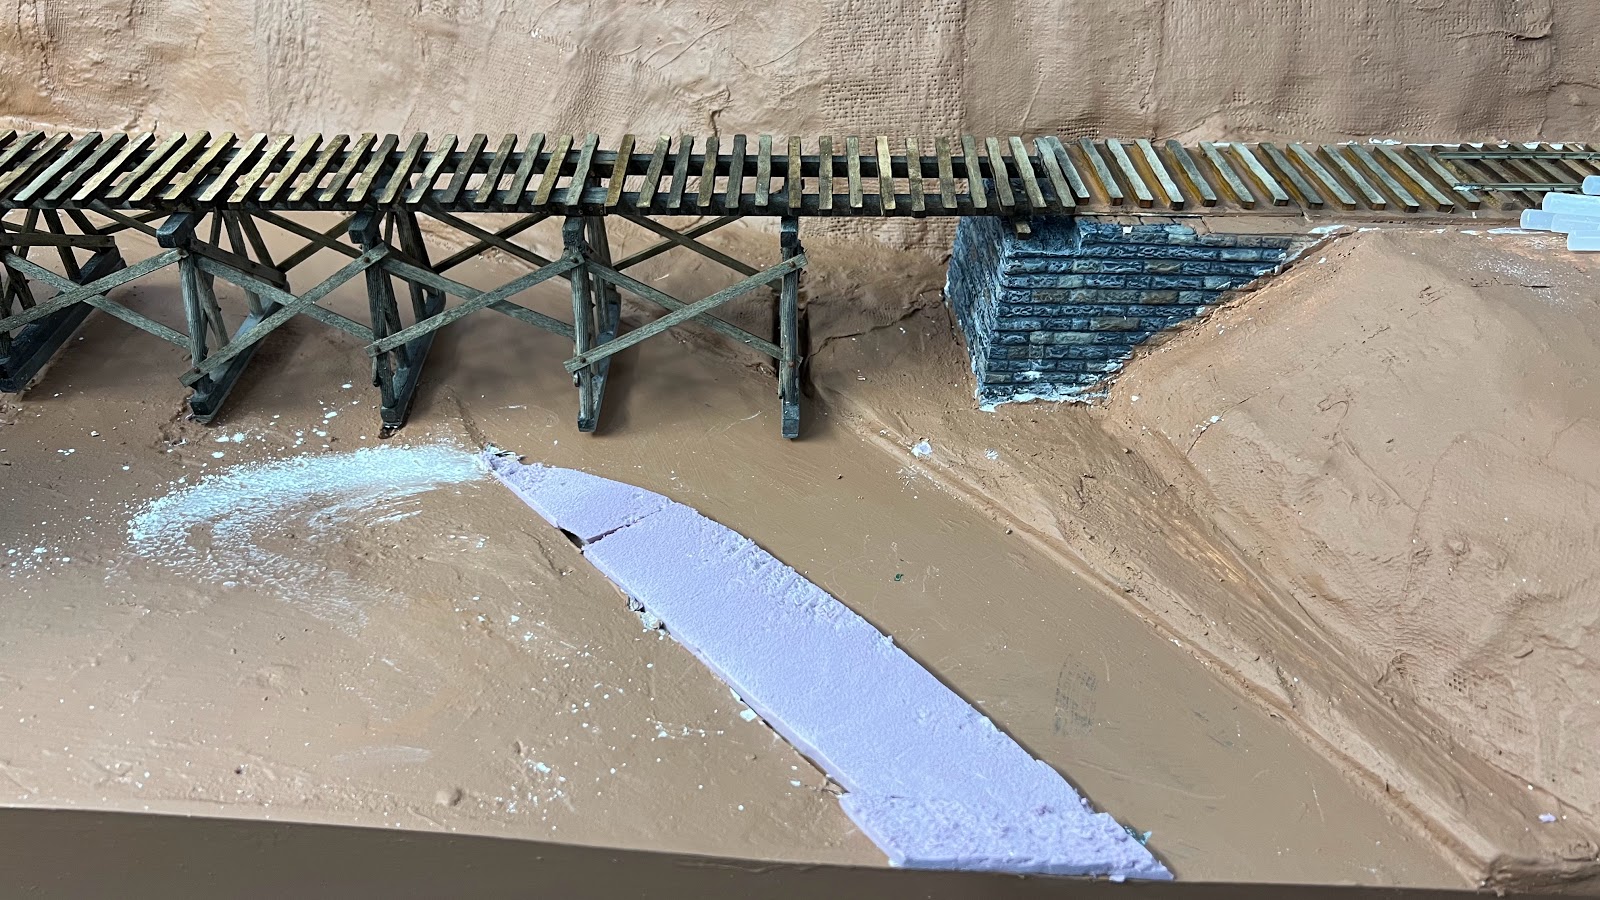
Forty two and a half pounds of weight to hold the trestle while the glue dries


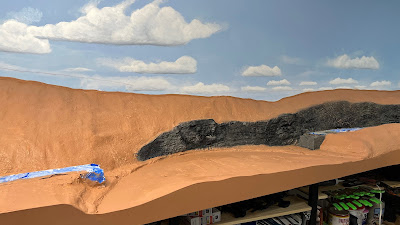
I finished installing and carving rock faces by the bridge site and balloon camp. 

Black base coat on rocks

Next I painted the rocks. I use Durham's Water Putty for my rock carving material. It has a yellow color. So I add brown acrylic paint to the putty mix. But once the putty is dry I paint the whole rock face black. Then I dry brush white from above to create the zenith highlights. At this point the rocks look like a black and white image.


Color Palette

Next, I take dark brown, burnt sienna, medium gray, white, and tan acrylic paint. I brush the rocks lightly with these colors on a wet brush to catch the high points. The brush is not so wet as to run and puddle paint in the crevices. It's a like a dry brush technique but with a loaded wet brush. 

I did a quick job of painting the creek bed. This will be covered with layers of other scenic material so the paint wasn't critical, but it will look like a acceptable before I get to that.

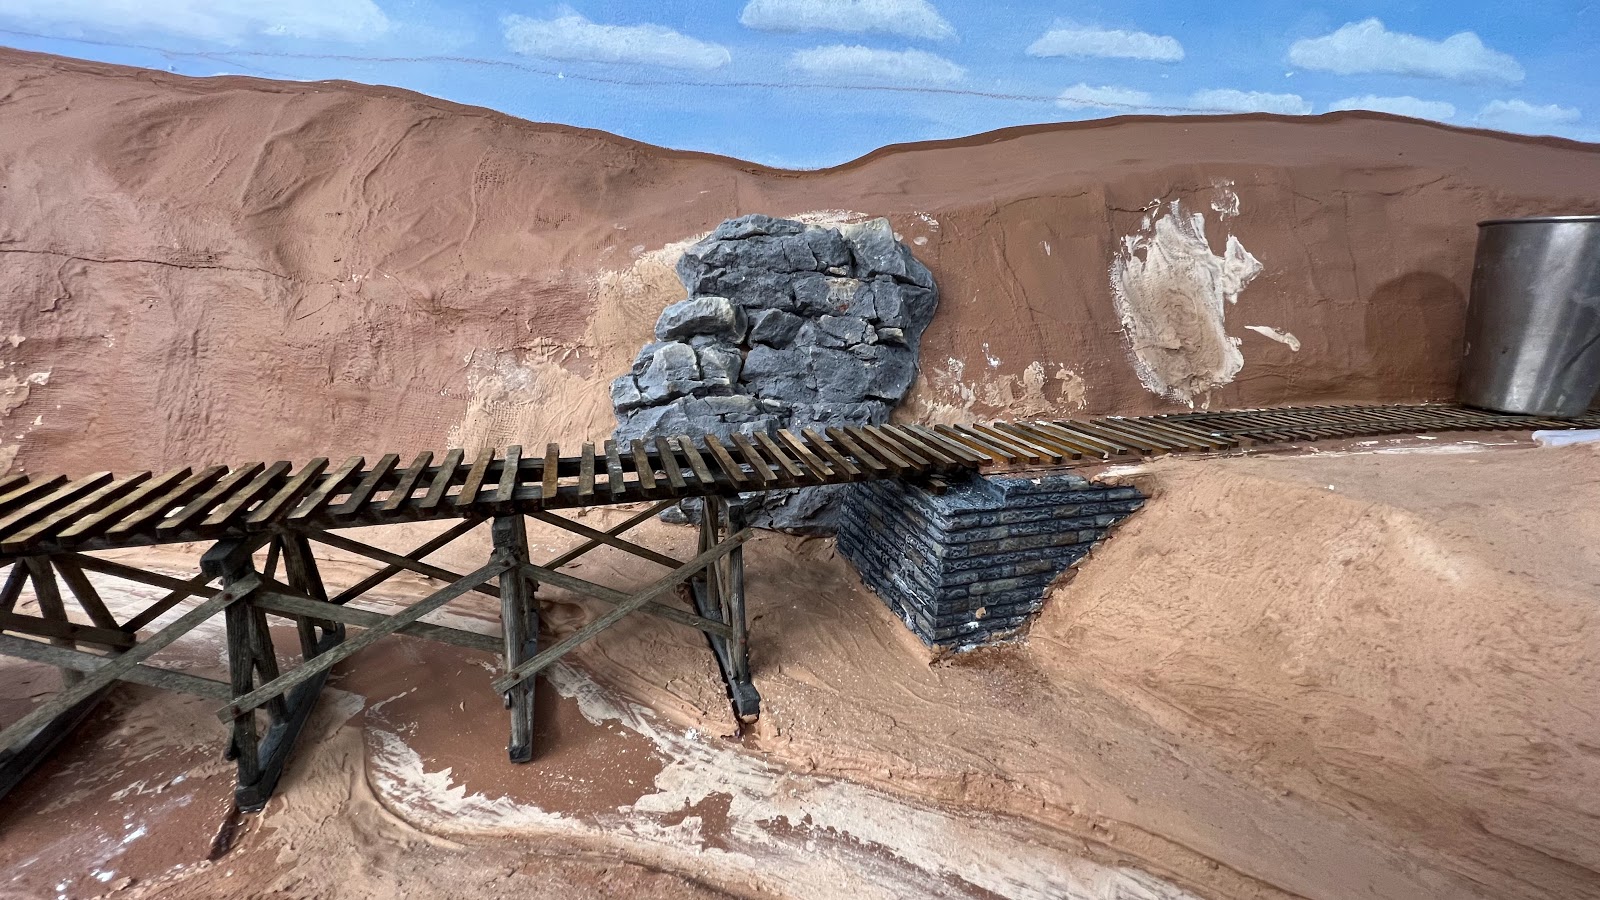
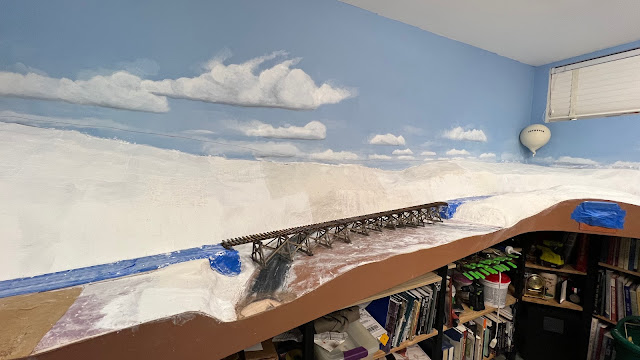
Once the rocks and creek were painted, I inserted the bridge into position. I adjusted the fit slightly by cleaning away any stray bits of putty. Then I glued it with carpenter's yellow glue. I put 42.5 pounds of weight to hold it it position.

Zenithal highlights with white paint


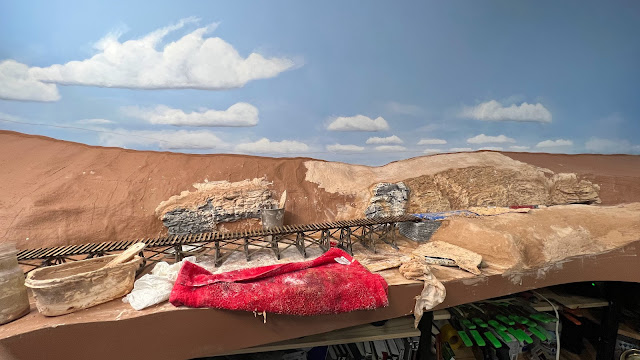
I didn't finish the terrain over the tunnel. That will have to wait until the rails are spike down. 


September 6, 2022

Hmmm, Chocolate.

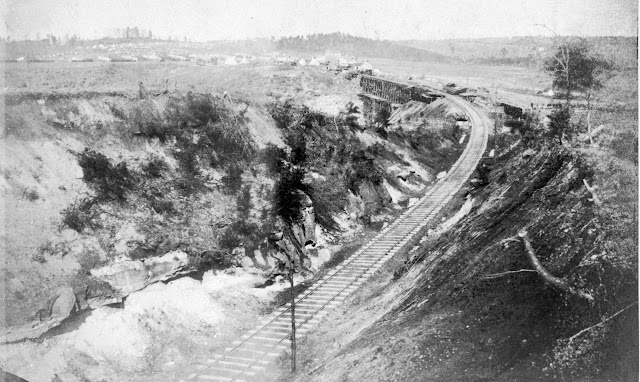
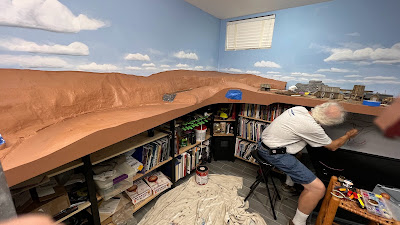
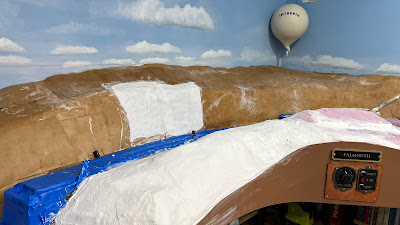
Typical terrain along the right of way. Note the exposed rock topped by soil in the railroad cut.
 
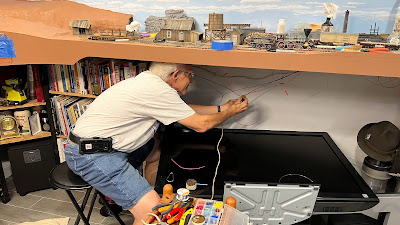
Work started early today as Amby arrived promptly at 930 to solder feeders to the main bus.  He brought some shower curtain hooks to hang the electrical bus and a heavy duty stapler to secure the hooks to the benchwork.  

While Amby was soldering away, I painted the scenery with a base coat.  Alicia came downstairs to say hello and remarked that the layout looked like a big milk chocolate cake. 

Chocolate hills - the ballon is down to avoid paint stains
Later in the afternoon, after the paint had dried I begin adding rock outcroppings to the scenery.  

Revising the creek banks north side

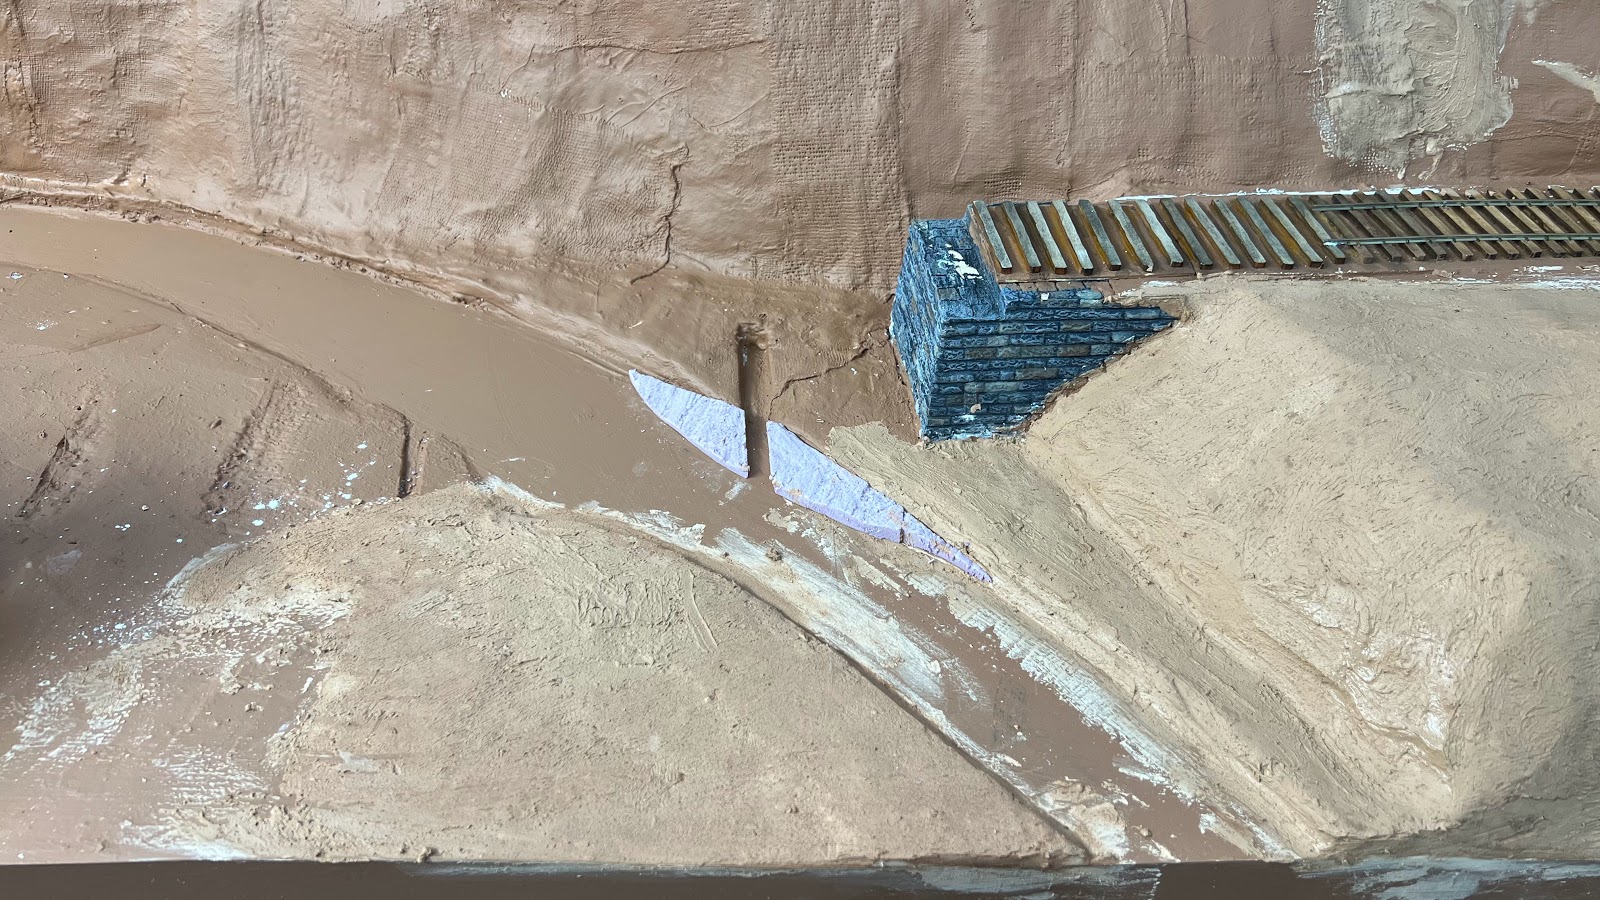
First, I made a modification to the stream bed. I thought it was too regular. So I added a small meander to the creek by the southern abutment.


Revising the creek banks south  side


Then I added the first of the urethane rock castings I purchased from Scenic Express. I used my Rotex 90 sander to remove the excess thickness on the back of the casting so that the rocks would fit in desired area behind the abutment.  The Rotex in direct mode made quick work of the urethane.

I places another big urethane rock casting in the middle of the bend in the creek. I cracked it into 3 pieces to better fit.

To continue the rock wall to the south, I used my rock molds and some hand carving. There are lot of near vertical walls in this section, but I am trying to minimize the amount of rock outcroppings. I will try to show plain soil as much as possible. But the really vertical sections need to have rock faces.  Yes, they look cool, but I don't want this to end up looking like Colorado.  The terrain in this area is marked by numerous steep ridges of about 200-300 vertical feet with many cuts and fills.  See the lead photo.

Carving rocks - messy but fun work.


September 5, 2022

Snow in September?


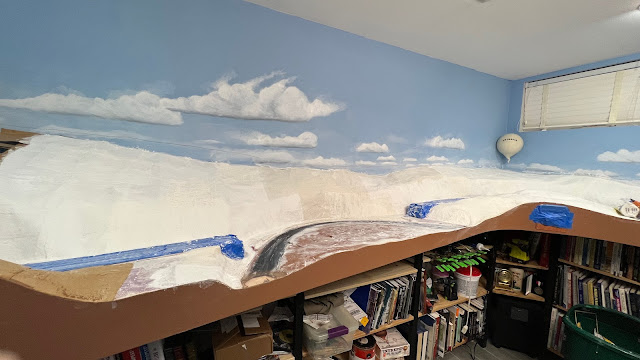
I spent the past two days working on the terrain of the ridge between Falmouth and Stares Tunnel. I decided I needed to get this messy work done before installing the bridge and laying the track. 


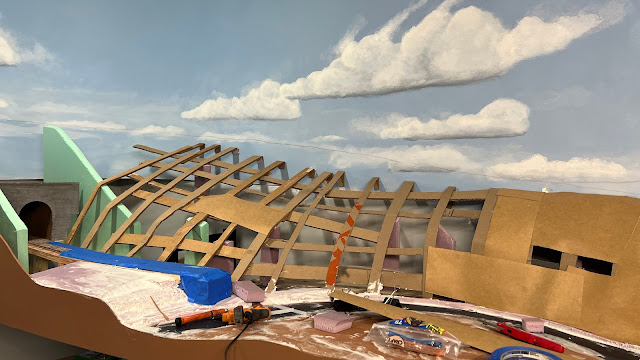
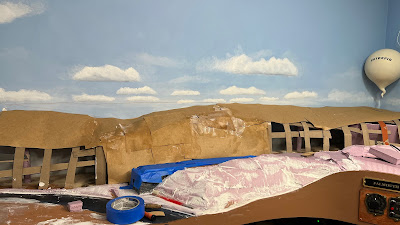
I used the cardboard web to build up the overall shape. Then I applied a layer of thick paper, sometimes called rosin paper,  used to protect floors. The first layer of rosin paper was dry as I used hot glue to stick it to the cardboard ribs. Then I applied another layer of rosin paper that I cut into smaller sections, soaked in water and secured with white glue.   Once that dried, the terrain structure was reasonably solid.


Next I covered the whole surface with a two layers of plaster impregnated gauze.  Now I need to let this cure before I can paint it with the base scenery color.

The bridge is a sturdy enough that I can insert it to test fit and then remove for scenery work.


September 2, 2022

Decisions, Decisions?

I installed the ties leading from the tunnel to the bridge and on the far side of the bridge. The overhead view shows how the track pops out of the tunnel, crosses the trestle and then begins the curve by the balloon camp to Falmouth.

I had to remove a section of O scale flex track. The nail nippers were incapable of making the cut and I accidentally pulled some to the rail out of the cast in spikes. Arrg. I was able to fix the damaged track with CAA. 

Next I started extending the terrain formers from the bridge site toward the tunnel. As I laid it out, I began to think that I have the tunnel recessed too far into the hill. The two pictures below show the original design with the deep cut, and a revised design where the tunnel portal is moved forward creating a more shallow cut. The more I think about it the shallow cut looks better.  Instead of moving the tunnel forward, I could cut the slope of the hill and stick with the original portal location with a shallow cut but further back. But the idea is this is a steep ridge that caused the creek to make a sharp turn, so the steep hill works better for that.  I have a few days to decide as I have to spike the rail before I finish the formers.

I used my Festool Rotex 90 with 60 grit coarse paper to reshape the hill under the trestle to remove the deep holes for some of the sills. The dust extractor really cuts down on the mess. It is a great way to shape foam terrain. 


ANOTHER EXPANSION?

As I was gluing down the ties I had mixed feelings. Is this truly the last ties I will be gluing on the Aquia Line? Probably, but there is a slim chance I might do another expansion. What that would look like is show in the track plan below, which I labeled version 40 thought it's probably more like version 200. 

The big draw back is the very reduced crew lounge. The location of Burnside's Wharf is also an issue. Option A has it in the office space accessed by a section of hidden track, which can be access from below if necessary.  Option B has it on the wall above my work bench and accessed by a removable section. That is an interesting use of that space, but I would lose the overhead clearance I need for my 3D printer.  So I would probably move the 3D printer work station under the peninsula and place it on castors so I can roll it out when I need it. 

What does the decision matrix say? Burnside Plan A is tied with the current Plan in  sum of ratings. Burnside Plan B is a close second but loses points for the removable section that can result in a duck under during operations, while Burnside Plan A has a bit more hidden track. The current plan wins on Sum of Ratings weighted by Priority due to the crew lounge priority but only by on point.

Locating Burnside Wharf in the office is both good and bad. Crews switching Burnside wharf will interfere with the dispatcher. But the longer run to Burnside Wharf captures the prototype better.

Aquia Yard limits would extend all the way around the new peninsula to the switch to Burnside Wharf. That is where the telegraph station is now, so that works.


Decision Matrix for the expanded plan versus current plan

The numbers show what I expected, the expansion trades the crew lounge space for more main line running but it is very close.

 Now to convince Alicia (and myself) that this is good idea.


September 1, 2022

Trestle is Ready for Track


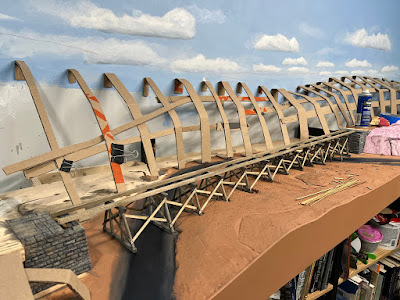
Bridge will be ready for rail once the glue dries


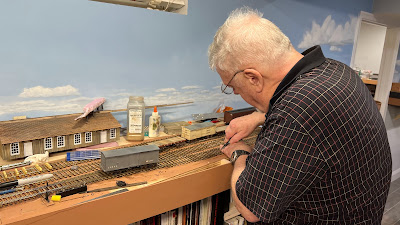
 Jack Thompson came by today to help work on the layout.  He drove spikes while I assembled the bridge. He got about 3 feet done before he had to leave.

The first step for me was to paint the creek bottom using Paynes Gray and the base scenery color.    I also painted the abutments in the same style as the other bridges on the layout and glued them in place. 

 I add the diagonal braces to the bents. That required the tedious work of adding 16 NBWs to each bent where the diagonal touched the uprights - 208 total. 

As I prepared each bent, I glued it to the stringers but left the bottom sill unglued. I used a weight to ensure the glue joint had a good bond. 

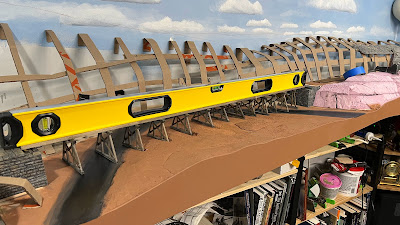
 Once all the bents were attached to the stringers, I used my 48 inch level to make sure the stringers were straight. I was amazed to find that they were. So I started adding the diagonal braces that ties the bents to each other. Then I added another 72 NBWs.  The NBWs are tedious but they do provide some nice detail to the wood structure. 

The last task for today was to glue glue down the ties on the bridge.  Once they are dry, I should be ready to start spiking the rail across the bridge.