
 |
We returned home from a great visit to see my granddaughter and her parents in Alabama. I had several other projects to take care of before getting back to work on the layout. Today I was able to build all the trestle bents for the low trestle over Mueller's Creek.
I started the bridge by making the abutments from pink styrofoam. I used my miter saw to cut the core pieces and a razor saw to cut away the ledges for the bridge stringers. The abutments will be covered with stone plastic sheet by Ratio models in the UK. I used that plastic stone on my other abutments and it looks great.
Next I added the stringers and trestle bents. In my first attempt I used 3/8 inch square stringers and ¼ inch trestle parts. After making 5 of those bents I decided the trestle looked too beefy. So I swapped out the 3/8th stringers with ¼ inch. I replaced the ¼ inch posts with 3/16th inch dowels. I think this spindly look is more appropriate for ACW era bridges. The 3/8th stringers were pine while the ¼ inch ones are basswood. The grain on the basswood is much more in scale than the pine, especially after I embellished the grain with coarse sandpaper and razor saw.
 |
| This was tedious work. |
I had to make each bent individually as the ground below the trestle is not flat. In addition, the bridge itself is on a grade. So each trestle bent had to be made to fit the intended location. I did not worry too much about variation between the bents as the prototype bridges had a very ad-hoc look.
I pre-stained all the pieces before assembly. I made a crude jig to glue the vertical posts both joists. But each diagonal I measured and cut by hand.
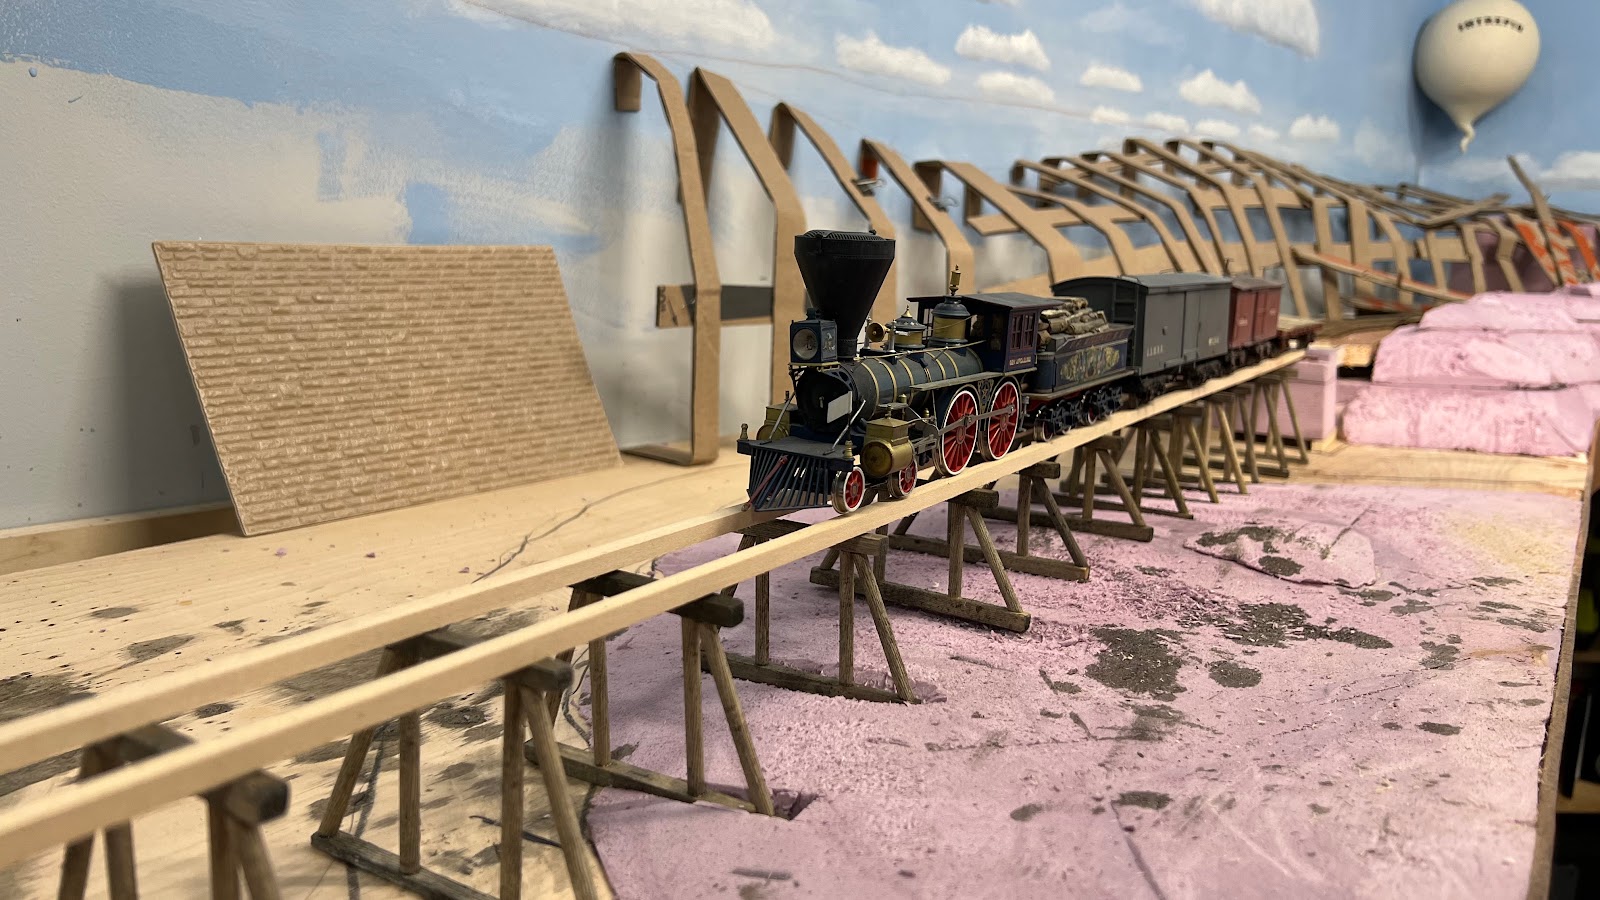 |
| The plastic sheet stock for the abutments is visible behind the bridge, |
.
I know battery power makes wiring obsolete, but you could at least put rails on the trestle instead of the wood stringers!
ReplyDeleteI knew I was forgetting something.
DeleteBeautiful locomotive
ReplyDeleteI keep looking at what you intend there and I've given in to the itch to comment. It's very nice work (the whole layout is) but I'm wondering why the card formers behind the trestle are getting higher even as the ground in the foreground is getting lower. I think it would look more natural if the background scenery was lower to match the lower ground in the foreground, as though the railroad were crossing a valley floor at this point.
ReplyDeleteThe idea is that the railroad followed the Mueller's creek toward the Rappahannock River. I named the creek in honor of a friend and wife that recently passed away. The creek is in a somewhat sharp narrow ravine, but at Falmouth there was enough flat ground for a station. The creek makes a sharp bend north of Falmouth as it curves in a large loop to the west to avoid Stares ridge. The railroad cuts across the loop of the creek on a trestle and then punches through the ridge in a tunnel. It pops out on the other side and follows a second creek.
DeleteAh, that makes sense. I thought the trestle was crossing marshy ground in a valley bottom.
Delete